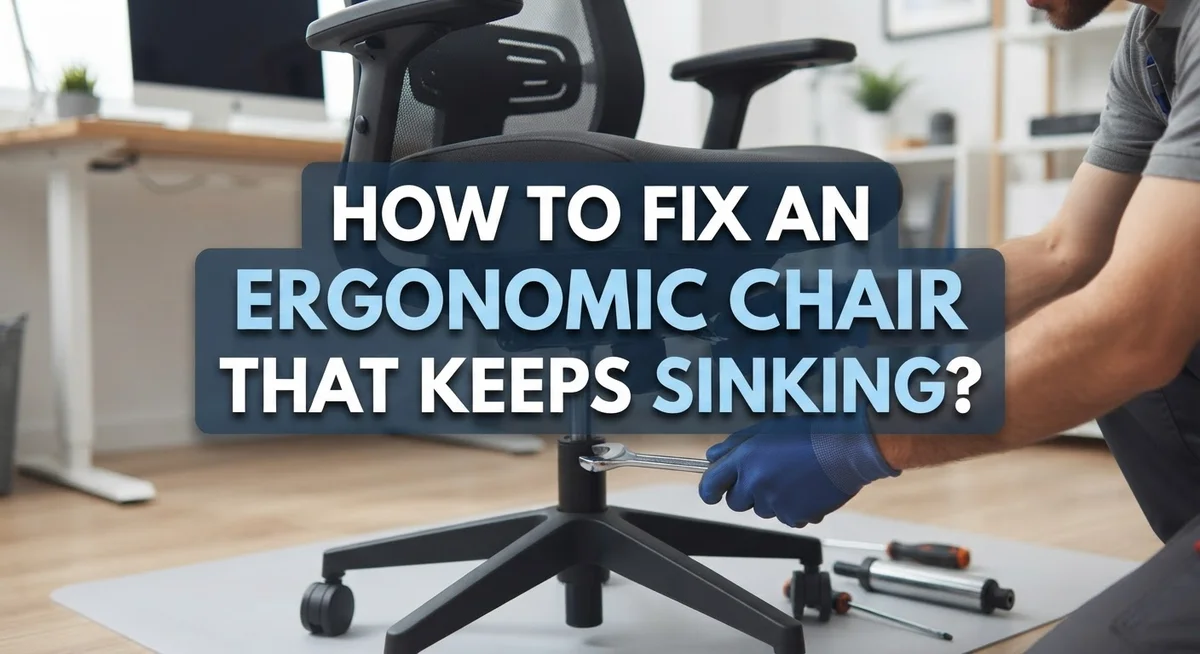
How to Fix an Ergonomic Chair That Keeps Sinking?
Does your ergonomic chair slowly sink while you sit in it? This annoying problem happens to many office chairs over time.
This sinking issue usually points to one culprit: the pneumatic gas cylinder under your seat. This part controls your chair’s height and lift.
Over time, the seal inside this cylinder wears down or breaks. Air pressure escapes, and your chair loses its ability to hold you up.
The good news? You don’t need to throw away your chair or buy a new one.
This guide will show you exactly how to stop the sinking. We will cover simple fixes like the PVC pipe method and cylinder clamps.
By the end, you will know exactly how to get your chair back to full height. Let’s fix that sinking feeling once and for all.
In a Nutshell
- The main cause is a worn seal inside the pneumatic gas cylinder. This part sits right under your seat and controls the height lift.
- Try the PVC pipe trick first. You measure your cylinder, cut a pipe to match, and slide it around the piston. This blocks the chair from sinking further.
- A cylinder clamp works too. This metal or plastic collar locks the piston at your favorite height. It’s a fast fix, but treat it as temporary.
- Replacing the cylinder is the most reliable fix. It costs much less than buying a whole new chair and solves the problem for good.
- Watch how you sit. Leaning back too far or misusing the chair speeds up wear on the cylinder.
- Act early. Don’t ignore small sinking signs. Catching the issue sooner makes repairs easier and cheaper.
Why Ergonomic Chairs Sink: Understanding the Pneumatic Cylinder
Your ergonomic chair sits fine in the morning. By afternoon, it’s lower than it should be. This happens because of a small part inside your chair called the pneumatic cylinder.
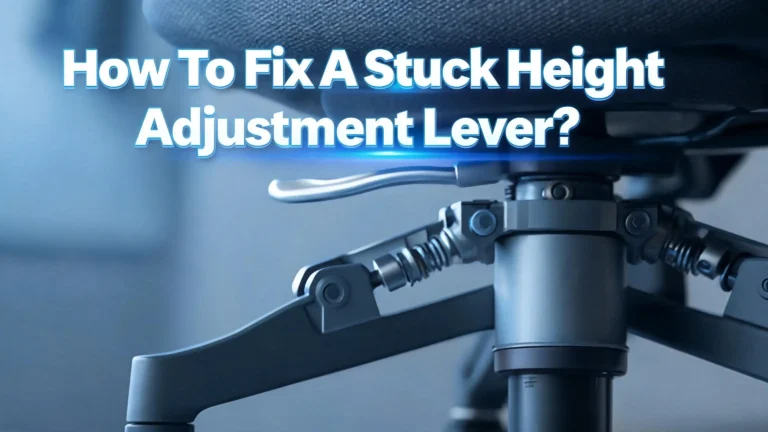
The pneumatic cylinder is like a hydraulic pump. It sits directly under your seat. This metal tube contains pressurized gas that holds your chair at the height you set. When you adjust your chair up or down, the cylinder controls that movement.
Inside the cylinder is a seal. This seal keeps the gas pressure locked inside. Over time, this seal gets worn out. The seal can crack, break, or simply lose its ability to hold pressure. When the seal fails, the gas slowly escapes. Your chair gradually sinks lower and lower.
Think of it like a bicycle tire with a slow leak. The tire looks fine at first. Days later, it’s flat. The same thing happens with your chair’s cylinder. The pressure inside drops. The chair can no longer support your weight at full height.
This sinking process is slow and gradual. You might not notice it happening day to day. After a few weeks or months, you suddenly realize your chair feels too low. That’s when most people notice the problem.
The good news is simple: the cylinder is replaceable. You don’t need to buy a new chair. The cylinder itself is an affordable part. Many people fix this problem in under an hour.
The cylinder failure isn’t a design flaw. It’s normal wear and tear. Chairs get used every day. The seal eventually wears out just like any other moving part. Understanding this helps you see that sinking is fixable, not permanent. Your chair can work like new again with the right repair approach.
Signs Your Chair’s Gas Cylinder Is Failing
Your chair will show you clear warning signs before it completely fails. Recognizing these signs early helps you fix the problem before it gets worse.
The most obvious sign is gradual sinking during your workday. You start at the correct height in the morning. By afternoon, you’re sitting lower than intended. This happens repeatedly, day after day. The sinking gets worse over weeks or months.
Another key indicator is uneven height changes. Your chair might sink quickly one day, then stay stable for several days. This pattern suggests the seal inside the cylinder is partially broken. The pressure leaks out inconsistently.
Pay attention to resistance when adjusting height. A healthy chair lifts smoothly when you pull the lever. A failing cylinder makes the lever feel stiff or unresponsive. Sometimes the chair won’t rise at all, even when you pull the adjustment lever multiple times.
Listen for hissing sounds when you sit down or adjust the height. This noise means air is escaping from the cylinder. You might also hear a faint whistle coming from under the seat.
Check if your chair tilts to one side. When the cylinder loses pressure unevenly, one side sinks faster than the other. This creates an uncomfortable, unbalanced sitting position.
Wobbly or unstable feeling during normal use is another red flag. Your chair might rock side to side more than it used to. The base might feel loose even though nothing has physically moved.
Finally, notice if you’re constantly readjusting your seat height. Healthy chairs stay at your chosen height all day. If you’re pulling the lever every hour, your cylinder is definitely failing.
These signs all point to the same problem: your gas cylinder needs attention. The good news is that catching these warnings early makes repairs easier and cheaper.
Quick Temporary Fix: Using the PVC Pipe Technique
The PVC pipe technique offers a quick way to stop your chair from sinking while you explore other solutions. This method works by physically blocking the pneumatic cylinder from retracting further.
Here’s how to do it. First, measure the diameter of your gas cylinder. You’ll find this part under your seat where the height adjustment mechanism connects. Measure from the outer edge of the cylinder to get an accurate size.
Next, purchase a PVC pipe that matches your cylinder’s diameter. The pipe should slide over the cylinder easily but fit snugly. Cut the pipe to a length that sits just above the seat base. This length matters because it needs to rest on your chair’s base frame to provide proper support.
Slide the PVC pipe over the cylinder. Make sure it’s positioned so the pipe rests firmly on the base frame of your chair. When you sit down, your weight pushes down on the seat. The PVC pipe prevents the cylinder from compressing further, keeping your chair at a fixed height.
This fix has real limitations. You lose the ability to adjust your chair’s height. You’re essentially locking the seat in one position. This works temporarily while you save money for a proper repair or replacement.
The PVC pipe technique typically holds for several weeks to a few months. It depends on how often you use your chair and how much weight you apply. Over time, the pipe may shift or the cylinder may continue degrading underneath.
This is not a permanent solution. Think of it as a bridge to help you work comfortably while you plan your next step. Many people use this method to buy time before replacing the gas cylinder entirely. The technique costs very little and requires no special tools, making it an attractive quick fix for most people.
Using a Cylinder Clamp to Lock the Seat Height
A cylinder clamp offers another practical approach to stopping your sinking chair. This method works differently than the PVC pipe technique and provides reliable results for many people.
A cylinder clamp is a metal or plastic collar that wraps around your pneumatic cylinder. It physically locks the piston in place, preventing the chair from lowering. The clamp sits directly on the cylinder rod and tightens to hold everything still.
Here’s how to use one. First, locate your chair’s pneumatic cylinder underneath the seat. You’ll find a metal rod extending from the cylinder. Slide the clamp over this rod and position it where you want your seat height to stay. Tighten the clamp securely so it won’t slip during use.
The key advantage is simplicity. Unlike the PVC pipe method, you don’t need to measure or cut anything. The clamp works immediately once installed. You can adjust it higher or lower depending on your preferred seating height.
This solution works well for temporary use. Most people find cylinder clamps hold effectively for several months to a year. The exact duration depends on how much pressure you place on your chair and how often you adjust it.
One important note: a cylinder clamp is still a temporary fix, not a permanent solution. Your underlying cylinder problem remains unchanged. The clamp simply prevents movement while the damaged seal continues to lose pressure internally.
Consider this approach if you need quick relief without much effort. It’s faster than ordering replacement parts and simpler than the PVC pipe technique. However, plan to eventually replace your cylinder for a lasting fix.
This method works best alongside good sitting habits. Avoid leaning too far back or putting excessive weight on one side. These actions strain your pneumatic system and can shorten how long any temporary fix lasts.
Step-by-Step Guide to Replacing the Gas Cylinder
Replacing your gas cylinder is the most direct way to fix a sinking chair. This solution works because it removes the broken part entirely and restores your chair to working condition.
Start by identifying your cylinder’s specifications. Look underneath your chair seat. You’ll see a metal tube connecting the base to the seat. Measure its diameter and length. Write down these measurements. You can also take a photo to reference later.
Next, remove the old cylinder. Most chairs have a simple design. Push or pull the seat upward to access the base. The cylinder typically connects with a snap ring or clip on both ends. Gently pry off these fasteners using a flathead screwdriver. Work slowly to avoid damaging surrounding parts.
Once the old cylinder is free, lift it away from the chair. Set it aside carefully. Now you have a clear view of where the new cylinder will go.
Install the replacement cylinder by reversing the removal process. Align the new cylinder with the connection points on both the seat and base. Push the snap rings or clips back into place. Make sure both ends are secure. The cylinder should not wiggle or move side to side.
Test your repair before settling back into work. Sit down slowly and adjust the height several times. The chair should rise smoothly and stay at your chosen height. Listen for any unusual sounds. Everything should feel stable and responsive.
This permanent fix eliminates the sinking problem completely. Unlike temporary solutions, a new cylinder restores full functionality. Your chair will perform like it did when new. The process takes about 15 to 30 minutes for most people. No special tools are required beyond a basic screwdriver. This approach costs far less than buying a replacement chair.
Habits and Adjustments That Prevent Future Sinking
Your daily habits play a huge role in keeping your chair working properly. Start by adjusting how you sit. Avoid leaning too far back or putting all your weight on one side. These movements put extra strain on your pneumatic cylinder.
When you sit down, lower yourself gently instead of dropping into the chair. This simple change reduces the shock to your gas cylinder. Think of it like treating your chair with care rather than rough handling.
Keep your weight centered on the seat. If you tend to rock back and forth or tilt sideways, your cylinder wears out faster. Sit upright and use the backrest properly. This distributes your body weight evenly across the chair.
Avoid using your chair beyond what it’s designed for. Don’t use it as a step stool or lean it back at extreme angles. Your chair has limits, and respecting them keeps the cylinder healthy.
Check your seat height regularly. If you notice it dropping even slightly, address it immediately. Early action prevents the problem from getting worse. Don’t wait until your chair sinks completely before taking steps.
Reduce unnecessary adjustments to your seat height. Each time you pump the lever or adjust the height, you’re using the cylinder. Limit these changes to when you truly need them.
Keep your chair on flat, stable surfaces. Uneven floors or carpets can stress the cylinder unevenly. A level surface helps your chair function as intended.
Finally, give your chair breaks. If you sit for hours without moving, your cylinder stays under constant pressure. Stand up, stretch, and move around periodically. This gives your chair’s components time to recover.
These habits cost nothing but attention. By treating your chair properly, you extend its life and avoid future sinking problems. Good sitting practices and mindful use are your best defenses.
Common Mistakes to Avoid When Repairing a Sinking Chair
Many people make mistakes when trying to fix a sinking ergonomic chair. Understanding these errors helps you avoid wasting time and money on ineffective solutions.
The biggest mistake is jumping straight to replacement. Many people assume a sinking chair is broken beyond repair. In reality, most sinking issues come from a worn gas cylinder. This part is fixable or replaceable at a fraction of the cost of a new chair. Before you throw out your chair, explore repair options first.
Another common error is using incorrect repair materials. People sometimes apply glue, tape, or improvised blockers that damage the cylinder or seat mechanism. These materials can actually make the problem worse. Stick to proven methods like proper clamps or replacement cylinders designed for this purpose.
Ignoring early warning signs is another trap. Your chair doesn’t sink all at once. It usually starts with small drops in height that get worse over time. If you notice your seat lowering even slightly, address it immediately. Early action prevents the problem from becoming severe.
Many people also misuse their chair during repair attempts. Leaning too far back, bouncing in the seat, or applying excessive weight while the chair is compromised can worsen the damage. Treat your chair gently while you work on fixes.
Finally, people often skip research before attempting repairs. Each chair model has different specifications and mechanisms. Taking time to understand your specific chair prevents costly mistakes. Check your chair’s manual or look up your model online.
The key is patience and proper planning. Rush repairs often fail quickly, forcing you to repeat the process. Take your time to identify the real problem, choose the right solution, and execute it carefully. This approach saves you money and frustration in the long run.
Final Thoughts
A sinking ergonomic chair feels frustrating, but it’s rarely a reason to give up on it. The problem almost always comes from a worn seal inside the gas cylinder. Once you know this, the fix becomes simple.
Small tricks like the PVC pipe method or a cylinder clamp buy you time. They stop the sinking without any real repair work. Think of them as a bridge until you can do something more lasting.
Replacing the cylinder remains the best long term solution. It solves the root problem completely. Your chair will hold its height like it did on day one.
Good habits matter just as much as any fix. Sit down gently. Keep your weight centered. Avoid pushing the chair past its limits.
These small changes protect your repair and extend the life of your chair. They cost nothing but a little awareness.
Don’t rush into buying a new chair. Most sinking issues have simple, affordable solutions. A new chair is expensive and often unnecessary.
Take time to diagnose the actual problem first. Check the cylinder. Look for loose parts. Understand what’s really happening before you act.
Patience pays off during repairs. Quick fixes done poorly often fail again soon. A careful approach saves you time and money in the long run.
Your ergonomic chair can serve you well for years, even after it starts sinking. The key lies in understanding the mechanism and choosing the right fix for your needs.
Whether you pick a temporary trick or a full cylinder swap, you now have the knowledge to act with confidence. A sinking chair doesn’t have to end in the trash. With the right approach, it can feel brand new again.
Frequently Asked Questions
Why does my ergonomic chair keep sinking?
Your chair sinks because the pneumatic gas cylinder underneath the seat loses pressure over time. This cylinder is the lift mechanism that holds your seat at the correct height. When the seal inside wears out or breaks, air escapes and the chair gradually lowers. This is a normal wear issue, not a design flaw.
Can I fix a sinking chair myself?
Yes, you can fix it yourself with basic tools. The most popular DIY method uses a PVC pipe cut to the right length. You slide it over the cylinder to physically block the piston from retracting. Another option is a cylinder clamp, which is a metal or plastic collar that locks the piston in place. Both methods work as temporary solutions.
Is replacing the gas cylinder expensive?
Replacing the cylinder is an affordable option compared to buying a new chair. The cylinder itself costs far less than a full replacement chair. You can order a replacement cylinder online and install it yourself, or hire someone to do it. This remains the best long term solution for a sinking chair.
What mistakes should I avoid?
Don’t jump straight to replacing your entire chair. Many people assume sinking means the chair is broken beyond repair. Avoid using incorrect repair materials or skipping research before you start. Also, don’t ignore the early warning signs. Your chair doesn’t sink overnight, so catch the problem early.
How do I prevent this from happening again?
Lower yourself gently into your chair instead of dropping into it. Keep your weight centered on the seat. Avoid adjusting your seat height constantly. Place your chair on flat, stable surfaces only. Give your chair regular breaks from use.

Hi, I’m Clara! I started SitSmartGuide to help people find chairs that truly support their comfort and health — without the guesswork. After years of dealing with back pain from bad seating, I became obsessed with testing, researching, and reviewing chairs so you don’t have to learn the hard way.