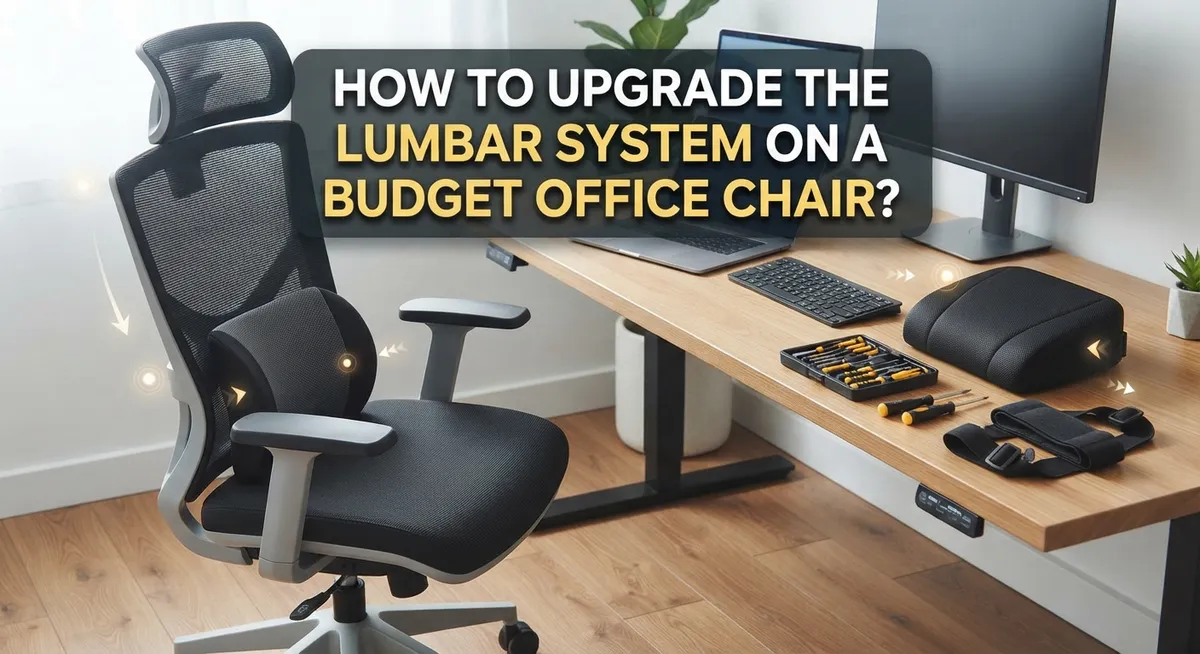
How to Upgrade the Lumbar System on a Budget Office Chair?
Does your lower back scream after just an hour in your office chair? You are not alone.
Budget chairs often skip proper lumbar support. This leaves your spine without the care it needs.
But here’s the good news. You do not need an expensive chair to fix this problem.
You can upgrade your chair’s lumbar system with a few smart adjustments. Small changes make a huge difference in comfort.
This guide walks you through simple steps to boost your lumbar support. You will learn how to find the perfect seated position first.
Then we cover how to adjust lumbar support without forcing it. We also explain why sitting all the way back matters so much.
By the end, you will know exactly how to transform your budget chair. Your back will thank you every single day.
In a Nutshell
- Start neutral. Sit in a relaxed position before you touch any adjustments. This gives you an honest baseline.
- Adjust slowly. Move your lumbar support in small increments until it matches your lower back curve. Never force it into place.
- Sit all the way back. Your hips and back need full contact with the chair. This lets the lumbar support actually do its job.
- Use the Clenched Fist Rule. Leave a fist width gap between your thighs and the seat edge. This protects your circulation and keeps your legs comfortable.
- Skip the headrest fix. A headrest will not solve back pain. Lumbar support is the real upgrade your chair needs.
- Watch your seat height and depth. Wrong settings can undo all your lumbar adjustments. Get these right first.
Why Lumbar Support Matters More Than Other Chair Features
Your lower back carries your entire upper body weight all day long. When lumbar support fails, your spine curves forward instead of staying in its natural S shape. This forward curve compresses discs and strains muscles over time.
Lumbar support directly prevents back pain. Other chair features like armrests or wheels feel nice but do not protect your spine. A headrest might reduce neck tension, but it cannot fix lower back problems. Your lumbar region needs targeted support to stay healthy during long work sessions.
Proper lumbar alignment keeps your spine neutral. A neutral spine means your vertebrae stack correctly without extra stress. When you sit without lumbar support, your lower back flattens against the chair. This flattening forces your discs to shift forward, which causes pain and stiffness.
Budget chairs often lack quality lumbar systems. Expensive office chairs include advanced lumbar features because manufacturers know this region matters most. But you do not need to buy a new chair. Strategic adjustments to your existing lumbar support can deliver similar results.
Seat height and depth also impact lumbar effectiveness. If your seat is too high or too low, your lumbar support cannot work properly. The angle of your hips changes how your lower back contacts the lumbar curve. This is why adjusting height and depth first makes sense before fine tuning lumbar position.
Your circulation also depends on lumbar support. Poor lumbar alignment forces you to sit forward on your seat. Forward sitting compresses the back of your thighs and reduces blood flow to your legs. Proper lumbar support keeps you sitting fully back in your chair, which protects circulation.
Think of lumbar support as your spine’s foundation. Everything else in your chair setup builds on this foundation. Armrests help your shoulders. Seat depth protects your thighs. But lumbar support keeps your entire spine safe. This is why upgrading your lumbar system delivers the biggest impact on comfort and long term health.
Understanding Your Chair’s Current Lumbar Setup
Your budget office chair likely has a lumbar adjustment mechanism already built in. You just need to find it and understand how it works. Most budget chairs feature a simple lever or dial located on the back of the seat, usually on the right side.
Start by sitting in your chair in a neutral position. Keep your feet flat on the floor and your back relaxed against the seat. Do not lean forward or slouch. This neutral posture is your baseline for everything that follows.
Look for the lumbar control mechanism. It might be a small lever you push or pull, a dial you turn, or a button you press. Some budget chairs have a single adjustment point. Others offer multiple settings. Spend a moment identifying which type you have.
Understanding your current setup is half the battle. Many people never touch their lumbar controls because they do not know what they do. Your control directly changes how much the lumbar support pushes into your lower back.
Next, note your chair’s seat height and depth settings. These work together with lumbar support to create proper alignment. If your seat is too high, your feet dangle and your thighs lose contact with the seat. If your seat is too deep, your lower back cannot reach the lumbar support properly.
Check whether your chair has adjustable armrests or a recline function. These features influence how your spine sits relative to the lumbar support. A reclined position changes the angle at which lumbar support contacts your back.
Write down what you find. Document your current settings before making any changes. Note the position of your lumbar lever, your seat height, and your seat depth. This information helps you track what works best for your body and makes future adjustments easier.
Step-by-Step: Finding Your Neutral Seated Position
Your body knows what neutral feels like. Sit down in your chair without adjusting anything first. Let your shoulders drop naturally. Your feet should rest flat on the floor. Your arms hang at your sides with elbows bent at roughly 90 degrees.
This is your starting point. Everything else builds from here.
Now notice where your lower back sits. Does it touch the chair? Does it curve away? Your lumbar region should have a gentle curve, not a flat or overly rounded spine. This natural curve is what you’re protecting.
Check your seat height next. Your thighs should be parallel to the floor. Use the Clenched Fist Rule: slide your fist between your thigh and the seat edge. You should fit exactly one fist width there. Too high, and your legs dangle. Too low, and your thighs get compressed. Both kill your circulation and undo lumbar support work.
Seat depth matters just as much. Sit all the way back into your chair. Your back should contact the backrest fully. Your hips need to be completely supported. If you sit forward, you lose all lumbar benefits immediately.
Once you’re positioned correctly, locate your lumbar adjustment control. Most budget chairs have a dial or lever on the side. Some have a knob you twist. Don’t adjust yet. Just identify where it is.
Your goal is to match the lumbar support to your lower back’s natural curve. The support should feel like it’s cradling your spine, not pushing or forcing anything. You’re not trying to change your posture. You’re supporting the posture your body naturally wants.
Take your time here. Proper positioning is the foundation for everything else. A few minutes of setup now prevents hours of back pain later. Your neutral position is unique to your body. Honor that.
Step-by-Step: Adjusting Lumbar Support to Match Your Spine
Now that you’ve found your neutral position, it’s time to fine tune your lumbar support. This step determines whether your chair actually protects your back or leaves you in pain by day’s end.
Start with small adjustments. Move your lumbar control one notch at a time. Wait a few seconds after each adjustment. Your body needs time to feel the difference. Big jumps in support often feel uncomfortable or wrong.
As you adjust, focus on your lower back curve. Your lumbar support should fill the natural inward curve of your spine, not flatten it or push it forward. Think of it like a puzzle piece fitting into place. You want contact without pressure.
Sit fully back in your chair. This matters more than most people realize. When you slouch forward or perch on the edge, your lumbar support can’t reach your lower back properly. Your bottom should touch the backrest completely. Your shoulders should rest against the chair back.
Use the Clenched Fist Rule to check your seat depth. Make a fist and place it between the seat edge and the back of your thighs. You should fit your fist in that space with a little room left over. If your fist doesn’t fit, your seat is too deep. If there’s too much space, your seat is too shallow. Either way, your lumbar support won’t work right.
Stop when it feels right. You shouldn’t feel pinching, pushing, or strain in your lower back. Good lumbar support feels supportive, not aggressive. It should feel like your chair is gently cradling your spine. If you feel discomfort, back up one notch and reassess.
This process takes patience, but it’s the key to transforming your budget chair into something that actually supports your back during long workdays.
Dialing In Seat Height and Depth for Better Support
Seat height and depth work together to make your lumbar support actually work. When these two settings are wrong, even the best lumbar adjustment can’t help you.
Start by checking your seat height. Your feet should rest flat on the floor with your knees at a 90 degree angle. If your seat is too high, your thighs get compressed and blood flow suffers. If it’s too low, your lower back rounds forward and loses contact with the lumbar support. This breaks the whole system.
Next, focus on seat depth. This is where the Clenched Fist Rule comes in. Sit all the way back in your chair. Now measure the space between the seat edge and the back of your thighs. You want about a fist width of space there. This gap keeps pressure off your legs and lets you sit fully against the backrest where your lumbar support lives.
Here’s the practical part: adjust one setting at a time. Change your seat height first, then let your body settle for a few minutes. Notice how your lower back feels. Then adjust depth. Small moves matter more than big ones.
Many people sit forward in their chairs without realizing it. When you perch on the edge, you lose contact with lumbar support completely. Your lower back gets no help at all. Force yourself to sit all the way back, even if it feels strange at first.
Your circulation depends on these settings too. Improper height and depth squeeze your thighs and restrict blood flow to your legs. This causes numbness and discomfort that has nothing to do with lumbar support.
Take 10 minutes to dial these in correctly. The combination of proper height, proper depth, and matched lumbar support creates real comfort on a budget chair.
Common Mistakes That Undermine Lumbar Adjustments
Sitting forward in your chair is the biggest mistake people make. When you lean forward, you lose all lumbar support. Your lower back gets no help from the chair at all. This happens because people get distracted or uncomfortable and shift their weight forward without noticing.
Over forcing your lumbar adjustment creates the opposite problem. Your lumbar control should feel gentle and supportive, not aggressive. If you push the adjustment too far, your lower back gets pinched. This causes pain instead of relief. Small incremental turns work much better than big adjustments.
Many people choose a headrest over lumbar support on a budget. This is backwards for back pain relief. Your headrest helps your neck, but your lumbar support protects your entire lower spine. If you have limited budget options, prioritize lumbar features first.
Incorrect seat height and depth settings sabotage lumbar adjustments completely. Your seat needs to be high enough so your thighs stay parallel to the ground. If your seat is too low or too deep, your lower back angles wrong. This prevents lumbar support from working properly. Use the Clenched Fist Rule: keep a fist width gap between the seat edge and your thighs.
Failing to sit fully back in the chair is another common error. Many people perch on the front half of their seat. Your lumbar support only works when you’re seated deep in the chair. Your back needs contact with the backrest to feel the support.
Skipping the neutral position step causes all these mistakes. When you start from a bad position, adjustments never feel right. Take time to find neutral first. Your lower back knows its natural curve. Match your lumbar support to that curve, not to what feels different. This prevents discomfort and helps your budget chair actually work.
Troubleshooting Persistent Discomfort After Adjustment
When discomfort persists after you adjust your lumbar support, something specific is usually wrong. The problem rarely lies with the lumbar system itself. Instead, it points to how you’re sitting or what you’re expecting from your chair.
Start by checking your posture first. Many people sit forward without noticing it. Your lower back loses contact with the lumbar support when you lean forward. Scoot yourself all the way back into the chair and notice the difference immediately.
If discomfort continues, your lumbar adjustment might be too aggressive. Small increments matter more than you think. One notch too far creates pressure instead of support. Back off your adjustment by one or two clicks and sit for a few minutes. Your lower back needs time to adapt to new positioning.
Seat height and depth often cause hidden problems. If your seat sits too high, your thighs tilt upward and your lower back rounds forward. If your seat sits too low, your knees rise above your hips and your spine curves incorrectly. Adjust one setting at a time so you know which one actually fixes the issue.
Another common cause is expecting too much from lumbar support alone. Your chair’s overall design matters. If the seat cushion is too soft or too hard, it won’t work well with any lumbar adjustment. This is a chair design issue, not an adjustment problem.
Take a break and reset completely. Stand up, stretch your lower back, and start fresh. Return to your neutral seated position. Then adjust your lumbar support incrementally again. This time, stop the moment you feel support without pressure.
If discomfort returns after 30 minutes of sitting, the issue is likely circulation or muscle fatigue, not lumbar positioning. Your body needs movement breaks throughout the day. No chair adjustment fixes that problem alone.
Final Thoughts
Upgrading your lumbar system doesn’t need a big budget. It needs patience and the right approach.
Start with the neutral seated position every time. This step sets the foundation for everything else you adjust.
Move your lumbar support in small increments. Never force it into place. Your lower back curve will tell you when it fits right.
Sit fully back in your chair after each adjustment. This simple habit engages your lumbar support the way it’s meant to work.
Remember the Clenched Fist Rule for seat depth. A fist width gap between your thighs and the seat edge protects your circulation.
Skip the headrest upgrade if you’re choosing between options. Dedicated lumbar support does more for your back pain relief.
Seat height and depth work together with lumbar support. You can’t fix one without checking the others.
Most discomfort comes from sitting forward or forcing adjustments too far. Both mistakes undo the good work your lumbar upgrade does.
Give your new setup a real trial period. Your body needs time to adjust to proper support.
Check in after a few days of sitting correctly. Notice if your lower back feels different by the end of your workday.
Budget chairs can support your spine well. The lumbar upgrade matters more than the price tag on your chair.
Keep your adjustments simple and gradual. Small changes add up to real comfort over time.
Watch for emerging options like sensor based lumbar tracking. These features may become more common in budget chairs soon.
Your chair doesn’t define your comfort. How you adjust and use it does.
Take these steps one at a time. Your back will thank you for the effort you put into getting this right.
Frequently Asked Questions
Can I upgrade lumbar support on any budget office chair?
Yes, you can. Most budget chairs have basic lumbar adjustment features built in. The key is learning how to use them properly instead of buying a new chair. Focus on finding the adjustment range your chair already offers, then dial it in to match your lower back curve.
What is the Clenched Fist Rule and why does it matter?
This rule helps you set your seat depth correctly. Sit fully back in your chair, then make a fist. You should have a fist width gap between the seat edge and the back of your thighs. This spacing protects blood flow and prevents circulation problems that cause discomfort.
Should I choose lumbar support or a headrest upgrade first?
Choose lumbar support every time. Your lower back needs proper alignment more than your head does. A headrest add on won’t fix spine issues, but good lumbar support directly relieves back pain. Save the headrest for later if budget is tight.
Why does my lumbar adjustment feel uncomfortable even after I adjust it?
You’re likely sitting forward in your chair. This is the most common mistake people make. Your lumbar support only works when you sit fully back and engage it completely. Also check that you’re not forcing the adjustment too far. Small increments work better than big changes.
How long does it take to feel better after adjusting lumbar support?
Give your setup a real trial of a few days. Your body needs time to adjust to proper positioning. Most people feel improvement within 3 to 5 days of sitting correctly. If discomfort returns after 30 minutes of sitting, the issue might be muscle fatigue rather than lumbar position.

Hi, I’m Clara! I started SitSmartGuide to help people find chairs that truly support their comfort and health — without the guesswork. After years of dealing with back pain from bad seating, I became obsessed with testing, researching, and reviewing chairs so you don’t have to learn the hard way.