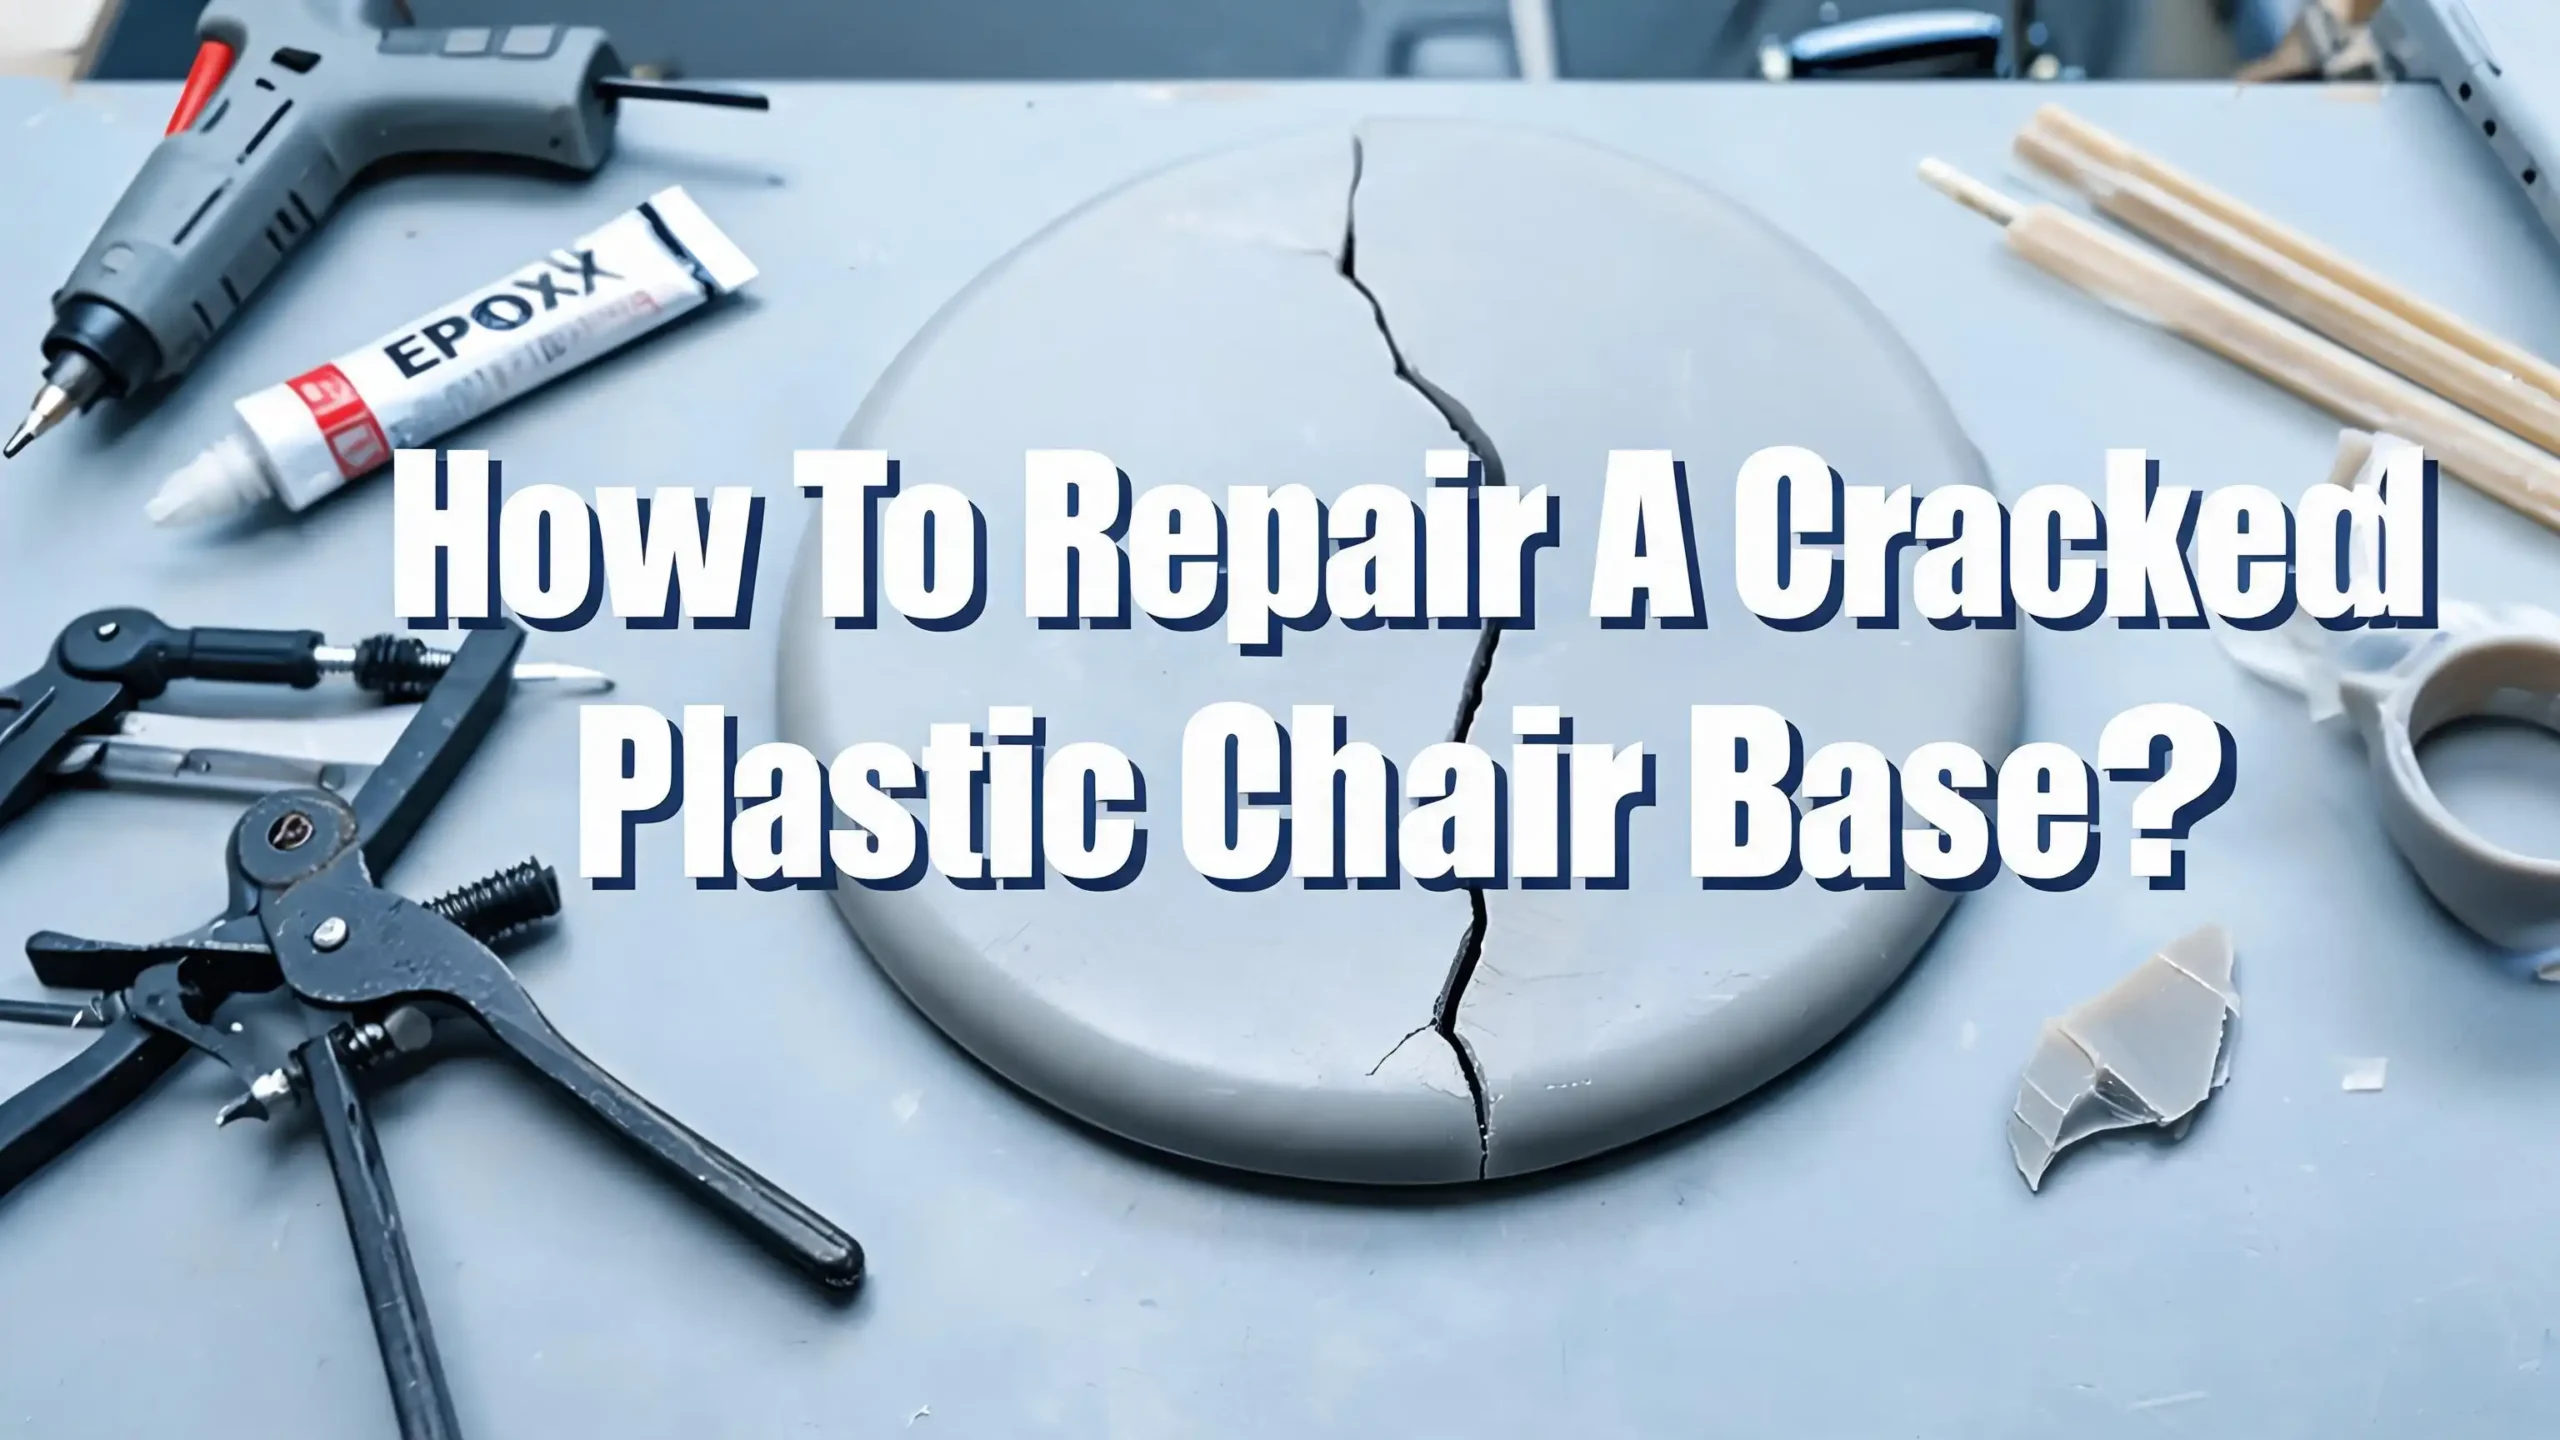
How To Repair A Cracked Plastic Chair Base?
A cracked plastic chair base can feel like the end of the road for your favorite seat. You sit down one day, hear a faint pop, and suddenly the whole chair wobbles or leans to one side.
Most people toss the chair and buy a new one. But here is the truth: many cracked plastic chair bases are completely repairable at home with basic tools and a little patience.
The good news is that several proven repair methods exist, from epoxy bonding to plastic welding to mechanical reinforcement. Each method works best for a specific type of crack, and choosing the right one makes all the difference.
This guide walks you through every practical repair method step by step. You will learn how to assess the damage, pick the right approach, execute the repair safely, and prevent future cracks.
Key Takeaways
- Assess the crack first before choosing a repair method. A hairline surface crack needs a very different approach than a deep structural fracture that runs through a load bearing area. Take five minutes to inspect the full base before grabbing any tools.
- Epoxy adhesive is the most popular and accessible repair option. Two part epoxy creates a strong, water resistant bond on most plastic types. It works best for small to medium cracks where the pieces still align well.
- Plastic welding delivers the strongest and most lasting repair. A soldering iron or plastic welding tool melts the base material and filler plastic together. This method creates a bond that can be as strong as the original plastic.
- The super glue and baking soda method handles quick, small crack repairs. Cyanoacrylate glue combined with baking soda creates an instant hard filler. It sets in seconds and can be sanded smooth.
- Safety must come first with any chair base repair. A chair base supports your full body weight, sometimes in a rolling or tilting motion. If the crack runs through a critical structural point, replacement is the safer choice.
- Prevention extends the life of any repair. Keeping the chair away from direct sunlight, avoiding excess weight, and checking for stress marks regularly will help your repaired base last for years.
Understanding Why Plastic Chair Bases Crack
Plastic chair bases crack for several clear reasons. The most common cause is repeated stress from daily use. Every time you sit down, lean back, or roll across the floor, the base absorbs force. Over months and years, this force creates tiny stress fractures that grow into visible cracks.
Temperature plays a big role too. Plastic expands in heat and contracts in cold. If your chair sits near a window, a heater, or outdoors, the constant temperature shifts weaken the material. UV radiation from sunlight is especially damaging because it breaks down the molecular bonds in polypropylene and nylon, the two most common plastics used in chair bases.
Exceeding the chair’s weight limit also causes premature cracking. Most standard plastic chair bases support 200 to 250 pounds. Sitting beyond that limit puts extreme pressure on the weakest points of the base, usually where the arms of a star base meet the center hub.
Poor manufacturing quality is another factor. Budget chair bases often use polypropylene (PP), which is lighter and less expensive than nylon (PA66). PP bases are more prone to cracking under stress compared to nylon bases. Understanding the type of plastic your base is made from will help you choose the best repair method.
Finally, impact damage from dropping the chair, bumping it against furniture, or accidentally kicking the base can cause sudden cracks. These are usually easier to spot and repair because the crack pattern is cleaner.
Assessing the Damage Before You Start
Before you pick up any tools, you need to evaluate the crack carefully. The location, depth, and direction of the crack determine whether a repair is practical or whether you need a replacement base. This step saves you time and keeps you safe.
Start by flipping the chair over or removing the base so you can see every surface clearly. Use a flashlight to inspect the crack from all angles. Check if the crack is a surface scratch, a partial fracture, or a full break that goes all the way through the plastic. Surface scratches and partial cracks are almost always repairable.
Next, look at where the crack sits on the base. Cracks on the outer edge of a star base arm are less critical than cracks at the center hub where all the arms meet. The center hub carries the most weight and stress. A crack there needs a very strong repair or a full replacement.
Check if the plastic around the crack is discolored, brittle, or soft. Discolored or brittle plastic means UV or heat damage has weakened a larger area. Repairing one crack might not help if the surrounding material is ready to fail too.
Also, try to identify the plastic type. Look for recycling symbols or material stamps on the underside of the base. Common markings include PP (polypropylene), PA or PA66 (nylon), and ABS. Each material responds differently to adhesives and welding. Knowing your plastic type will help you pick the right epoxy or filler material.
Tools and Materials You Will Need
Gathering the right tools and materials before you start makes the repair smoother and faster. You do not need expensive or specialized equipment for most plastic chair base repairs. Many of these items are already in a basic home toolbox.
For cleaning, you will need isopropyl alcohol (rubbing alcohol), clean rags or paper towels, and optionally a mild detergent. The repair surface must be free of dust, oil, and grease for any adhesive or weld to hold properly.
For adhesive repairs, pick up a two part epoxy designed for plastic. Look for products that specifically list polypropylene or nylon compatibility on the label. You will also need clamps or heavy duty tape to hold the pieces together while the epoxy cures.
For the super glue and baking soda method, you need cyanoacrylate super glue (medium viscosity works best) and plain baking soda. A small container for the baking soda and a pair of disposable gloves round out this kit.
For plastic welding, you need a soldering iron with a flat tip or a dedicated plastic welding tool. You also need filler material, which can be strips cut from a similar plastic item, zip ties made of nylon, or dedicated plastic welding rods. A metal mesh or wire screen can serve as internal reinforcement.
For finishing, keep sandpaper in multiple grits (80, 150, and 220) on hand. You will use coarse grit to shape the repair and fine grit to smooth it. Safety gear including gloves, safety glasses, and a well ventilated workspace are essential for every method.
Method 1: Repairing With Two Part Epoxy
Two part epoxy is the go to repair method for most cracked plastic chair bases. It is easy to find, simple to use, and creates a strong bond that resists water and moderate heat. This method works best for cracks where the pieces still fit together snugly.
Start by cleaning the cracked area thoroughly with isopropyl alcohol. Remove every trace of dirt, oil, and loose plastic debris. Let the surface dry completely. Epoxy will not bond properly to a dirty or wet surface.
Use coarse sandpaper (80 grit) to roughen the surfaces on both sides of the crack. Sanding creates tiny grooves that give the epoxy more surface area to grip. Wipe away the sanding dust with a clean cloth dampened with alcohol.
Mix the two part epoxy according to the instructions on the package. Most products use a 1:1 ratio of resin and hardener. Mix only the amount you can use within the epoxy’s working time, usually 5 to 10 minutes.
Apply a generous layer of mixed epoxy along the full length of the crack. Press the pieces firmly together and secure them with clamps or strong tape. Wipe away any epoxy that squeezes out from the seam. Let the epoxy cure fully, which typically takes 12 to 24 hours.
After curing, sand the repaired area with 150 grit and then 220 grit sandpaper for a smooth finish.
Pros: Easy for beginners, requires no special tools, creates a waterproof bond, widely available at hardware stores.
Cons: Not as strong as plastic welding for structural cracks, requires long curing time, may not bond well to polypropylene without a special primer, limited flexibility once cured.
Method 2: Super Glue and Baking Soda Technique
The super glue and baking soda method is a fast and surprisingly strong way to repair small to medium cracks in a plastic chair base. The baking soda reacts with cyanoacrylate glue to form a hard, cement like filler that sets in seconds. This makes it ideal for quick fixes where you cannot wait 24 hours for epoxy to cure.
Begin by cleaning the crack with isopropyl alcohol and a clean rag. Remove all dust and debris from the area. The cleaner the surface, the stronger the bond will be. Let the area dry fully before proceeding.
Lay the chair so the crack faces upward and is parallel to the floor. Apply a thin line of super glue directly into the crack. Then apply another layer of glue across the surface of the crack. Do not wait for the glue to dry at this stage.
Immediately sprinkle a generous amount of baking soda over the wet super glue. The baking soda acts as both a filler and a catalyst. It causes the super glue to harden almost instantly into a solid mass. Use your finger or a small tool to press the baking soda into the glue.
Wait about 10 minutes, then brush away the loose baking soda. Check if the repair is solid. If the crack is deep, repeat the process by adding another layer of super glue followed by baking soda. Build up layers until the repair is flush with the surface.
Flip the chair and repeat the process on the backside of the crack for extra strength. Finish by sanding the repaired area smooth with fine grit sandpaper.
Pros: Extremely fast cure time (seconds), materials are cheap and easy to find, can build up layers for deeper cracks, creates a hard and sandable repair.
Cons: Not ideal for large structural cracks, the bond can be brittle under heavy flex, super glue fumes require good ventilation, less durable than plastic welding for load bearing areas.
Method 3: Plastic Welding With a Soldering Iron
Plastic welding is the strongest repair method for a cracked chair base. It fuses the original plastic with filler material to create a bond that matches the strength of the base itself. If your crack is in a high stress area like the center hub, plastic welding is the best choice.
You can use a basic soldering iron with a flat or chisel tip. Dedicated plastic welding tools are also available, but a soldering iron works well for DIY repairs. You also need filler plastic that matches the base material. Nylon zip ties are excellent filler for nylon bases. For polypropylene bases, cut strips from another PP item like a food container lid.
Clean the crack area with isopropyl alcohol. If the crack is a full break, align the pieces and use tape to hold them temporarily. Work in a well ventilated area because melting plastic releases fumes.
Heat the soldering iron and press it gently along the crack, melting the edges of both sides together. Move slowly and steadily. The goal is to melt the plastic just enough to fuse without burning through the material.
Next, lay a strip of filler plastic (like a zip tie) directly over the welded crack. Press the soldering iron onto the filler strip and drag it slowly across the crack. The filler melts into the base plastic, creating a reinforced seam. Apply filler on both sides of the crack if possible.
For added strength, press a small piece of metal mesh or wire screen into the melted plastic. The mesh acts like rebar in concrete, giving the repair structural reinforcement. Cover the mesh with another layer of filler plastic.
Let the repair cool completely, then sand it smooth with progressively finer sandpaper.
Pros: Strongest repair method, fuses plastic at the molecular level, inexpensive if you already own a soldering iron, can reinforce with mesh for extreme durability.
Cons: Requires more skill and practice, risk of burning through thin plastic, produces fumes that require ventilation, the repair is not as cosmetically clean as epoxy.
Method 4: Mechanical Reinforcement With Bolts or Zip Ties
Sometimes the simplest solutions are the most effective. Mechanical reinforcement uses physical fasteners like bolts, washers, and zip ties to hold a cracked base together. This method does not rely on chemical bonds, which makes it useful for plastics that resist adhesives, such as untreated polypropylene.
For bolt reinforcement, drill small holes on each side of the crack. Insert a bolt through both holes with washers on both sides. Tighten the nut to pull the cracked sections firmly together. The washers spread the clamping force across a wider area and prevent the bolt from pulling through the plastic.
This approach works especially well on office chair star bases where the crack runs along one of the flat arms. The flat surface gives you space to position bolts without interfering with the casters or the center column.
Zip tie reinforcement follows a similar idea. Drill pairs of small holes along the length of the crack. Thread a zip tie through each pair and pull it tight. The zip ties act like stitches, holding the crack closed under tension. For extra holding power, combine zip ties with a layer of epoxy or super glue along the crack itself.
You can also use a combination approach. Apply epoxy inside the crack, clamp it with zip ties through drilled holes, and then add a metal bracket on the underside for long term support. This layered strategy is very effective for cracks in load bearing sections.
Pros: Works on hard to glue plastics, requires only basic tools, provides immediate structural support, easy to inspect and tighten over time.
Cons: Visible fasteners reduce the chair’s appearance, drilled holes can create new stress points if placed poorly, zip ties may loosen over time and need replacement, not suitable for all crack locations.
Method 5: Fiberglass Reinforcement for Heavy Duty Repairs
Fiberglass reinforcement is a heavy duty repair option for severely cracked or weakened plastic chair bases. This method wraps the damaged area in fiberglass cloth soaked in resin, creating a rigid external shell that adds significant structural strength.
You will need fiberglass cloth (available at auto parts or hardware stores), polyester or epoxy resin, a mixing container, a disposable brush, and gloves. Always work in a well ventilated space because resin fumes are strong.
Start by cleaning and sanding the area around the crack. Roughen a wide zone around the damage, at least two inches on each side. Cut the fiberglass cloth into strips wide enough to cover the crack and extend well beyond it.
Mix the resin according to the product instructions. Brush a thin coat of resin onto the sanded plastic surface. Lay the first strip of fiberglass cloth over the wet resin and press it down firmly to remove air bubbles. Apply another coat of resin over the cloth.
Add two or three more layers of fiberglass cloth and resin, letting each layer become tacky before adding the next. The more layers you apply, the stronger the repair will be. Let the entire assembly cure fully, which usually takes 24 hours.
Once cured, sand the fiberglass smooth. You can paint over it to match the original chair color.
Pros: Extremely strong and rigid repair, covers a large damaged area, can salvage bases with multiple cracks, provides long lasting structural support.
Cons: Messy and time consuming process, strong fumes require proper ventilation and safety gear, the bulky fiberglass shell may not look attractive, adds weight to the base, may not bond perfectly to all plastic types without proper surface preparation.
Choosing the Right Repair Method for Your Crack
With several methods available, picking the right one depends on the size of the crack, the type of plastic, the crack’s location, and how much weight the base needs to support. Here is a simple way to match your situation to the best method.
For small surface cracks or hairline fractures, the super glue and baking soda method is fast and effective. It fills minor gaps quickly and creates a hard surface that you can sand smooth. This is your best bet for cosmetic cracks that have not yet affected the chair’s stability.
For medium cracks where both sides still align well, two part epoxy provides a reliable and clean repair. It works on most plastic types and does not require special tools. This is the most beginner friendly option for moderate damage.
For deep structural cracks in load bearing areas, plastic welding gives you the strongest bond. If the crack is at the center hub or along a stress line, welding fuses the plastic at the material level. Combine it with metal mesh reinforcement for the best results.
For cracks in polypropylene bases that resist adhesives, mechanical reinforcement with bolts or zip ties provides physical holding force that does not depend on chemical bonding. This method is also useful as a temporary fix while you plan a more permanent repair.
For severely damaged bases with multiple or branching cracks, fiberglass reinforcement covers a wide area and adds a strong external layer. This is the best choice when the base needs structural rebuilding rather than a simple crack seal.
Safety Precautions During the Repair
Repairing a plastic chair base involves chemicals, heat, and sharp tools. Taking proper safety precautions protects you from injury and ensures a better repair result.
Always wear safety glasses to protect your eyes from flying plastic shavings, dripping epoxy, or splashing chemicals. Super glue can bond skin and eyelids instantly, so keep it away from your face.
Wear disposable nitrile gloves during any repair that involves adhesives, resin, or cleaning solvents. Epoxy and super glue are difficult to remove from skin once they set. Isopropyl alcohol and acetone can help dissolve fresh glue from fingers, but prevention is far easier than removal.
Work in a well ventilated area or outdoors. Melting plastic releases potentially harmful fumes. Epoxy resin, super glue, and fiberglass resin all produce vapors that irritate the lungs and eyes. Open windows, use a fan, or work in a garage with the door open.
If you are using a soldering iron for plastic welding, be aware that the tip reaches temperatures above 400 degrees Fahrenheit. Keep the hot tool on a stable stand when not in use and never touch the tip. Use heat resistant gloves if you need to hold pieces close to the welding area.
After completing the repair, let the chair cure for the full recommended time before using it. Sitting on a repair that has not fully hardened can cause the bond to fail. An epoxy repair needs at least 24 hours. A plastic weld should cool for at least 30 minutes before handling and 24 hours before full weight bearing use.
Testing the Repair Before Regular Use
A repaired plastic chair base needs to be tested before you trust it with your full body weight. Skipping this step risks a sudden failure that could cause a fall and injury. Take a few minutes to verify the repair is solid.
Start with a visual inspection. Look at the repaired area from every angle. Check for gaps, bubbles, or spots where the adhesive did not bond fully. If you used epoxy or fiberglass, tap the repair gently with your fingernail. A solid repair produces a firm, consistent sound. A hollow or soft spot means the bond is incomplete.
Next, apply gradual pressure by hand. Press on the repaired area with your thumb and try to flex it gently. The repair should feel rigid and stable. If you see any movement at the crack line, the bond is not strong enough for weight bearing use.
Place the chair upright and press down on the seat with your hands. Increase the force gradually. Do not sit in the chair yet. Watch the base closely for any signs of flexing, cracking, or separation at the repair site.
If the hand pressure test passes, sit in the chair slowly while keeping your feet flat on the floor and your hands on a desk or table. This allows you to catch yourself if the base gives way. Shift your weight gently from side to side.
Test the chair daily for the first week of use. Check the repaired area each time you sit down. If the crack reappears or the repair shows any signs of failure, stop using the chair immediately and consider a stronger method or a replacement base.
Preventing Future Cracks in Your Plastic Chair Base
Prevention is easier and cheaper than repair. A few simple habits can extend the life of your plastic chair base by years and keep cracks from forming in the first place.
Respect the weight limit printed on the chair or listed by the manufacturer. Standard plastic bases support 200 to 250 pounds. If you weigh more, look for chairs with nylon (PA66) or metal bases. Consistently exceeding the weight limit is the fastest way to crack a plastic base.
Keep your chair away from direct sunlight and heat sources. UV radiation breaks down the molecular structure of plastic over time, making it brittle and prone to cracking. If your chair sits near a window, rotate it regularly or use window film to reduce UV exposure.
Avoid rolling the chair over uneven surfaces or thresholds. Sudden jolts and impacts create stress points that weaken the base. Use a chair mat on carpet or hard floors to provide a smooth rolling surface.
Clean the base periodically with mild soap and water. Dirt and grit trapped in the caster sockets and arm joints can cause uneven stress during movement.
Inspect the base every few months for early warning signs like white stress marks, hairline cracks, or unusual creaking sounds. Catching a small crack early means a quick super glue fix instead of a major repair or replacement.
If you repaired the base previously, check the repair site regularly. Even the best repairs can degrade over time, especially on a chair that sees heavy daily use.
When You Should Replace Instead of Repair
Not every cracked chair base can or should be repaired. Some types of damage make repair unsafe, and knowing when to replace the base protects you from a potentially dangerous failure.
Replace the base if the crack runs through the center hub and the structural integrity is clearly compromised. The hub is the most stressed point on a star base. A cracked hub can split suddenly under weight, causing a fall. Even the strongest plastic weld may not hold long term at this critical junction if the damage is extensive.
Replace the base if you see multiple cracks spreading across different arms. This pattern indicates the entire base is fatigued and nearing the end of its useful life. Fixing one crack will likely be followed by another crack in a different arm within weeks.
Replace the base if the plastic is visibly degraded. Signs of degradation include a chalky or faded surface, extreme brittleness, and plastic that crumbles instead of flexing. Degraded plastic will not hold adhesives or welds effectively.
Replace the base if you have already repaired the same crack more than once. A recurring crack means the repair cannot handle the stress at that point. Continuing to patch it creates a safety risk.
Finally, consider the cost. Replacement star bases for office chairs are available at furniture parts suppliers for a reasonable price. If the cost and effort of a complex repair approach the price of a new base, replacement is the smarter choice. A new base also gives you the option to upgrade from polypropylene to a stronger nylon or aluminum base.
Tips for a Long Lasting Repair
Getting the repair done is one thing. Making it last is another. A few extra steps during and after the repair process can dramatically increase how long your fix holds up.
Match your filler material to the base plastic. If the base is nylon, use nylon filler (zip ties work great). If it is polypropylene, use PP filler. Mismatched plastics do not fuse properly during welding and may separate under stress.
Reinforce both sides of the crack. Applying epoxy or welding filler to only one side leaves the other side vulnerable. A repair that covers both the front and back of the crack is at least twice as strong as a single sided fix.
Do not rush the curing time. Epoxy and fiberglass resin reach full strength only after complete curing. Using the chair too soon can weaken the bond permanently. Set a timer or mark your calendar to remind yourself.
Add mechanical reinforcement to chemical repairs. A bolt, zip tie, or metal bracket combined with epoxy or a weld creates a layered repair that handles both tension and shear forces. This combination approach gives you the best durability.
Smooth the repair surface after finishing. Rough edges and bumps concentrate stress and can become starting points for new cracks. Sand the area smooth and apply a thin final coat of epoxy as a sealant if desired.
Keep a small repair kit on hand so you can address new stress marks or hairline cracks immediately. Early intervention is the secret to a chair base that lasts years after repair.
Frequently Asked Questions
Can you repair a cracked plastic chair base with just super glue?
Regular super glue alone can handle very small surface cracks, but it is not strong enough for structural repairs on a chair base. The super glue and baking soda method is much more effective because the baking soda acts as a filler and catalyst, creating a hard mass that is significantly stronger than glue alone. For any crack that affects the chair’s stability, use a two part epoxy or plastic welding for a reliable fix.
What type of plastic are most office chair bases made of?
Most office chair bases are made from either polypropylene (PP) or nylon (PA66). Budget chairs typically use polypropylene, which is lightweight but more prone to cracking. Higher quality chairs use nylon, which is stronger and more durable. Some premium chairs use aluminum or steel bases. You can usually find the plastic type stamped or molded into the underside of the base near the recycling symbol.
How long does an epoxy repair on a plastic chair base last?
A properly done epoxy repair can last one to three years or more under normal use conditions. The lifespan depends on the size and location of the original crack, the quality of the surface preparation, the type of epoxy used, and the amount of weight and stress the base handles daily. Combining epoxy with mechanical reinforcement like bolts or zip ties extends the repair life significantly.
Is it safe to sit on a repaired plastic chair base?
It is safe if the repair was done correctly and tested properly before use. Always perform a gradual pressure test before sitting in the chair. Start with hand pressure, then sit slowly while holding onto a stable surface. If the crack was in a critical structural area like the center hub, monitor the repair closely for the first few weeks. If you have any doubt about the repair’s integrity, replace the base instead.
Can I use a heat gun instead of a soldering iron for plastic welding?
A heat gun can soften plastic, but it is much harder to control than a soldering iron. A soldering iron provides focused heat right at the crack line, while a heat gun spreads warmth over a large area and can warp or deform the base. For precise plastic welding on a chair base, a soldering iron with a flat tip gives you the accuracy and control you need. If you do use a heat gun, keep it on a low setting and move it constantly to avoid overheating.
What is the cheapest way to fix a cracked plastic chair base?
The super glue and baking soda method is the cheapest option. A tube of super glue and a box of baking soda cost very little and can handle small to medium cracks effectively. For slightly more investment, a soldering iron and some zip ties for plastic welding cost just a few dollars and deliver a much stronger repair. Both options are far cheaper than buying a replacement base or a new chair.

Hi, I’m Clara! I started SitSmartGuide to help people find chairs that truly support their comfort and health — without the guesswork. After years of dealing with back pain from bad seating, I became obsessed with testing, researching, and reviewing chairs so you don’t have to learn the hard way.