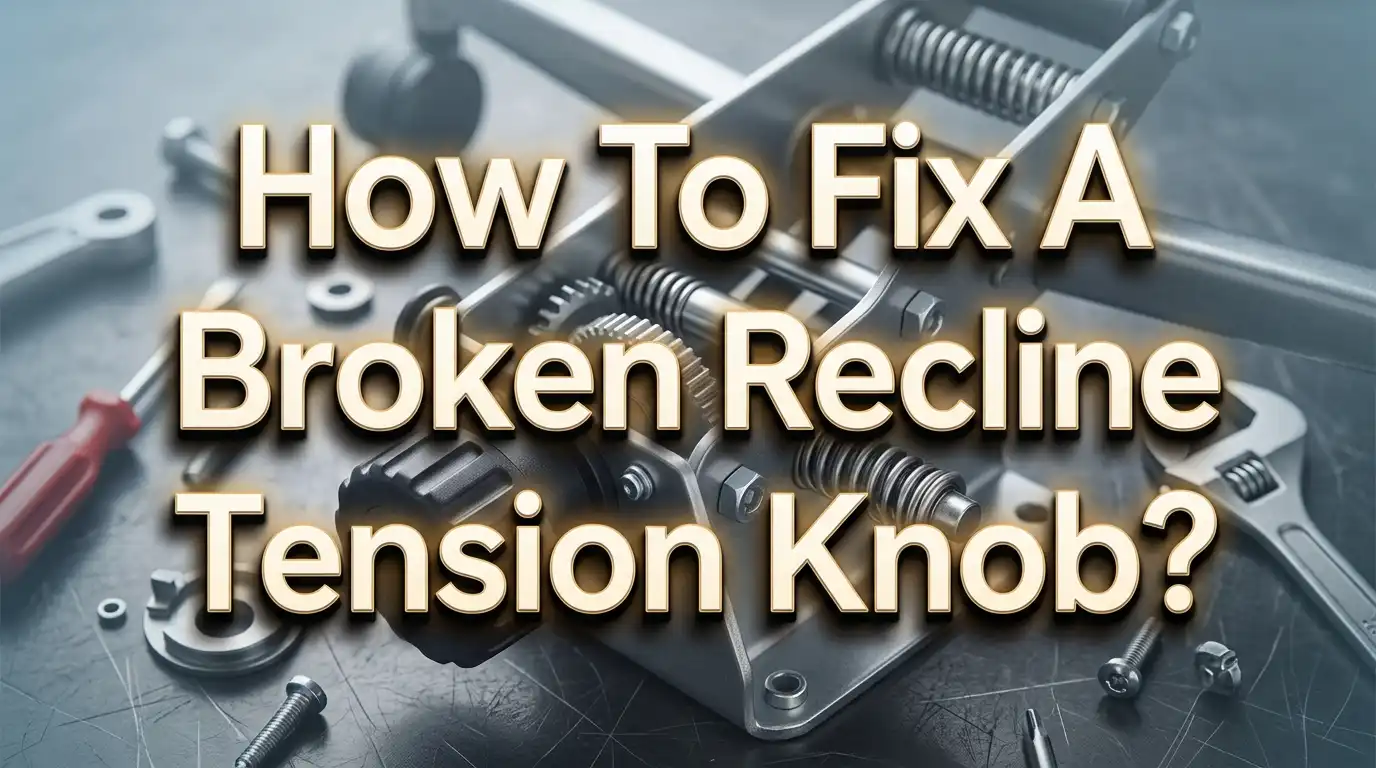
How To Fix A Broken Recline Tension Knob?
You sit down, lean back to relax, and nothing happens. Or worse, the knob just spins endlessly without changing a thing. A broken recline tension knob is one of the most frustrating office chair problems you can face, especially when you spend hours at your desk every day.
The good news? You do not need to throw away your chair or call a repair professional. Most recline tension knob issues are fixable at home with basic tools and a little patience. This guide walks you through every step clearly, from understanding what went wrong to getting your chair working like new again.
Whether the knob spins freely, feels stuck, or snapped off entirely, you will find the exact fix you need right here.
In a Nutshell
- A recline tension knob controls resistance when you lean back in your chair. When it breaks, you either cannot recline at all or the chair reclines too easily without any control.
- The most common causes of a broken tension knob include stripped internal threads, worn-out springs, accumulated debris, or physical damage to the knob itself.
- Many fixes require only basic tools like a screwdriver, Allen wrench, pliers, and a lubricant such as WD-40 or silicone spray — all of which most people already own.
- Not every broken knob needs a full replacement. Sometimes reseating the knob, cleaning the threads, or applying lubricant is all it takes to restore full function.
- If the internal tilt mechanism is damaged, a full mechanism swap is still far cheaper than buying a new chair, and it is something you can do yourself in under 30 minutes.
- Regular maintenance prevents future breakdowns. Lubricating the mechanism every six months and avoiding overtightening the knob will extend the life of your chair significantly.
What Is a Recline Tension Knob and How Does It Work?
Before you can fix something, you need to understand what it does. The recline tension knob is a round dial located underneath your chair seat, usually toward the front center. Its entire job is to adjust how much resistance you feel when you lean back.
The knob connects to a spring-loaded tension mechanism inside the seat plate. When you turn the knob clockwise, it compresses the spring, making the chair harder to recline. When you turn it counterclockwise, it releases spring pressure, making reclining easier and smoother.
Think of it like a dial that controls how much force the spring pushes back against your body weight. A heavier person typically needs a tighter setting, while a lighter person needs a looser one. Without a working tension knob, your chair cannot adapt to your body, making every sitting session either uncomfortable or unsafe.
The knob itself threads onto a bolt or rod that passes through the mechanism housing. This threaded connection is exactly where most breakdowns happen. Over time, the threads inside the knob wear down, the spring loses tension, or the mechanism gets jammed with dust and debris. Understanding this helps you pinpoint the exact problem before you start taking anything apart.
Common Reasons Why a Recline Tension Knob Breaks
Knowing the root cause saves you time and effort. The knob does not just randomly stop working. There is always a reason, and identifying it guides your repair strategy.
Stripped or worn threads are the most common cause. When you overtighten the knob regularly, the internal plastic or metal threads gradually strip away. The knob then spins without catching, which is why it feels loose and useless.
A broken or worn internal spring means the mechanism has lost its core tension function. You turn the knob but feel no change in resistance because the spring itself cannot compress or extend properly anymore.
Debris and rust buildup inside the mechanism can jam the knob. Dust, hair, and even moisture can get trapped inside the housing, preventing the knob from turning or engaging correctly. This problem is especially common in older chairs or chairs used in dusty environments.
Physical cracks or fractures in the knob body happen when too much side force is applied, or when the knob is made of low-quality plastic. The knob may look fine on the outside but have an internal crack that stops it from gripping the rod.
A dislodged internal component can also make the knob spin freely. Sometimes the spring washer, retaining clip, or nut that holds the knob assembly in place simply slides out of position due to vibration and daily use.
Tools You Need Before You Start
Gathering your tools before you begin makes the process smooth and frustration-free. You do not need specialized equipment for most tension knob repairs.
Here is what you should have ready:
- A Phillips head screwdriver and a flathead screwdriver for removing screws and prying components
- An Allen wrench set (also called hex keys) for bolts inside the tilt mechanism
- Needle-nose pliers for gripping small clips and retaining rings
- A rubber mallet for gently tapping parts loose without causing damage
- WD-40 or silicone-based lubricant spray for freeing jammed parts and lubricating threads
- A replacement tension knob or replacement tilt mechanism if the part is beyond simple repair
- A clean cloth or paper towels for wiping away grease and debris
- Safety gloves to protect your hands from sharp metal edges
Having all of these within arm’s reach before you flip the chair over means you will not lose your momentum mid-repair.
How To Inspect the Broken Tension Knob Before Repairing
Never skip the inspection step. Jumping straight into disassembly without diagnosing the problem first can lead to unnecessary part removal and wasted effort.
Start by sitting in your chair and trying to turn the tension knob both clockwise and counterclockwise. Pay attention to what you feel. Does the knob turn but produce no change in resistance? That points to stripped threads or a disconnected spring. Does the knob feel completely stuck and refuse to turn at all? That suggests rust, debris, or a jammed mechanism.
Next, look underneath the seat with a flashlight. Check whether the knob is physically intact or cracked. Look at the rod it threads onto and see if there is visible corrosion, damage, or bent components. A quick visual check can tell you a lot in just 60 seconds.
Try turning the knob while pushing it inward toward the chair base. Some tension mechanisms have hidden threads that only engage when the knob is pressed firmly against the housing. This is a quirk reported by many users, and it sometimes resolves a “spinning freely” issue on the spot.
If the knob appears intact and threads seem fine, the problem likely lives inside the mechanism itself. That calls for a deeper inspection, which the following sections cover in detail.
Step 1: Free a Stuck or Jammed Tension Knob
A tension knob that refuses to turn is one of the easiest problems to fix. The most common culprit is rust or dried-up grime inside the threaded rod.
Start by spraying a generous amount of WD-40 or silicone lubricant directly around the base of the knob where it meets the housing. Let the lubricant sit for at least 10 to 15 minutes. This gives it time to penetrate the rust or debris blocking the threads.
After waiting, try turning the knob again with firm, steady pressure. Do not force it aggressively. Use slow, back-and-forth motions to coax the threads free. Think of it like opening a rusty jar lid — gentle rocking pressure works better than brute force.
If the knob still does not move, flip the chair upside down and access the mechanism from below. Use needle-nose pliers to grip the base of the threaded rod and hold it steady while you try to turn the knob. Sometimes the entire rod spins along with the knob, which prevents any adjustment. Holding the rod still allows the knob to thread properly.
After freeing the knob, wipe away all excess lubricant with a clean cloth, then apply a fresh light coat of silicone spray to keep the threads moving smoothly going forward.
Step 2: Fix a Tension Knob That Spins Freely
A knob that spins endlessly without doing anything is incredibly common. This problem almost always comes down to stripped threads or a detached internal component.
First, try the pressure-and-turn method. Push the knob firmly inward while rotating it clockwise. Some mechanisms have a starter thread that needs a firm push to engage. Several users have fixed their spinning knob problem using this technique alone.
If that does not work, you need to access the mechanism. Flip the chair upside down. Look for the threaded rod the knob attaches to. Check whether the nut or retaining clip on the inside of the mechanism has fallen out of place. If it has, reposition it using needle-nose pliers. Once the retaining piece is back in position, the knob should thread on correctly and catch.
In cases where the threads are completely stripped, the knob itself needs replacement. Thread stripping is irreversible. You cannot rebuild plastic or soft metal threads once they are gone. Measure the diameter and thread pitch of the rod before ordering a replacement knob to ensure a correct fit.
Step 3: Reattach or Replace a Broken Tension Knob
If the knob has cracked, snapped off, or the threads are completely stripped, replacement is the only path forward. This is actually one of the simplest parts of the entire chair to replace.
Start by noting the size of the threaded rod under your seat. Most common tension knobs use a 3/8-inch or 5/16-inch thread. Bring the old knob or the measurement to a hardware store, or search for a replacement knob online using your chair’s brand and model number.
To remove the old knob, flip the chair over. If the knob has a retaining bolt through the center, use an Allen wrench to loosen it first. Then unscrew the knob counterclockwise by hand or with pliers. Clean the threaded rod with a cloth and inspect it for damage before installing the new knob.
Thread the new knob clockwise onto the rod by hand. Tighten it until it seats firmly but do not overtighten it. Test by turning it in both directions. You should feel resistance changing as you rotate the knob. If the chair now responds to adjustments, the replacement was successful.
Step 4: Inspect and Fix the Internal Tension Spring
If replacing the knob does not solve the problem, the internal spring may be the real culprit. The spring is what actually creates the resistance you feel when reclining. A stretched, broken, or dislodged spring renders the entire knob useless regardless of its condition.
Flip the chair upside down and remove the seat from the tilt mechanism. Most seats connect to the mechanism via four bolts. Use an Allen wrench to remove them and set the seat aside. With the mechanism exposed, look inside the housing for the tension spring.
A healthy spring looks coiled and uniform, with no visible gaps or stretched sections. A damaged spring will appear stretched, bent sideways, or broken in two. If the spring has simply fallen out of position, reinsert it carefully and test the chair. If it is broken, you need a replacement spring that matches the original specifications.
Replacement springs for office chair tilt mechanisms are available as individual parts or as part of a full mechanism kit. Installing a new spring requires placing it back in the housing and ensuring both ends are secured in their correct attachment points before reassembly.
Step 5: Lubricate the Entire Tilt Mechanism
Even if your knob is not broken, poor lubrication can make it feel broken. A dry, stiff mechanism mimics many of the same symptoms as a genuinely damaged one.
With the chair flipped upside down, spray silicone lubricant generously on all visible pivot points, the threaded rod, the spring housing, and the side lever if your chair has one. Avoid spraying lubricant directly on foam cushions or fabric because it can stain and degrade the material.
After applying lubricant, manually move all the tilt components back and forth to help the lubricant distribute evenly throughout the mechanism. Let it sit for five minutes before reassembling the chair.
Once reassembled, test the recline function. Many chairs that seemed mechanically broken return to perfect function after a thorough lubrication session. This is especially true for chairs that are more than two years old and have never been maintained.
Step 6: Tighten Loose Fasteners and Seat Plate
Loose bolts and a bent seat plate are often overlooked contributors to a faulty recline experience. When the seat plate shifts out of alignment, it puts uneven stress on the tension mechanism, causing it to malfunction even when the knob itself is undamaged.
With the chair upside down, inspect all visible bolts and screws connecting the seat plate to the tilt mechanism. Use the appropriate Allen wrench or screwdriver to tighten any loose fasteners. Tighten each one in a cross-pattern, similar to how you would tighten lug nuts on a car wheel, to ensure even pressure distribution.
Check the seat plate itself for any visible bends or cracks. A warped seat plate cannot be straightened reliably at home and should be replaced. Universal seat plates are available and are generally easy to install by transferring the existing hardware to the new plate.
After tightening everything, flip the chair back over and test the recline function. You may be surprised by how much a few loose screws can affect overall performance.
Step 7: Replace the Entire Tilt Mechanism (Full Replacement Guide)
When the knob, spring, and all other components are in bad shape, replacing the full tilt mechanism is the smartest move. A complete mechanism replacement sounds intimidating, but it takes about 20 to 30 minutes with basic tools.
Step 1: Flip the chair upside down and place it on a stable surface. Remove the seat by unscrewing the four bolts connecting it to the tilt mechanism. Set the seat aside.
Step 2: Note how the gas lift cylinder inserts into the mechanism housing. Use a rubber mallet to tap the mechanism off the cylinder from below. Apply WD-40 first if it seems stuck.
Step 3: Once the old mechanism is free, compare it with the replacement unit you purchased. Check that the bolt hole pattern, cylinder socket diameter, and knob thread size all match.
Step 4: Slide the new mechanism onto the gas lift cylinder. Press down firmly until it locks into place.
Step 5: Reattach the seat using the four bolts from earlier. Make sure the tension knob faces the front of the chair before fully tightening the bolts.
Step 6: Test all functions — recline resistance, tilt lock, and seat height — before using the chair.
How To Prevent Your Tension Knob From Breaking Again
Fixing the problem is great. Not having the problem again is even better. A few simple habits will keep your recline mechanism healthy for years.
Never overtighten the tension knob. The most common cause of thread stripping is turning the knob too far clockwise. Once you feel strong resistance, stop turning. You do not need to max out the tension to get good support.
Lubricate the mechanism every six months. Mark it on your calendar. A quick spray of silicone lubricant on the threaded rod and pivot points takes two minutes and prevents most mechanical issues from ever developing.
Avoid slamming back in your chair. Dropping your full body weight into a recline repeatedly creates impact stress on the mechanism and spring. Lean back slowly and let the tension mechanism do its job.
Check and tighten fasteners every few months. Vibration from daily use loosens bolts gradually. A quarterly check with an Allen wrench keeps everything snug and correctly aligned.
Keep the underside of your chair clean. Vacuum or brush away dust and debris from the mechanism area every month. Dust packed into the spring housing is a leading cause of stiffness and knob jamming.
When To Repair vs. When To Replace Your Chair
Not every broken tension knob situation calls for a repair. Sometimes the most practical decision is to move on to a new chair entirely.
Consider repairing when the chair frame is solid, the gas lift works correctly, and only one or two components need attention. Repair costs for a tension knob or full tilt mechanism are usually very affordable, making the fix clearly worthwhile.
Consider replacing the chair when multiple parts are failing at the same time, when the frame shows cracks or severe rust, when the foam cushion has completely flattened, or when repair costs start approaching the price of a new entry-level ergonomic chair.
A general rule of thumb: if the repair cost exceeds 50% of what an equivalent new chair would cost, buying new is the smarter financial decision. Quality ergonomic chairs offer improved lumbar support, warranty coverage, and updated mechanism designs that are worth the investment for anyone who sits for more than six hours per day.
Frequently Asked Questions
Why does my recline tension knob spin but nothing changes?
This almost always means the internal threads are stripped or a retaining clip inside the mechanism has fallen out of position. Try pushing the knob inward firmly while turning clockwise. If that does not work, flip the chair over and inspect the internal mechanism for a displaced nut or retaining washer. If the threads are stripped, the knob itself needs to be replaced.
How do I know if my tension spring is broken or just loose?
A broken spring will cause the chair to have zero resistance during reclining, and the knob will feel completely ineffective. A loose spring may cause inconsistent resistance that feels uneven or lopsided. Remove the seat and inspect the spring visually inside the tilt housing. A broken spring will show a visible separation or obvious deformation.
Can I use WD-40 on my office chair tension mechanism?
Yes, WD-40 works well for breaking up rust and freeing jammed parts. However, for ongoing maintenance lubrication, silicone-based spray is a better choice because it does not attract dust and grime the way WD-40 does over time. Use WD-40 to free stuck components, then wipe it clean and apply silicone spray for long-term protection.
Is it safe to use my chair while the tension knob is broken?
It depends on the type of breakage. If the knob simply does not adjust tension but the chair still reclines and holds your weight properly, short-term use is generally safe. However, if the mechanism feels unstable, if the chair tips unexpectedly, or if you hear grinding noises, stop using it immediately until you complete the repair. A mechanically compromised chair can cause falls and injuries.
How much does a replacement tilt mechanism cost?
A basic replacement tilt mechanism typically costs between $15 and $50 depending on the chair brand and weight capacity rating. Heavy-duty mechanisms designed for users over 250 pounds may cost slightly more. Individual tension knobs are even cheaper, usually $5 to $15 for a compatible replacement.
How long does it take to replace a full tilt mechanism?
Most people complete a full tilt mechanism replacement in 20 to 35 minutes. The most time-consuming part is often removing the old mechanism from the gas lift cylinder, especially if it has been in place for many years. Applying WD-40 and waiting a few minutes before attempting removal makes the process much faster.
Do all office chairs use the same tension knob size?
No. Tension knobs vary in thread size, diameter, and design across different chair brands and models. The most common thread sizes are 3/8 inch and 5/16 inch, but this varies. Always measure the threaded rod or bring the old knob when sourcing a replacement to ensure the correct fit. Checking your chair’s brand and model number can also help you find the exact compatible part.

Hi, I’m Clara! I started SitSmartGuide to help people find chairs that truly support their comfort and health — without the guesswork. After years of dealing with back pain from bad seating, I became obsessed with testing, researching, and reviewing chairs so you don’t have to learn the hard way.