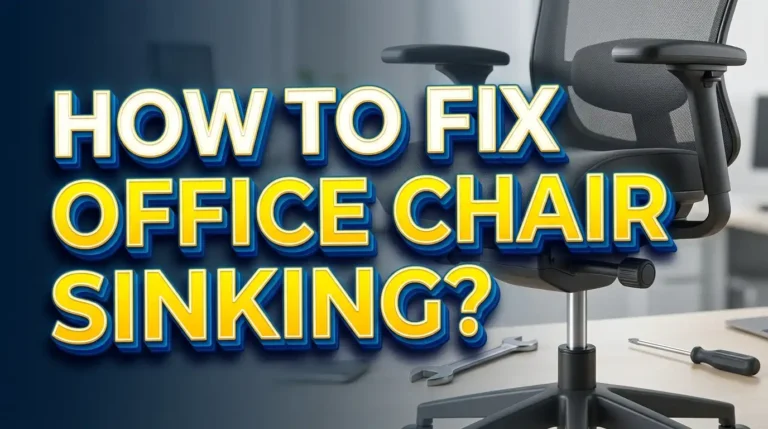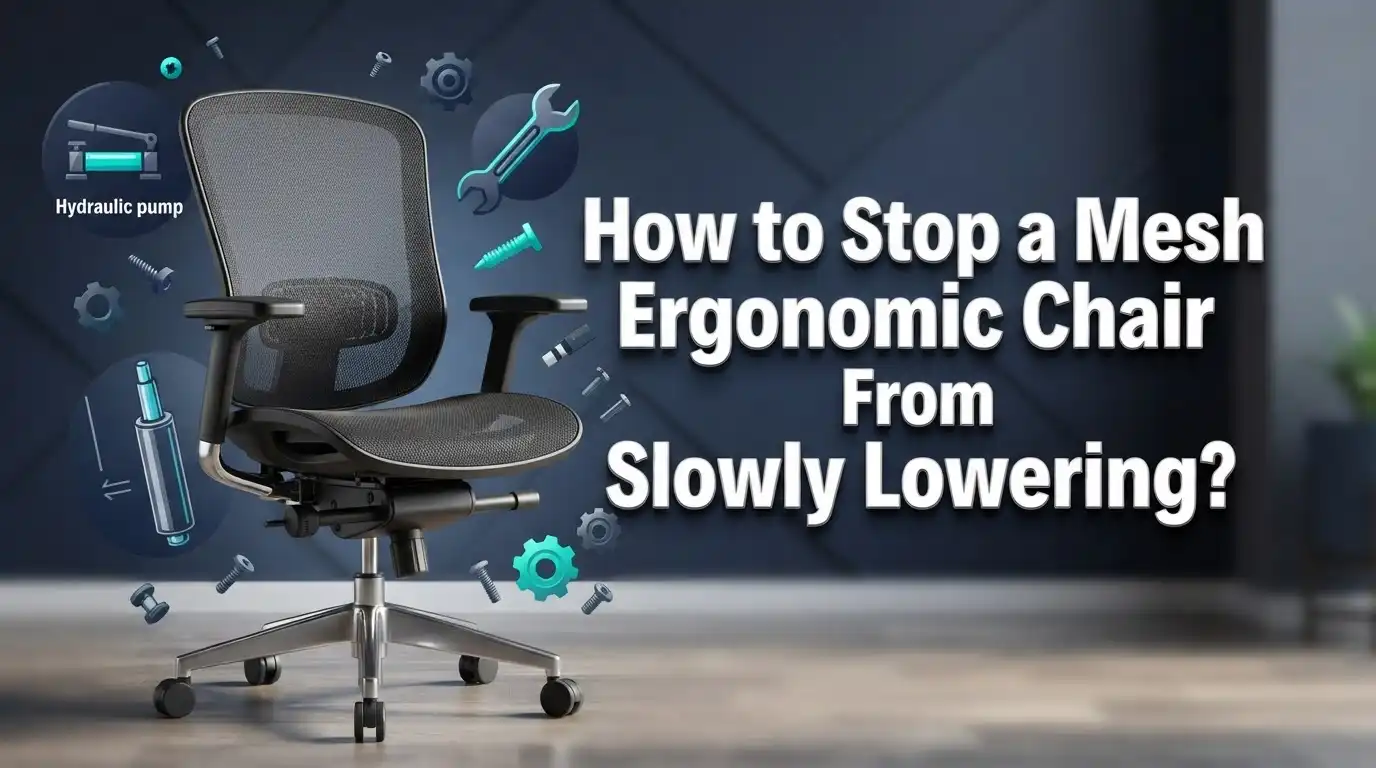
How to Stop a Mesh Ergonomic Chair From Slowly Lowering?
Does your mesh ergonomic chair sink lower every time you sit down? This annoying problem happens to almost every chair owner eventually.
The good news is you don’t need to buy a new chair right away. A slowly sinking chair usually means one thing: the gas cylinder inside is losing pressure.
The sinking feeling is frustrating, especially during work hours. You adjust the height, only to find yourself lower again within minutes.
This article will show you exactly how to fix this issue. We will cover simple temporary fixes you can try today. Think hose clamps, duct tape, and even PVC pipe tricks.
In a Nutshell
- The gas cylinder is the culprit. Once it wears out, your chair slowly sinks lower over time. This happens due to lost air pressure inside the cylinder.
- Temporary fixes work well. A hose clamp, duct tape, or PVC pipe wrapped around the cylinder can stop the sinking. These block the piston from moving down.
- Placement matters a lot. You must apply your fix at the exact height you want. Getting this wrong makes the fix useless.
- Testing is important. Always check chair mobility and desk fit after applying any restraint. Your chair should still move and function normally.
- Replacement is the permanent answer. Swapping out the gas cylinder costs much less than buying a new chair. This fixes the root problem for good.
- Avoid rushing to replace the whole chair. Simple fixes often solve this problem quickly. Try these steps before spending on a new chair.
Why Mesh Ergonomic Chairs Slowly Lower Over Time
Your mesh ergonomic chair slowly lowers because the gas cylinder inside the seat base loses pressure over time. This cylinder is a sealed tube filled with pressurized gas that holds your chair at a specific height.
Every time you sit down, the cylinder compresses slightly. When you stand up, it should push back to its original height. After months or years of use, the seal inside the cylinder weakens. Gas leaks out gradually, and the cylinder can no longer maintain full pressure.
The problem gets worse with heavy use. People who sit for eight hours daily will notice the sinking happen faster than occasional users. The cylinder valve degrades from constant pressure changes. Eventually, your chair drops lower and lower with each sitting session.
Humidity and temperature also affect gas pressure inside the cylinder. Warm environments cause the gas to expand slightly, while cold makes it contract. This repeated expansion and contraction stresses the internal seal over time.
Poor quality cylinders fail faster than premium ones. Budget chairs often have cheaper gas cylinders with weaker seals. These fail within one to two years of regular use. Better quality cylinders can last three to five years before significant pressure loss occurs.
The good news is this problem has solutions. You don’t need to buy a new chair immediately. Temporary fixes can stabilize your chair at a comfortable height. A permanent fix involves replacing just the gas cylinder, which costs far less than purchasing a new chair.
Understanding why this happens helps you choose the right repair method. Now you can decide between quick temporary solutions or investing in a long term fix that restores your chair to working like new.
Signs Your Gas Cylinder Is Failing
Your mesh ergonomic chair will show clear signs before the gas cylinder completely fails. Recognizing these warning signals helps you act before the problem gets worse.
The most obvious sign is continuous sinking. Your chair drops lower every single time you sit down. You start at your normal working height, but within minutes, you’re sitting much lower than before. This happens repeatedly throughout your day.
Another key indicator is slow height loss over weeks. You notice your chair feels lower than it did last month. The descent happens gradually, so you might not catch it immediately. One day you realize your desk feels too high for your chair.
Pay attention to resistance changes too. A healthy gas cylinder feels firm when you adjust the height. A failing cylinder feels mushy or loose. The lever becomes harder to push, or it doesn’t hold your position anymore.
Hissing sounds are also warning signs. You might hear air escaping from the base area. This noise means the cylinder is leaking gas pressure. The leak gets worse over time.
Your chair might also tilt unevenly. One side sits higher than the other. This suggests the cylinder is failing on one side only. The seat becomes uncomfortable and unstable.
Difficulty adjusting height is another red flag. The lever becomes stiff or unresponsive. You can’t raise the chair to your preferred level anymore. The adjustment mechanism fights against you.
These signs tell you the gas cylinder is weakening. You don’t need to panic or replace your entire chair. Simple fixes exist, and they work well. Understanding these warning signs helps you catch the problem early and choose your repair method wisely.
Tools and Materials You’ll Need
Before you start fixing your mesh ergonomic chair, gather the right tools and materials. Having everything ready makes the repair quick and easy.
You will need a hose clamp as your first option. This metal band tightens around the gas cylinder to stop downward movement. Make sure it fits snugly but not so tight that it damages the cylinder.
Duct tape works as a second choice. Wrap it around the outer cylinder tube at your desired chair height. Use multiple layers for better holding power. This temporary fix costs almost nothing.
PVC pipe offers another solution. Cut a piece lengthwise so it slides around the support piston. This creates a physical barrier preventing the chair from sinking further.
You should also have an adjustable wrench on hand. This helps you access the cylinder area and tighten clamps properly. A small wrench gives you better control in tight spaces.
Measuring tape is essential for marking your desired stopping point. Measure from the floor to your seat when positioned at the perfect height. This measurement guides where you place your clamp or tape.
Keep a marker or pen nearby. Use it to mark the exact spot on the cylinder where you want your restraint. Accurate marking prevents mistakes during installation.
Work gloves protect your hands from sharp edges and metal parts. Cylinders have rough surfaces that can cut skin.
Finally, have a chair or stool ready to sit on while working. You need to test the chair height during the repair process. This ensures your fix works before you finish the job.
Step-by-Step: Using a Hose Clamp to Stop Sinking
A hose clamp is a metal band with a screw mechanism that tightens around cylindrical objects. This simple tool stops your chair from sinking by restricting the gas cylinder’s movement.
Start by locating your gas cylinder. Most mesh ergonomic chairs have the cylinder hidden beneath the seat. You may need to tilt the chair or remove cushions to see it clearly. The cylinder looks like a metal tube running vertically from the base.
Next, adjust your chair to your ideal height. Sit in the chair and move the lever up or down until you reach the perfect position for your desk and body. This is the height you want to maintain permanently.
Now comes the critical step: place the hose clamp at the exact stopping point. Wrap the clamp around the cylinder at the height where you want it to stop sinking. The clamp should sit snugly but not so tight that it damages the metal.
Using your adjustable wrench, tighten the clamp gradually. Turn the screw mechanism clockwise. Tighten it enough to hold the cylinder in place, but avoid over tightening, which can dent or crack the cylinder.
Test your chair thoroughly. Sit down and lift up several times. The chair should stay at your chosen height. Check that your desk fit remains comfortable.
If the clamp feels loose after a few days, tighten it slightly more. This method works because the clamp physically blocks the piston from moving downward. The chair can still move up if you use the lever, but it won’t sink on its own.
This temporary solution keeps your chair functional while you decide on permanent repairs.
Step-by-Step: Duct Tape and PVC Pipe Methods
Duct tape and PVC pipe are two practical methods you can try to stop your mesh ergonomic chair from sinking. Both options cost very little and take only minutes to apply.
Duct Tape Method
Start by raising your chair to your preferred sitting height. Sit down and test the position to make sure it feels right for your desk work. Once you find the perfect spot, stand up and locate where the gas cylinder sits under your seat.
Wrap duct tape around the outer cylinder tube at the exact height where you want the chair to stop. Make the band tight and secure. Apply multiple layers if needed to create a stronger barrier. The tape acts as a physical blocker that prevents the cylinder from compressing further.
Test your chair by sitting down and attempting to lower it. The tape should catch and hold your seat in place. If it sinks more, add another layer of tape slightly lower on the cylinder.
PVC Pipe Method
Cut a piece of PVC pipe lengthwise so it opens like a sleeve. Wrap this sleeve around your gas cylinder support piston at your desired height. The rigid plastic creates a more durable stop than tape alone.
Secure the PVC pipe with zip ties or additional tape to keep it from sliding. This method works well because plastic resists wear better than duct tape over time.
Both methods are temporary solutions. They work best when applied precisely at your stopping point. If these fixes fail after several weeks, the gas cylinder likely needs replacement. That permanent fix is affordable and keeps your chair functional for years ahead.
Testing and Adjusting Your Fix for Comfort
After you apply your chosen fix, testing becomes your most important step. Sit in the chair and check if it holds your desired height. Push down on the seat with moderate pressure. The chair should stay in place without sinking.
Lift yourself up and sit back down several times. This action mimics your normal daily use. Watch for any gradual lowering over multiple cycles. A good fix prevents movement even after repeated sitting.
Adjust your desk and monitor position next. Your chair height affects how you align with your workspace. Make sure your arms rest at a 90 degree angle when typing. Your eyes should meet your screen at eye level. If the fixed height throws off your ergonomics, you may need to reposition your restraint slightly higher or lower.
Pay attention to comfort during this testing phase. A chair that doesn’t sink but feels uncomfortable wastes your effort. Sit for at least 15 to 20 minutes to notice any discomfort in your back, neck, or legs.
Check the cylinder restraint after one week of use. Sometimes clamps loosen or tape shifts slightly. Tighten any loose mechanisms before the problem returns.
If your fix fails, document what happened. Did the clamp slip? Did tape lose adhesion? This information helps you decide whether to try a different method or move toward a permanent solution like gas cylinder replacement.
Test your chair in different positions too. Recline slightly if your chair has that feature. Ensure the restraint works across your full range of motion. A successful fix keeps your chair stable throughout your entire workday.
Mistakes to Avoid When Restraining the Cylinder
When you try to stop your mesh chair from sinking, certain mistakes can ruin your fix. Understanding what to avoid saves you time and frustration.
Placing your restraint at the wrong height is the biggest error people make. You must set your chair to your exact desired sitting position before applying any clamp, tape, or PVC pipe. If you guess at the height or apply the restraint too high or too low, your fix won’t work properly. The restraint only stops the cylinder at the point where you place it.
Tightening clamps unevenly causes problems too. When you use a hose clamp, turn the screw mechanism gradually and steadily. Tightening too hard on one side can damage the cylinder or cause the clamp to slip. Uneven pressure means the restraint won’t hold your chair at the correct height.
Wrapping tape or PVC too loosely defeats the purpose of your repair. Your restraint must grip the cylinder firmly enough to prevent downward movement. Loose applications fail within days of regular use.
Ignoring the cylinder material leads to failure as well. Different cylinders have varying diameters and surface textures. A clamp that works on one cylinder might not fit another properly. Check your specific cylinder size before you choose your restraint method.
Skipping the testing phase is another common mistake. After applying your fix, sit in the chair repeatedly and try to lower it manually. Test at different angles and positions. This reveals whether your restraint actually works before you rely on it during your workday.
Troubleshooting Persistent Lowering Issues
When your mesh ergonomic chair keeps sinking, the gas cylinder inside is likely failing. This section helps you identify what’s really happening and fix it properly.
The gas cylinder is a sealed tube that holds pressurized gas. Over time, the seal breaks down. Air leaks out slowly, and your chair descends bit by bit. You might notice this happens especially after you sit down or after several weeks of use.
Before you try any fix, expose the gas cylinder. Most chairs have a base you can remove or flip over. Look underneath for a metal tube connected to the seat post. This is your target. Once you see it clearly, you understand exactly what needs restraining.
Set your chair to the height where you sit most comfortably. This is your stopping point. Mark this spot mentally or with a small piece of tape. Precision matters here because your restraint only works at the exact location you place it.
Common restraint options include hose clamps, duct tape, and PVC pipe. Each method works by creating friction against the cylinder. This friction stops the gas from escaping and prevents downward movement.
Test your fix immediately after applying it. Sit down normally, then stand up. Do this several times. Push down on the armrests to add extra pressure. Your chair should stay at the same height throughout these tests.
Document what happens during testing. Does your fix hold? Does the chair feel stable? Does it affect your ability to move the chair around your desk? These observations tell you whether your solution actually works for your situation.
Final Thoughts
A sinking mesh chair does not mean you need a new one. Simple tools like clamps, tape, or PVC pipe can solve the problem fast.
Your fix works by stopping the cylinder from sliding down inside the base. This gives you back a stable seat without spending much money.
Remember to place your restraint at the exact height you want. This step matters more than which material you choose.
Testing remains key after any repair. Sit down, stand up, and check your chair many times. This tells you if your fix will hold up over time.
If temporary fixes stop working well, think about replacing the gas cylinder itself. This option costs less than buying a whole new chair.
A permanent replacement solves the root cause of the sinking problem. Temporary fixes only manage the symptom for a while.
Some chairs sink due to normal wear after years of use. Others fail early because of poor manufacturing. Either way, you now have options to fix the issue yourself.
Take your time with each step. Rushing the process leads to poor results and wasted effort.
Small mistakes in placement or tightness can undo all your hard work. Slow down and check your work as you go.
Your chair should support you well through long work days. A stable seat height helps you stay comfortable and focused.
With the right fix, your mesh chair can serve you for many more years. You save money and avoid furniture waste too.
Try these methods today and enjoy a chair that stays put at your chosen height.
Frequently Asked Questions
Why does my mesh ergonomic chair keep sinking?
Your chair sinks because the gas cylinder inside the base is failing. This cylinder holds pressurized gas that supports your seat height. Over time, the seal weakens and gas leaks out slowly. Your chair gradually drops lower each time you sit down.
Can I fix a sinking chair without buying a new one?
Yes. You have several affordable options. A hose clamp wrapped around the cylinder stops downward movement. Duct tape bands work too. PVC pipe cut lengthwise and wrapped around the support piston also prevents sinking. These methods create friction that holds your chair at the height you want.
What’s the best way to apply a restraint to my chair?
First, expose the gas cylinder under your seat. Raise your chair to the exact height where you sit most comfortably. Then apply your chosen restraint (clamp, tape, or PVC) at that specific spot. Tightness matters. Make sure it’s snug but not so tight that it damages the cylinder. Test your chair by sitting and standing several times before relying on it.
Is replacing the gas cylinder a permanent solution?
Yes. A new gas cylinder fixes the root cause of the problem. Temporary fixes like clamps and tape manage the symptom for weeks or months. A replacement cylinder restores full functionality and gives you back smooth height adjustment. This option costs far less than buying a new chair.
How do I know if my fix is working?
Sit in your chair and stand up multiple times. Check if the height stays the same. Wait a few days and test again. If your seat height drops noticeably, your restraint may have slipped or loosened. Reposition it at your desired height and secure it more firmly.

Hi, I’m Clara! I started SitSmartGuide to help people find chairs that truly support their comfort and health — without the guesswork. After years of dealing with back pain from bad seating, I became obsessed with testing, researching, and reviewing chairs so you don’t have to learn the hard way.