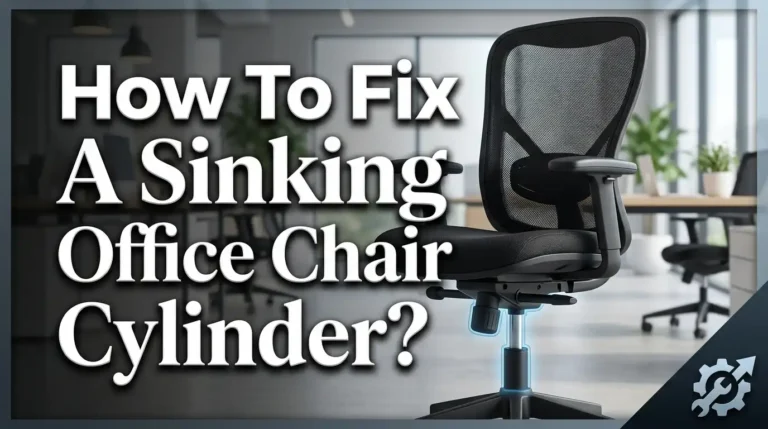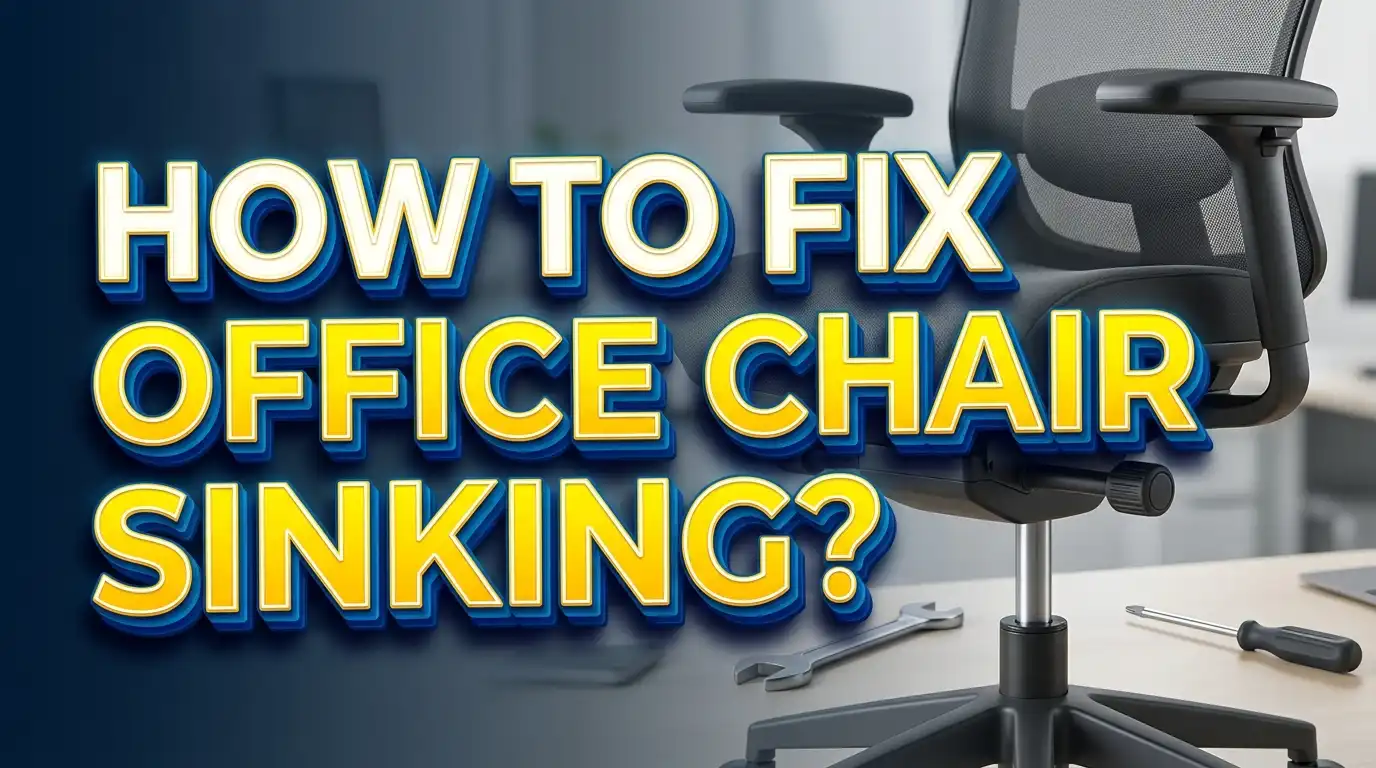
How to Fix an Office Chair That Keeps Sinking?
You sit down at your desk, adjust your office chair to the perfect height, and within minutes you’re practically sitting on the floor. Sound familiar? A sinking office chair is one of the most common and frustrating workspace problems. It ruins your posture, kills your productivity, and can lead to serious back and neck pain over time.
The good news is that you do not need to throw away your chair or spend hundreds of dollars on a replacement. Most sinking chair problems come down to one simple part: the gas cylinder. And there are several easy fixes you can do at home with basic tools and a few dollars worth of supplies.
In this guide, you will learn exactly why your chair keeps dropping and how to fix it using multiple tested methods. Whether you want a quick five minute patch or a permanent repair, there is a solution here for you. Let’s get your chair back to full height and keep it there.
Key Takeaways
- A sinking office chair is almost always caused by a failing gas cylinder. The nitrogen gas inside the cylinder leaks over time, and the cylinder loses its ability to hold your weight at a set height. This is normal wear and tear, especially after two to five years of daily use.
- The hose clamp and duct tape method is the fastest temporary fix. You can complete it in under ten minutes with supplies that cost less than five dollars. It works by creating a physical barrier that stops the cylinder from sliding down.
- The PVC pipe method offers a more stable and longer lasting temporary fix. A section of PVC pipe slipped over the gas cylinder locks the chair at one height. It is slightly more involved but gives a cleaner result.
- Replacing the gas cylinder is the only true permanent fix. New gas cylinders are affordable and widely available. The replacement process takes about 20 to 30 minutes with basic tools like a pipe wrench and rubber mallet.
- Ignoring a sinking chair can harm your health. Sitting too low forces poor posture, increases strain on your lower back, and can contribute to chronic neck and shoulder pain over time.
- Always check your chair’s weight capacity before attempting a fix. If you exceed the rated weight limit of the gas cylinder, even a new one will fail prematurely.
Why Does Your Office Chair Keep Sinking
The answer is almost always the gas cylinder, also called the pneumatic lift or gas lift. This is the metal tube that connects the seat to the wheeled base. Inside it, compressed nitrogen gas pushes a piston up and down to adjust the height of your chair.
Over time, the seals inside this cylinder wear out. Once the seals degrade, nitrogen gas slowly escapes. The cylinder can no longer maintain enough internal pressure to support your body weight at a fixed height. The result is that slow, annoying sink every time you sit down.
Several factors speed up this process. Heavy daily use, exceeding the chair’s weight capacity, and temperature extremes all contribute to faster seal wear. Cheap chairs with low quality cylinders tend to fail sooner than premium models. Most gas cylinders last between two and five years depending on usage and build quality.
It is worth noting that the height adjustment lever itself is rarely the problem. If you pull the lever and feel resistance through its normal range of motion, the lever mechanism is fine. The cylinder is the part that has failed.
How to Diagnose a Failing Gas Cylinder
Before you grab tools and start fixing, confirm that the gas cylinder is actually the problem. Stand next to your chair and raise it to its full height using the lever. Now sit down and observe what happens over the next 30 seconds to two minutes.
If the chair slowly drops under your weight, the gas cylinder has lost its seal. If the chair drops instantly to the lowest position the moment you sit, the cylinder is completely dead. Either way, the diagnosis is the same: the gas cylinder can no longer hold pressure.
There is one other thing to check. Look at the lever mechanism under the seat. Make sure the lever arm is actually pressing against the button on top of the cylinder when you release it. Sometimes the lever bends or shifts out of alignment, and the button never fully engages. A quick visual inspection can rule this out.
If the lever is fine and the chair still sinks, you have confirmed a cylinder failure. Pick one of the fix methods below based on how much time and effort you want to invest.
The Health Risks of Sitting in a Sinking Chair
You might think a sinking chair is just a minor annoyance. But sitting at the wrong height for hours every day creates real health problems. Your body pays the price, often slowly enough that you don’t notice until the damage is done.
A chair that sits too low forces your knees above your hips. This position tilts your pelvis backward and flattens the natural curve of your lower spine. Your lumbar muscles have to work overtime to compensate, leading to fatigue, stiffness, and chronic lower back pain. Over weeks and months, this can contribute to disc compression and even nerve irritation.
Your neck and shoulders suffer too. A low seat means your desk and monitor are now too high relative to your eyes and arms. You end up shrugging your shoulders upward and craning your neck to see the screen. This creates tension headaches, shoulder knots, and upper back stiffness.
Poor circulation is another hidden consequence. When your thighs press hard against the seat edge due to incorrect height, blood flow to your lower legs decreases. This can cause numbness, tingling, and swelling in your feet and ankles over a full workday. Fix your sinking chair sooner rather than later to protect your body.
Method 1: The Hose Clamp and Duct Tape Fix
This is the fastest and cheapest fix you can do right now. You only need a metal hose clamp (about 3/4 inch size), a roll of duct tape, and a screwdriver. Total cost is usually under five dollars, and the entire process takes less than ten minutes.
Step 1: Sit in your chair and adjust it to the height you find most comfortable. Stand up carefully without touching the lever.
Step 2: Slide the plastic dust cover on the cylinder up or out of the way. This reveals the shiny metal cylinder shaft underneath.
Step 3: Wrap several layers of duct tape around the exposed cylinder right below the point where it enters the seat mechanism. This creates a grip surface so the clamp does not slide.
Step 4: Place the metal hose clamp directly over the taped area. Tighten the clamp firmly with a screwdriver until it grips the cylinder and does not move.
Step 5: Sit in the chair and test it. The clamp now acts as a physical collar that blocks the cylinder from retracting into the base.
Pros: Extremely fast, very cheap, requires no special tools, does not damage the chair, and is fully reversible. You can adjust the height later by loosening and repositioning the clamp.
Cons: The clamp may slip over time, especially under heavier loads. The duct tape can degrade and get sticky. It looks somewhat unattractive. This is a temporary fix that may need periodic re tightening. It is not ideal for chairs used eight or more hours daily.
Method 2: The PVC Pipe Fix
The PVC pipe method gives you a cleaner and more stable result than the hose clamp approach. You will need a section of PVC pipe, a saw or pipe cutter, and optionally a utility knife. The cost is usually under ten dollars.
Step 1: Remove the plastic dust cover from the cylinder to expose the metal shaft. Measure the length of exposed cylinder when the chair is set to your desired height.
Step 2: Cut a piece of PVC pipe to that exact length. The pipe needs to fit snugly around the cylinder, so choose a diameter that is just slightly larger than the cylinder shaft. Most office chair cylinders are about 28mm in diameter, so a 1 to 1.25 inch inner diameter PVC pipe usually works.
Step 3: Cut a slit along the entire length of the PVC pipe using a utility knife or saw. This allows you to open the pipe and slip it over the cylinder without disassembling the chair.
Step 4: Spread the slit open, wrap the PVC piece around the cylinder, and let it snap closed. The pipe should sit between the base and the seat mechanism, acting as a solid spacer.
Step 5: Sit in the chair and confirm it holds your weight at the correct height. Adjust the pipe position if needed.
Pros: More stable than the hose clamp method. Looks cleaner and lasts longer. Very affordable. Does not require removing the cylinder.
Cons: The chair height becomes fixed and non adjustable. Cutting PVC pipe requires a saw, which not everyone has on hand. If the measurement is off, you will need to recut the pipe. This is still a temporary fix rather than a true repair of the gas cylinder.
Method 3: The Duct Tape Only Fix
If you have absolutely nothing except a roll of duct tape, you can still stop the sinking temporarily. This is the most basic method and works best as an emergency patch until you can do a better repair.
Step 1: Set the chair to your preferred height. Stand up and slide the plastic cover up to reveal the metal cylinder.
Step 2: Wrap duct tape tightly around the cylinder in thick layers at the point just below the seat mechanism. Build up enough tape so it creates a thick ring or bulge on the cylinder.
Step 3: Continue wrapping until the tape collar is thick enough that the cylinder cannot slide past it. You will typically need 15 to 25 wraps depending on the gap.
Step 4: Test the chair by sitting down. If it still sinks, add more tape layers. The goal is to create a friction based barrier that the cylinder cannot push through under your weight.
Pros: Costs almost nothing. Requires zero tools. Can be done in five minutes. Completely reversible with no damage to the chair.
Cons: This is the least reliable method. Duct tape compresses and stretches under sustained pressure. The fix may last a few days to a few weeks at most. Heat from daily use can cause the adhesive to soften and slip. The tape leaves sticky residue on the cylinder. This method is purely a stopgap and should not be considered a real solution.
Method 4: Replacing the Gas Cylinder
This is the only permanent fix for a sinking office chair. A new gas cylinder restores full height adjustment and gives your chair another two to five years of reliable use. Replacement cylinders are widely available at office supply stores and online retailers.
Step 1: Identify the correct cylinder for your chair. Measure the length and diameter of your current cylinder. Most standard office chairs use a universal size, but heavier duty chairs may need specific models. Check your chair manufacturer’s website for part numbers if you are unsure.
Step 2: Flip the chair upside down. Remove the wheeled base by pulling it away from the cylinder. You may need to tap around the connection point with a rubber mallet. Spray some penetrating lubricant (like WD 40) around the joint if it is stuck.
Step 3: Remove the old cylinder from the seat mechanism. Use a pipe wrench to grip the top of the cylinder firmly and twist. This step sometimes requires significant force, especially if the cylinder has been in place for years. Tapping around the mechanism with a mallet while twisting helps break the friction fit.
Step 4: Insert the new cylinder into the seat mechanism. It should slide in with a firm push. Reattach the base by pressing it onto the bottom of the new cylinder.
Step 5: Flip the chair upright, sit down, and test the height adjustment lever.
Pros: This is a permanent fix that restores full functionality. You get adjustable height back. New cylinders are affordable, typically ranging from 15 to 40 dollars. The chair feels like new again.
Cons: Requires more tools (pipe wrench, rubber mallet, lubricant). Removing the old cylinder can be physically demanding. The process takes 20 to 45 minutes. Some cylinders are very stubborn and may require a cylinder removal tool.
Tools You Will Need for Each Fix
Having the right tools ready before you start saves time and frustration. Here is a breakdown of what each method requires so you can choose the repair that matches what you already have at home.
The hose clamp method needs a 3/4 inch metal hose clamp, a roll of duct tape, and a flathead or Phillips screwdriver. That’s it. Most households already have tape and a screwdriver, so you may only need to buy the clamp.
The PVC pipe method requires a section of PVC pipe (1 to 1.25 inch inner diameter), a hacksaw or PVC pipe cutter, and a utility knife. A measuring tape is also helpful to get the cylinder length right. You can find all of these at any hardware store.
The duct tape method needs only duct tape. Seriously, that is the entire tool list. This simplicity is what makes it a popular emergency fix.
The cylinder replacement method calls for a pipe wrench, a rubber mallet, penetrating lubricant like WD 40, and of course the new cylinder itself. Some people also use a cylinder removal tool, which is a metal bracket that makes pulling the old cylinder out much easier. If you do not own a pipe wrench, this is the most useful single tool to buy for this job.
How to Choose the Right Replacement Gas Cylinder
Buying the wrong cylinder means another trip to the store and more wasted time. Get it right the first time by checking these three measurements before you order.
First, measure the total length of your current cylinder. This is the distance from the very bottom of the cylinder (where it meets the base) to the very top (where it meets the seat mechanism). Standard office chair cylinders typically range from 9 to 12 inches in total length.
Second, check the diameter of the cylinder shaft. The vast majority of office chairs use a standard diameter, but some executive or specialty chairs may differ. Bring the old cylinder with you to the hardware store if possible so you can compare directly.
Third, confirm the weight rating. Gas cylinders are rated for specific weight capacities. A standard cylinder usually supports up to 250 pounds. If you weigh more, look for a heavy duty cylinder rated for 300 or 350 pounds. Using a cylinder with too low a weight rating will cause it to fail prematurely.
Most replacement cylinders sold as “universal” will fit the majority of standard office chairs. They use a tapered cone connection at both ends, which is an industry standard design. However, some brands like Herman Miller or Steelcase may use proprietary sizing. Check the manufacturer specifications before purchasing to avoid compatibility issues.
How to Prevent Your Office Chair from Sinking Again
Fixing the problem is only half the battle. Take these steps to extend the life of your new or repaired gas cylinder and avoid dealing with the same issue six months from now.
Stay within the weight limit. Every gas cylinder has a maximum weight rating. Sitting on the edge, leaning heavily, or placing extra weight on the chair accelerates seal wear. Know your chair’s capacity and respect it.
Avoid constantly adjusting the height. Each adjustment cycle puts stress on the internal seals. Set your chair to a comfortable height and leave it there as much as possible. If you share a chair with someone of a different height, consider getting separate chairs instead.
Keep the cylinder clean. Dust, dirt, and pet hair can work their way into the seal area and cause premature failure. Wipe down the exposed cylinder shaft every few months with a clean cloth. Avoid using harsh chemical cleaners that could degrade the seals.
Protect the chair from extreme temperatures. Very hot or very cold environments cause the gas inside the cylinder to expand or contract. This puts extra stress on the seals. If you store your chair in a garage or unheated room during winter, the cylinder may fail faster than one kept at room temperature.
When to Replace the Entire Chair Instead of Just the Cylinder
Sometimes a sinking seat is just the beginning of a chair’s decline. It does not always make sense to repair a chair that has multiple problems. Knowing when to let go can save you money and frustration in the long run.
If the chair frame is cracked, bent, or wobbly, replacing just the cylinder will not solve the real issue. Structural damage compromises safety. A weakened base or cracked seat pan could break under load, causing a fall and potential injury.
Check the condition of the seat foam and upholstery. If the padding is flat and compressed after years of use, the chair will remain uncomfortable even with a perfectly working cylinder. A chair with dead foam provides no cushioning support and can create pressure points that lead to discomfort and circulation issues.
Look at the armrests, backrest recline mechanism, and casters too. If multiple components are broken or worn out, the cost of repairing everything piece by piece may approach or exceed the cost of a new chair. As a general rule, if the repair cost exceeds 50 percent of a comparable new chair’s price, replacing the whole unit is the smarter choice.
However, if the chair is a premium ergonomic model that originally cost several hundred dollars, a simple cylinder replacement is almost always worthwhile. High quality chairs are built to last 10 to 15 years, and the cylinder is a standard wear item designed to be swapped out.
Common Mistakes to Avoid When Fixing a Sinking Chair
Even simple repairs can go wrong if you skip important steps. Avoid these common errors to save yourself time and potential damage to your chair.
Do not use a regular hammer directly on the gas cylinder. The cylinder is a pressurized container. Striking it with a metal hammer can dent or crack the outer shell. Always use a rubber mallet when tapping components loose during disassembly.
Do not ignore the plastic dust cover. Many people try to apply hose clamps or tape over the plastic cover instead of removing it first. The cover is loose fitting and will just slide, making your fix useless. Always push the cover out of the way to access the bare metal cylinder before applying any fix.
Do not overtighten the hose clamp to the point where it deforms the cylinder. A firm grip is all you need. Crushing the cylinder wall can cause an immediate and complete failure of the gas seal.
Do not assume all replacement cylinders are the same. Even though many are marketed as universal, height ranges and weight capacities vary. Buying a cylinder that is too short will leave your chair uncomfortably low, and one that is too tall will make your chair too high.
Finally, do not skip the lubricant when replacing a cylinder. The old cylinder is often wedged in tight after years of use. Trying to force it out without lubrication can damage the seat mechanism or the base, creating a much bigger problem than you started with.
How Much Does It Cost to Fix a Sinking Office Chair
One of the best things about this repair is that it is extremely budget friendly regardless of which method you choose. Here is a realistic cost breakdown so you know what to expect.
The duct tape method costs essentially nothing if you already have tape at home. Even buying a new roll, you are looking at about two to four dollars. This is the lowest cost option by far.
The hose clamp and tape method costs about three to six dollars total. A hose clamp is usually under two dollars, and you will use a small amount of duct tape for the grip surface. Most screwdrivers are already in your toolbox.
The PVC pipe method runs about five to ten dollars. A short section of PVC pipe is inexpensive, and a utility knife or hacksaw handles the cutting. If you need to buy a hacksaw, add another eight to twelve dollars.
The full cylinder replacement costs between 15 and 40 dollars for the cylinder itself. If you do not own a pipe wrench, expect to pay 10 to 20 dollars for a basic one. Total cost for a permanent fix with new tools is typically 25 to 60 dollars. Compare that to buying a new office chair for 150 to 500 dollars and the savings are obvious.
Hiring a professional to do the repair is another option. Office furniture repair services typically charge 50 to 100 dollars including parts and labor. This makes sense if you are not comfortable with DIY work or if the cylinder is extremely stubborn to remove.
Frequently Asked Questions
Why does my office chair sink even though it is brand new?
A brand new chair that sinks likely has a defective gas cylinder from the factory. This is uncommon but it does happen, especially with budget chairs. Contact the manufacturer or retailer for a warranty replacement. Most new chairs come with at least a one year warranty that covers defective parts. Do not attempt a DIY fix on a new chair, as this may void the warranty.
Can I use WD 40 to fix a sinking office chair?
No. WD 40 is a lubricant and penetrating oil, not a seal repair product. It cannot restore the internal seals of a gas cylinder. However, WD 40 is very useful during a cylinder replacement. Spray it around the connection points to loosen a stuck cylinder before removal. It makes the disassembly process much easier and reduces the risk of damaging other chair components.
How long does the hose clamp fix last?
The hose clamp method typically lasts several weeks to several months depending on your weight and how often you move in the chair. Check the clamp tightness every couple of weeks and re tighten it if the chair starts sinking again. For a more permanent solution, consider replacing the gas cylinder entirely.
Is it safe to sit on an office chair with a broken gas cylinder?
It is not dangerous in the way most people fear. Modern gas cylinders are filled with nitrogen, not flammable gas, and they do not explode from normal wear. However, sitting on a chair stuck at the wrong height creates ergonomic problems. You risk developing back pain, neck strain, and poor circulation from sustained bad posture. Fix the chair or adjust your desk height to compensate.
Can I fix the gas cylinder itself instead of replacing it?
Unfortunately, no. Gas cylinders are sealed units and cannot be refilled or resealed at home. The internal components are precision manufactured and require factory equipment to service. Once the seals fail, the entire cylinder needs to be swapped out. The good news is that replacement cylinders are inexpensive and widely available, making this a straightforward repair.
How do I know what size replacement cylinder to buy?
Measure three things: the total length of the current cylinder, the diameter of the shaft, and the stroke length (the range of height adjustment). Most standard office chairs use a cylinder with a 2 inch diameter base and a 1.1 inch shaft. Bring the old cylinder to the store if possible. Universal cylinders with Class 3 or Class 4 ratings fit the majority of standard office chairs on the market.
Hi, I’m Clara! I started SitSmartGuide to help people find chairs that truly support their comfort and health — without the guesswork. After years of dealing with back pain from bad seating, I became obsessed with testing, researching, and reviewing chairs so you don’t have to learn the hard way.