How To Customize An Ergonomic Chair For Personal Fit?
You just spent a good amount of money on an ergonomic chair. You sit down, adjust one or two levers, and expect instant comfort. But a few hours later, your lower back aches, your shoulders feel tight, and your neck is stiff. Sound familiar?
Here is the truth most people miss. An ergonomic chair does not fix your posture by default. It only works when you customize every adjustment to match your unique body. The average person uses less than half of the adjustable features on their chair. That means most people sit in an expensive chair that still causes them pain.
This guide will walk you through every single adjustment on your ergonomic chair. You will learn how to set the seat height, seat depth, lumbar support, armrests, headrest, tilt tension, and more. Each section gives you clear, actionable steps you can follow right now.
Key Takeaways
- Seat height is the foundation of every other adjustment. Set it so your feet are flat on the floor and your knees form a 90 degree angle. If your feet dangle, every other setting will fail to support your body properly.
- Lumbar support must match the natural curve of your lower spine. Position it at the small of your back, roughly at belt level. This single adjustment prevents the most common cause of lower back pain from sitting.
- Armrests should let your shoulders stay relaxed and drop naturally. Set them so your elbows rest at a 90 degree angle without lifting your shoulders. Wrong armrest height causes neck tension and shoulder knots.
- Seat depth matters more than most people realize. You need a two to three finger gap between the front edge of the seat and the back of your knees. Too deep and it cuts off circulation. Too shallow and it leaves your thighs unsupported.
- Tilt tension and recline angle reduce spinal compression. A slight recline of 100 to 110 degrees distributes your body weight more evenly and takes pressure off your spinal discs.
- Your chair setup is not a one time task. Revisit your adjustments every few weeks, especially if your body weight, desk height, or daily tasks change. Small tweaks make a big difference over time.
Why A Generic Setup Fails Most People
Every human body is different. Your torso length, leg length, shoulder width, and weight distribution are unique to you. A chair set to factory defaults assumes an “average” body. According to ergonomic research from the GSA, there is no such thing as an average person. Factory settings leave most users poorly supported.
A chair that sits too high forces your feet off the floor. This makes you slide forward and lose back support. A chair that sits too low pushes your knees above your hips. This tilts your pelvis backward and forces your spine into a C shaped slouch. Both situations cause pain and fatigue within hours.
The real problem is that most people never learn how to adjust their chair. They sit down, pump the height lever once or twice, and call it done. They ignore the lumbar dial, the seat slider, and the tilt lock. This turns a $500 chair into an overpriced stool. The solution is simple: learn what each adjustment does and set it for your body.
How To Set The Correct Seat Height
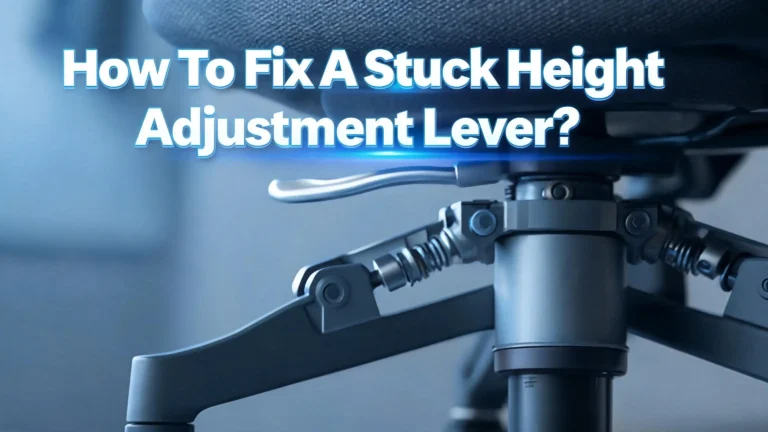
Seat height is the single most important starting point. Every other adjustment depends on getting this one right. Stand in front of your chair and adjust the pneumatic lever until the highest point of the seat pan sits just below your kneecap.
Now sit down. Your feet should rest flat on the floor. Your thighs should be roughly parallel to the ground. Your knees should form an angle close to 90 degrees. If your knees point upward, the seat is too low. If your feet dangle or rest on your toes, the seat is too high.
Check your relationship to your desk after setting the height. Your elbows should be at the same height as your keyboard or work surface. If your desk is too high and you must raise the chair to compensate, your feet may leave the floor. In that case, you need a footrest to fill the gap. A footrest keeps your legs stable and prevents you from sliding forward. This small addition makes a major difference for shorter individuals.
How To Adjust Seat Depth For Proper Thigh Support
Seat depth is one of the most overlooked adjustments. Many chairs have a seat slider that moves the seat pan forward or backward. This feature controls how much of your thigh rests on the seat surface.
Sit all the way back so your lower back presses firmly against the backrest. Now check the space between the front edge of the seat and the back of your knees. You should fit two to three fingers in that gap. This equals roughly 5 centimeters or 2 inches.
If the seat pan extends too far forward, it presses into the back of your knees. This restricts blood flow to your lower legs and causes numbness and tingling. If the seat pan is too short, your thighs hang off the edge and get insufficient support. This forces your hip flexors to work harder and increases pressure on your sit bones.
Taller people generally need a deeper seat. Shorter people need a shallower one. If your chair lacks a seat depth slider, you can use a lumbar cushion placed behind your back. This effectively moves your body forward on the seat and shortens the effective depth.
How To Position Lumbar Support Correctly
Your lower spine has a natural inward curve called the lumbar lordosis. Good lumbar support maintains this curve while you sit. Without it, your spine flattens and you slouch into that painful C shape.
Find the small of your back. This is the area just above your belt line where your spine curves inward. Your lumbar support should sit right at this spot. Most ergonomic chairs let you adjust lumbar height and depth. Move the support up or down until it nestles into that natural curve.
Next, adjust the depth or firmness. The support should feel firm enough to maintain your curve but not so aggressive that it pushes you forward. You want gentle, consistent pressure. If the lumbar feels like it is poking you, reduce the depth. If you still slouch despite the support being in place, increase the depth slightly.
Some chairs have inflatable lumbar bladders. Pump these up slowly and stop as soon as you feel your spine settle into its natural S shape. Others use a tension knob or a sliding mechanism. Regardless of the type, the goal is the same: keep your lower spine in a neutral, supported position throughout the day.
How To Set Armrest Height And Width
Armrests play a critical role in reducing strain on your neck, shoulders, and upper back. When set wrong, they cause more harm than good. The goal is to support your forearms without lifting your shoulders.
Sit in your chair with your arms hanging loosely at your sides. Bend your elbows to a 90 degree angle. Now raise or lower the armrests until they just barely touch the underside of your forearms. Your shoulders should remain completely relaxed and dropped. If the armrests push your shoulders upward, they are too high. Lower them immediately.
If the armrests are too low, your arms hang unsupported. This forces your neck and shoulder muscles to carry the weight of your arms all day. That leads to tension headaches and shoulder knots.
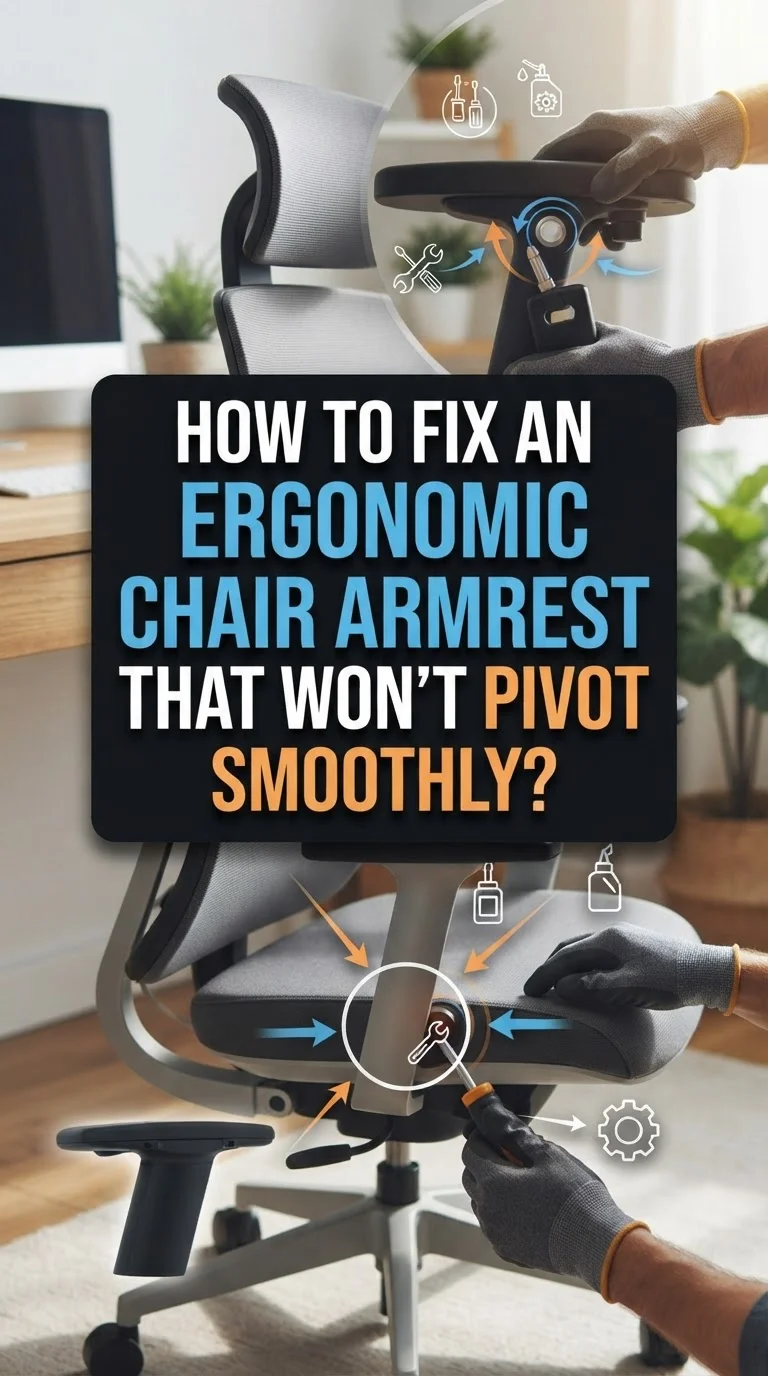
Width adjustment is equally important. If your chair offers lateral armrest adjustment, set the pads so they align with the width of your torso. Arms that splay outward cause shoulder strain. Arms forced too close together restrict natural movement. The sweet spot keeps your elbows directly below your shoulders. Some chairs also allow armrest pivot, which angles the pads inward for typing or outward for using a mouse.
How To Adjust The Backrest Angle And Recline
Sitting perfectly upright at 90 degrees is not ideal for your spine. Research shows that a slight recline of 100 to 110 degrees reduces pressure on your spinal discs. This position distributes your weight between the seat and the backrest more evenly.
Most ergonomic chairs have a recline lock that lets you set the backrest at a fixed angle. Unlock the recline mechanism and lean back until you feel your weight shift partially to the backrest. Lock it in place at that angle. You should feel supported without straining to stay upright.
Avoid reclining too far back for desk work. A steep recline moves your eyes away from your monitor and forces you to crane your neck forward. This creates the exact “tech neck” problem you want to avoid. Save deep recline angles for reading, phone calls, or brief rest periods.
Some chairs offer a synchro tilt mechanism. This means the seat and backrest recline together at a coordinated ratio. This keeps your thighs and torso in a comfortable open angle throughout the recline range. If your chair has synchro tilt, use it. It provides the most natural movement pattern.
How To Fine Tune Tilt Tension For Your Body Weight
Tilt tension controls how much force you need to recline the backrest. This setting is personal and depends directly on your body weight. A chair that is too stiff to recline keeps you stuck in one position. A chair that reclines too easily makes you feel like you are falling backward.
Locate the tilt tension knob, usually found under the seat. Turn it clockwise to increase resistance and counterclockwise to decrease it. Sit in the chair and gently lean back. The backrest should move with moderate effort. You should be able to recline smoothly without pushing hard, but you should also feel enough support to stay in any reclined position comfortably.
Lighter individuals often need to reduce tilt tension significantly. Factory settings are usually calibrated for a person weighing around 150 to 170 pounds. If you weigh less, the default tension may feel like a locked wall. If you weigh more, the chair may recline too freely and feel unstable.
Test the tension by leaning back and releasing your effort. The backrest should gently push you back to an upright or slightly reclined position. Adjust in small increments until the resistance feels natural and effortless.
How To Adjust The Headrest For Neck Support
Not every ergonomic chair includes a headrest, but if yours does, proper adjustment protects your cervical spine. A misaligned headrest can actually make neck pain worse.
The headrest should support the back of your head, not your neck. Sit upright with your back against the backrest. Adjust the headrest height until the curved pad aligns with the base of your skull. This is the occipital ridge, the bony area where your skull meets your neck.
If the headrest sits too low, it pushes your neck forward. This creates the same forward head posture that causes tech neck. If it sits too high, it tilts your chin down and compresses the front of your throat.
Many headrests also offer angle adjustment. Tilt the headrest so it cradles the back of your head at a comfortable angle. You should be able to rest your head lightly against it without straining your neck in any direction. The headrest is not meant to hold all the weight of your head during active work. It serves as a resting surface for moments of relaxation and a gentle guide to keep your head aligned with your spine.
How To Customize Your Chair For A Tall Body
If you stand over 6 feet tall, standard ergonomic chairs often fall short. The seat pan may be too shallow, the backrest too short, and the armrests too low. You need to make specific adjustments.
Raise the seat height higher than average so your thighs stay parallel to the floor. This may push your knees above the standard 90 degree angle at a normal desk. If your desk cannot accommodate your longer legs underneath, consider a higher desk or an adjustable height desk.
Slide the seat pan as deep as it goes. Tall people need maximum seat depth to support their longer thighs. Without this, excess pressure concentrates on your sit bones and causes discomfort within an hour. If the seat slider does not extend enough, look for a chair model with a deeper seat pan option.
Move the lumbar support higher. Taller individuals have a higher natural lumbar curve. The support needs to reach this spot to be effective. Raise the backrest or lumbar pad until it fits the curve above your belt line. Similarly, adjust the headrest to its highest position so it aligns with your skull rather than pressing against your upper back.
How To Customize Your Chair For A Shorter Body
People under 5 feet 4 inches face the opposite challenge. Most chairs are too big. The seat sits too high, the seat pan is too deep, and the lumbar support misses the right spot.
Lower the seat height to its minimum setting. Your feet must rest flat on the floor. If the lowest setting still leaves your feet dangling, use a footrest. A footrest restores the stable base your legs need. Choose one that is wide enough for both feet and adjustable in height and angle.
Slide the seat pan forward to shorten the effective depth. The goal is to maintain that two to three finger gap behind your knees while your back stays firmly against the backrest. If the seat slider is not enough, add a lumbar cushion behind your back. This pushes your body forward and reduces the gap between you and the seat edge.
Lower the lumbar support as much as possible. Shorter torsos have a lower lumbar curve, so the support pad needs to sit lower on the backrest. Also lower the armrests until they match your 90 degree elbow angle without elevating your shoulders. If the armrests cannot go low enough, consider removing them entirely or replacing them with aftermarket pads.
How To Use Aftermarket Accessories To Improve Fit
Sometimes your chair does not have enough built in adjustability. Aftermarket accessories bridge the gap between what your chair offers and what your body needs.
A memory foam seat cushion adds comfort and changes the effective seat height slightly. Choose one with a contoured surface that supports your sit bones and relieves tailbone pressure. This is especially useful if your chair has a flat, hard seat pan.
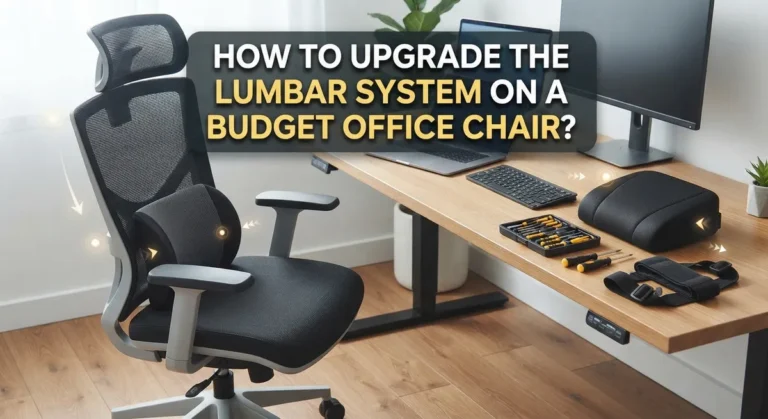
An external lumbar pillow gives you adjustable support even on chairs with fixed backrests. Look for a pillow that straps to the backrest so it does not slide out of position. Adjust its placement until it fits the curve of your lower spine. Inflatable options let you fine tune the firmness.
A footrest solves height mismatches between your chair and desk. An ergonomic footrest with an adjustable angle lets you change the tilt to find your most comfortable leg position. Some footrests also rock, which encourages subtle leg movement and improves circulation.
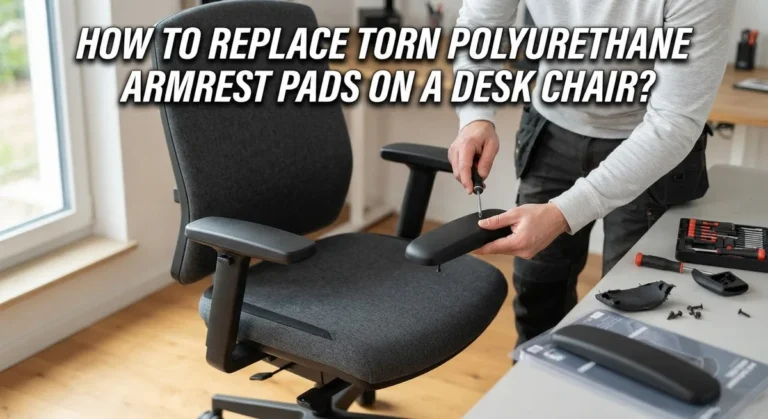
Armrest pads made of memory foam or gel cushion hard plastic surfaces and add a small amount of width or height. These are cheap and easy to install. They can transform uncomfortable armrests into supportive surfaces without replacing the entire chair.
Common Mistakes To Avoid During Chair Customization
Even with good intentions, people make errors that undermine their setup. Knowing these mistakes helps you avoid them.
Setting the chair once and never revisiting it is the most common mistake. Your body changes. Your tasks change. Your desk setup may change. Check your adjustments every few weeks and make small tweaks as needed. A setting that felt great a month ago might need a minor update today.
Ignoring the tilt mechanism is another frequent error. Many people lock their backrest upright and never touch the tilt features. This forces you into a static position that increases spinal compression over time. Use the recline and tilt functions to vary your posture throughout the day.
Setting armrests too high is a widespread issue. People think higher armrests provide more support, but they actually push the shoulders upward and create chronic tension. Lower them until your shoulders drop completely.
Skipping the seat depth adjustment is also common. Many users do not realize the seat slides forward and backward. They sit with the full seat pan extending past their knees, cutting off circulation and causing leg discomfort. Always check seat depth after setting seat height.
How To Test Your Chair Setup For Comfort And Alignment
After making all your adjustments, run a quick checklist to verify everything works together.
Sit in the chair and place your feet flat on the floor. Your knees should bend at 90 degrees. There should be a two to three finger gap between the seat edge and the back of your knees. Your lower back should feel supported by the lumbar pad without being pushed forward.
Now relax your shoulders completely. Your arms should rest on the armrests without your shoulders rising. Your elbows should form a 90 degree angle. Your forearms should be roughly parallel to the floor and align with your keyboard or desk surface.
Look straight ahead at your monitor. The top of the screen should be at or slightly below your eye level. You should not need to tilt your head up or down or lean forward. If you find yourself craning your neck, adjust your monitor height rather than your chair.
Finally, lean back gently into the recline. The chair should move smoothly and support you. You should feel balanced, not like you are tipping over. If any part of this checklist does not feel right, go back to the relevant adjustment and fine tune it. Comfort during this test predicts comfort during a full workday.
How Often Should You Readjust Your Ergonomic Chair
Your chair is not a set it and forget it tool. Your body, habits, and work environment shift over time. Regular readjustment keeps your setup effective.
Check your chair settings every two to four weeks. Pay attention to any new aches or stiffness. If your lower back starts hurting, your lumbar support may have shifted. If your shoulders feel tense, your armrests might have dropped or your desk height might have changed.
Seasonal changes also affect your setup. In winter, you might wear thicker clothing or shoes with higher soles. These small changes alter how you sit in the chair and may require minor height or depth adjustments.
Weight changes of even 5 to 10 pounds can affect tilt tension and seat comfort. If you gain or lose weight, revisit the tilt tension knob and recline settings. A chair that felt perfectly balanced at one weight may feel too stiff or too loose at another.
Any time you move desks, change monitors, or switch between a laptop and a desktop, reset your chair from the beginning. Start with seat height, then seat depth, lumbar, armrests, tilt, and headrest. This full reset takes only five minutes and prevents weeks of unnecessary discomfort.
Frequently Asked Questions
How do I know if my ergonomic chair is the right size for me?
Sit in the chair with your back fully against the backrest. Your feet should rest flat on the floor without effort. You should have a two to three finger gap behind your knees. The lumbar support should align with the curve of your lower back. If any of these checkpoints fail, the chair may be too large or too small for your body. Consider aftermarket accessories to compensate or look for a chair model that fits your height and weight range.
Can I use a pillow instead of built in lumbar support?
Yes, an external lumbar pillow works well for chairs with weak or non adjustable lumbar support. Choose a pillow that holds its shape and attaches to the backrest with a strap. Position it at the small of your back, just above your belt line. Inflatable pillows are especially useful because they let you control the firmness. Replace the pillow every six to twelve months as the material compresses and loses support.
Should I remove the armrests if they do not adjust enough?
Removing armrests is a valid option if they cause more harm than good. Armrests that are too high and cannot be lowered will push your shoulders up and create neck tension. Armrests that are too wide will force your elbows out. If you cannot achieve a 90 degree elbow angle with relaxed shoulders, take the armrests off. Many chairs allow simple removal with a few bolts.
How long does it take to feel the benefits of a properly adjusted chair?
Most people notice a difference within the first few days. Lower back pain from lumbar misalignment often improves within one to two weeks. Shoulder and neck tension from wrong armrest height may ease within a few days. Full adjustment to your new setup typically takes two to three weeks as your muscles adapt to better posture. Be patient and resist the urge to revert to old positions that feel familiar but cause harm.
Is it better to sit upright at 90 degrees or recline slightly?
A slight recline of 100 to 110 degrees is better for your spine than sitting bolt upright. Research shows this angle reduces pressure on spinal discs and distributes your weight more evenly between the seat and backrest. A rigid 90 degree posture actually increases spinal compression over time. Use your recline and tilt features to find a comfortable angle that lets you work without straining.
Do I need a footrest if my feet touch the floor?
If your feet rest flat on the floor with your knees at 90 degrees, you do not need a footrest. A footrest becomes necessary when your desk is too high and you must raise the chair to reach it, which lifts your feet off the ground. It is also helpful if you are shorter and the chair does not lower enough. A rocking footrest adds the bonus of encouraging small leg movements that improve circulation during long sitting sessions.

Hi, I’m Clara! I started SitSmartGuide to help people find chairs that truly support their comfort and health — without the guesswork. After years of dealing with back pain from bad seating, I became obsessed with testing, researching, and reviewing chairs so you don’t have to learn the hard way.