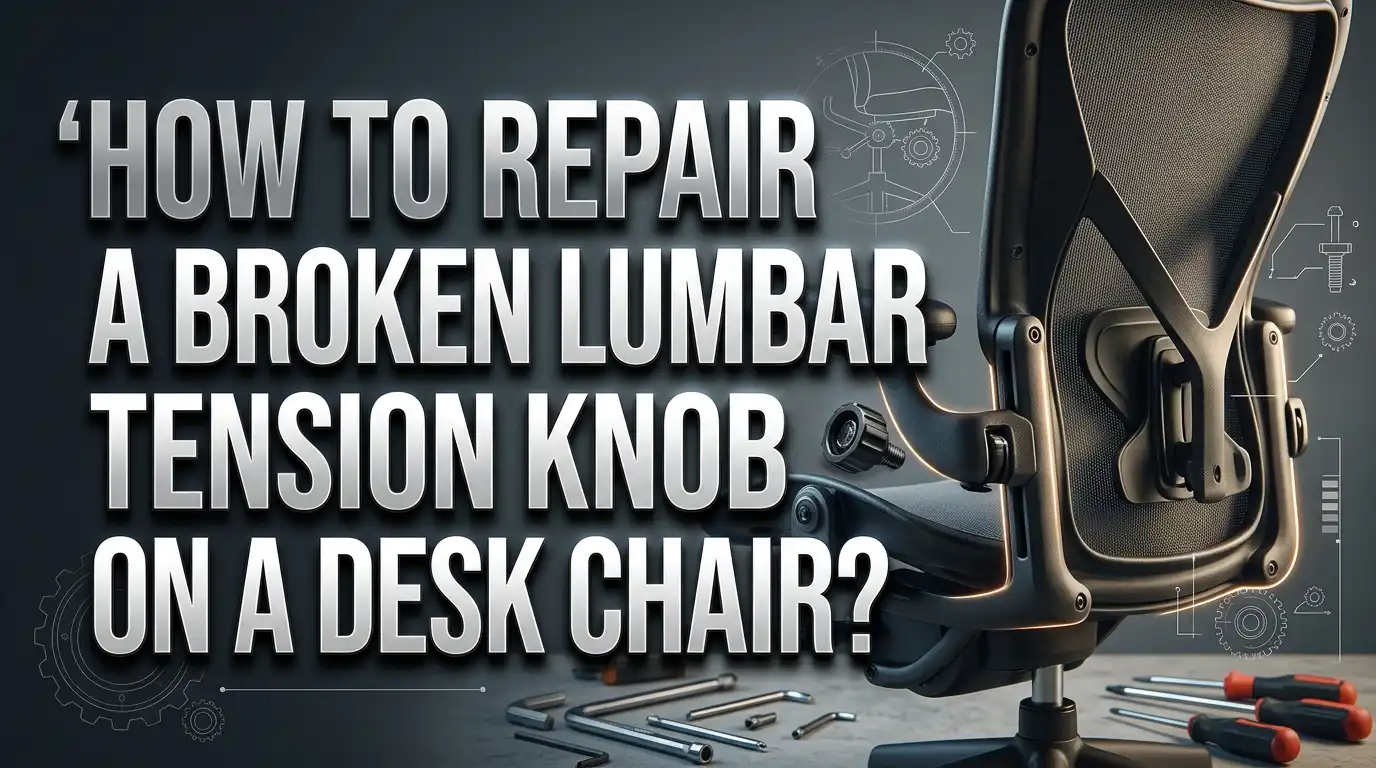
How to Repair a Broken Lumbar Tension Knob on a Desk Chair?
Does your desk chair suddenly feel flat, no matter how much you twist the knob? You are not alone.
A broken lumbar tension knob is a common problem. It happens when the cap separates from the bolt inside your chair.
The result? Your knob spins freely but does nothing. Your lower back loses support. Long work hours become uncomfortable fast.
The good news is you don’t need a new chair. This issue is often a quick fix you can do at home.
In this guide, we will show you how to spot the real problem behind a spinning knob. You will learn simple steps to reconnect the cap and bolt using strong adhesive.
By the end, you will know exactly how to test your fix and get proper lumbar support back. Your chair will feel steady again, and your back will thank you.
Let’s get your chair working like new.
In a Nutshell
- The real problem is usually a separated cap. It detaches from the center bolt, so it spins without gripping the spring.
- Super glue works best. Apply it directly to the connection point between the cap and the bolt for a strong bond.
- Give it time to cure. Do not rush this step. Let the adhesive set fully before you sit down and test it.
- Avoid over-tightening once you reattach the knob. Too much force can strip the threads or damage the seat pan.
- Check nearby screws and bolts too. A loose knob is often not the only issue hiding under your chair.
- Test the fix properly. Sit down and adjust the tension a few times to confirm your lumbar support actually works again.
- If the cap or spring is truly broken, a full replacement might be your only option.
Understanding the Lumbar Tension Knob and How It Works
Your desk chair’s lumbar tension knob controls the lower back support system. Understanding how it works helps you fix it faster.
The knob itself sits on top of your chair’s backrest. Inside, a spring mechanism connects to an adjustment bolt. When you turn the knob, it should tighten or loosen this spring to change how much support your lower back gets.
Here’s the key part: The knob cap (the part you hold) must stay connected to the center bolt. If these two separate, the cap spins freely without doing anything. Your lumbar support stops working because the spring never gets adjusted.
The spring mechanism sits underneath the seat pan. It pushes against your lower back when properly tensioned. The bolt threads through the chair frame and connects everything together. A tight connection between cap and bolt means smooth adjustments every time.
When the connection fails, the cap rotates but the bolt stays still. This is why your knob feels loose and useless. No tension changes happen because the mechanism never receives the turning motion.
Common failure points include the glue joint between cap and bolt, worn threads on the bolt itself, or a cracked cap. Most often, the adhesive simply comes loose from regular use and wear.
Knowing this setup helps you diagnose the problem correctly. A spinning knob usually means cap separation, not a broken spring. This is actually good news because cap separation is fixable with simple adhesive.
Test your knob by holding the cap still while turning it. If you feel resistance, the connection is intact. If it spins freely with no resistance, the cap has separated from the bolt center.
Signs Your Tension Knob Is Broken or Failing
Your lumbar tension knob shows clear warning signs when it starts to fail. The most obvious signal is spinning without resistance. You turn the knob, but nothing happens. The backrest doesn’t tighten or loosen at all.
Another common sign is loose or rattling sounds coming from the knob area. You might hear clicking or feel movement when you touch the knob cap. This noise means internal parts are separating.
Pay attention to uneven lumbar support. One side of your lower back feels supported while the other side doesn’t. This happens when the tension mechanism only partially engages.
Look for visible cap separation. The knob cap may sit slightly raised or tilted compared to the backrest surface. You might see a small gap between the cap and the base underneath it.
Test the knob by holding the cap firmly while trying to turn it. If the cap spins freely while the internal bolt stays still, you have a separation problem. This is the most common failure point.
Check for cracks or damage on the knob cap itself. Visible splits or chunks missing from the cap indicate structural failure. Discoloration or warping also suggest internal damage.
Feel for stripped threads by turning the knob slowly. Grinding sounds or unusual resistance mean the threading inside has worn down. This prevents proper locking action.
Notice if tension doesn’t hold. You adjust the lumbar support, but it slowly loosens on its own. This means the mechanism can’t maintain pressure over time.
These signs tell you it’s time to inspect and repair your knob. Early detection prevents further damage to your chair’s support system.
Tools and Materials You’ll Need
Before you start fixing your lumbar tension knob, gather the right tools and materials. Having everything ready makes the repair faster and easier.
Super glue is your main tool. This adhesive bonds the knob cap to the center bolt effectively. Get a tube that’s fresh and hasn’t dried out yet. Old glue won’t create a strong connection.
You’ll need a small screwdriver set. Different knob designs use different screw types. Phillips head and flathead screwdrivers cover most desk chairs. These help you access the internal components if needed.
A clean cloth is essential. Wipe away dust and debris from the knob area before applying glue. Dirt prevents adhesive from bonding properly. Use a dry cloth to keep the surface clean.
Rubbing alcohol helps prepare the surface. Dampen your cloth slightly and clean the connection point between the cap and bolt. This removes oils and old glue residue. Let it dry completely before proceeding.
You might need a wrench or socket set. Some chairs have bolts under the seat pan that need checking. These bolts can loosen over time and contribute to knob problems.
A small brush or applicator helps apply glue precisely. Avoid getting adhesive on areas you don’t want it. Precision prevents messy repairs and permanent mistakes.
Have paper towels nearby for cleanup. Accidents happen during repairs. Quick cleanup prevents glue from hardening on surfaces you want to keep clean.
Consider wearing gloves. Super glue bonds skin instantly. Protecting your hands makes the repair more comfortable and safer.
Finally, gather a timer or watch. You need to track cure time. Most super glues need 24 hours before you use your chair again. Rushing this step ruins your repair.
Step-by-Step Guide to Repairing the Knob
Start by positioning your chair on a flat, stable surface. Make sure you have good lighting so you can see the knob clearly. This prevents accidents and helps you work more accurately.
Next, locate where the knob cap connects to the center bolt. Examine this connection point carefully. You’ll likely see a visible gap or separation if the glue has failed. Gently wiggle the cap to confirm it moves independently from the bolt.
Once you’ve identified the problem, clean both the cap and bolt thoroughly. Use your cloth with rubbing alcohol to remove dust, dirt, and old adhesive residue. Let these surfaces dry completely before proceeding. Dry surfaces bond much better than wet or dirty ones.
Apply super glue directly to the connection point where the cap meets the bolt. Use a small amount—too much glue creates messy overflow. Press the cap firmly onto the center bolt. Hold it in position for the time recommended by the adhesive instructions, usually 30 to 60 seconds.
While the glue sets, check all other bolts and screws on your chair. Loose fasteners elsewhere can cause additional problems. Tighten anything that feels loose using your screwdriver or wrench.
Allow the adhesive to cure fully before testing your repair. Most super glues need 24 hours for complete strength. This waiting period is crucial—using the chair too soon weakens the bond.
After curing, test your lumbar tension knob by turning it slowly. The cap should now move the internal mechanism smoothly. Adjust the lumbar support to verify it holds tension properly. If the knob still spins freely, the repair may need repeating or professional replacement.
Inspecting and Tightening Other Chair Bolts and Screws
While you’re fixing your lumbar tension knob, take time to check other bolts and screws on your chair. This prevents future problems and ensures your entire seat functions properly.
Start by examining the base of your chair. Look underneath where the seat pan connects to the metal frame. You’ll find several bolts holding these parts together. Use your screwdriver or wrench to test each bolt gently. Turn it slightly to see if it moves easily or feels tight.
Check the armrest connections next. Armrests often loosen from regular use. Tighten any bolts you find here, but avoid over-tightening. Over-tightening strips the threads and damages your seat pan. Turn each bolt until it feels snug, then stop.
Inspect the backrest attachment points carefully. These bolts support your upper back, so they need to be secure. Gently test each one with your tool.
Look at the gas cylinder area where the seat height adjustment mechanism lives. Bolts here can work loose over time. Make sure they’re tight but not forced.
Pay special attention to the base wheels or casters. Bolts securing these can become loose and affect chair stability. Check them thoroughly.
Test the tilt mechanism bolts as well. These allow your chair to recline and should be secure.
As you work, keep a mental note of which bolts needed tightening. This helps you identify problem areas. If certain bolts keep loosening, that spot may need extra attention in the future.
Take your time with this inspection. A few minutes now saves you from bigger repairs later. Your chair will feel more stable and supportive once everything is properly secured.
Testing the Repair for Proper Function
After you’ve allowed the adhesive to cure completely, it’s time to check if your repair actually works. This step matters because a faulty repair wastes your time and effort.
Start by sitting in your chair normally. Grab the lumbar tension knob with your fingers and turn it slowly in both directions. Pay close attention to how the knob feels as you rotate it. The knob should turn smoothly without any grinding sounds or resistance that feels wrong.
Next, listen carefully while you adjust the tension. A properly functioning knob makes minimal noise. If you hear clicking, grinding, or popping sounds, the repair may not have set correctly. Stop immediately and let the adhesive cure longer.
Now test the actual lumbar support. Turn the knob to increase tension and feel the lumbar curve push against your lower back. The support should feel firm and stable. Turn the knob the opposite direction to decrease tension. The lumbar curve should relax and move backward smoothly.
Check that the knob cap stays attached during this entire process. It should not spin freely or separate from the center bolt. The cap and bolt must move together as one unit.
Perform this test multiple times over the next few hours. Repeat the adjustment cycle at least five times. This helps ensure the adhesive bond is strong enough for regular use.
If the knob still spins without tightening the lumbar support, the repair failed. You may need to reapply adhesive or consider a replacement knob. If everything works smoothly, your repair is successful and your chair is ready for daily use again.
Common Mistakes to Avoid During Repair
Over tightening the knob is the biggest mistake people make. When you turn the knob too hard, you strip the internal threads. This damages the seat pan permanently. The knob becomes impossible to adjust after that happens.
Ignoring loose bolts elsewhere on the chair causes many repairs to fail. You fix the knob perfectly, but other loose parts make the entire chair unstable. The lumbar support won’t work properly if the backrest or base isn’t secure. Always check every bolt on your chair during this repair.
Using too little adhesive is another common error. A tiny drop of super glue won’t hold the cap to the center bolt. The cap will separate again within days. You need enough glue to create a strong bond, but not so much that it drips everywhere.
Rushing the cure time ruins many repairs. Some people test their knob after just five minutes. The adhesive needs full time to set properly. Check your glue’s instructions for exact cure time. Most super glues need at least 24 hours before you put weight on them.
Applying glue to dirty surfaces doesn’t work well. Dust and debris prevent the adhesive from bonding correctly. Clean both the cap and bolt thoroughly before you apply any glue. Use a dry cloth or small brush to remove all particles.
Finally, avoid forcing the knob if it feels stuck. Pushing too hard can break the cap or damage the spring mechanism inside. If resistance feels wrong, stop and inspect the connection point again. Gentle pressure always works better than force during this repair.
Troubleshooting Persistent Issues
When your lumbar tension knob keeps spinning without engaging the support mechanism, you’re facing a common problem. The cap separates from the internal bolt, breaking the connection between your adjustment and the spring system.
Start by examining what happens when you turn the knob. Does it rotate freely without any resistance? Does the lumbar support stay in one position regardless of your adjustments? These signs confirm the cap has detached from the center bolt.
The most frequent mistake people make is over tightening. Forcing the knob too hard strips the threads and damages the seat pan underneath. This transforms a simple repair into a replacement situation.
Another persistent issue occurs when people ignore other loose bolts on the chair. Your lumbar knob repair might work perfectly, but loose connections elsewhere create new problems. The chair becomes unstable, and pressure shifts to the lumbar mechanism, causing it to fail again.
Using too little adhesive causes repeated failures. Many people apply a small drop and expect it to hold permanently. The cap separates again within days because the bond wasn’t strong enough.
Rushing the cure time destroys repairs. You must wait the full recommended time before sitting in your chair. Premature use breaks the bond before it sets properly.
Dirty surfaces prevent adhesive from working effectively. Dust, grease, and old glue residue create barriers between the cap and bolt. Clean both surfaces thoroughly before applying any adhesive.
If your repair fails after following these guidelines, the internal spring mechanism itself may be damaged. Replacement becomes necessary when the bolt threads are stripped or the spring no longer functions. However, most cap separation issues resolve with proper adhesive application and patience.
Final Thoughts
Fixing a broken lumbar tension knob is a simple task you can handle at home. You don’t need special skills or expensive tools.
A small amount of super glue often solves the whole problem. This makes the repair quick and budget friendly.
Remember to clean the surfaces first. Dirt and oil stop glue from bonding properly.
Apply enough adhesive to the cap and bolt connection. Too little glue leads to repeat failures.
Give the glue plenty of time to cure. Sitting on the chair too soon can undo all your hard work.
Check other bolts and screws while you work on the knob. Loose parts elsewhere can affect your chair’s overall stability.
Avoid over tightening the knob after repair. This mistake strips threads and creates new damage.
Test your repair carefully before trusting it fully. Sit, adjust, and listen for any strange sounds.
Most chairs bounce back to normal function after this fix. Your lumbar support should feel firm and steady again.
If the knob keeps spinning despite your best efforts, the damage might be too severe. Replacement parts become the better option in that case.
Many office chairs share similar knob designs. This means the repair skills you learn here apply to future problems too.
A broken lumbar knob doesn’t mean your chair is done for. With patience and the right approach, you can restore comfort and support.
Take your time with each step. Rushing causes most repair failures, but careful work brings lasting results.
Your chair deserves this small effort. Proper lumbar support protects your back during long work hours.
Frequently Asked Questions
Why does my lumbar tension knob spin without tightening?
The knob cap separates from the internal bolt mechanism. This happens when the adhesive bond between the cap and the center bolt weakens over time. Repeated use and pressure cause the connection to fail. When this occurs, turning the knob no longer engages the spring mechanism that adjusts your lumbar support.
Can I fix this myself or do I need a replacement?
Most cases respond well to simple adhesive repair. You can reattach the cap to the bolt using super glue. The process takes just a few minutes of hands on work. However, if the internal spring is damaged or the bolt threads are stripped, replacement becomes necessary. Inspect the damage first before deciding which route to take.
What’s the best way to apply adhesive during repair?
Clean both the knob cap and the bolt connection point thoroughly. Remove any dust or debris that could prevent bonding. Apply an adequate amount of super glue to the connection area. Press the cap firmly onto the center bolt. Hold it in place for the time specified on your adhesive package. Most super glues require one to two minutes of contact pressure.
How long should I wait before using the chair after repair?
Allow the adhesive to cure completely before sitting down. Most super glues need 24 hours for full strength. Check your specific product instructions, as cure times vary. Rushing this step causes the repair to fail. Your lumbar support depends on a solid bond between the cap and bolt.
What other chair issues should I check while repairing the knob?
Examine all bolts and screws on your chair during this repair. Loose fasteners elsewhere often accompany knob problems. Tighten any loose connections you find. This prevents additional failures and ensures your chair functions properly across all adjustment mechanisms.

Hi, I’m Clara! I started SitSmartGuide to help people find chairs that truly support their comfort and health — without the guesswork. After years of dealing with back pain from bad seating, I became obsessed with testing, researching, and reviewing chairs so you don’t have to learn the hard way.