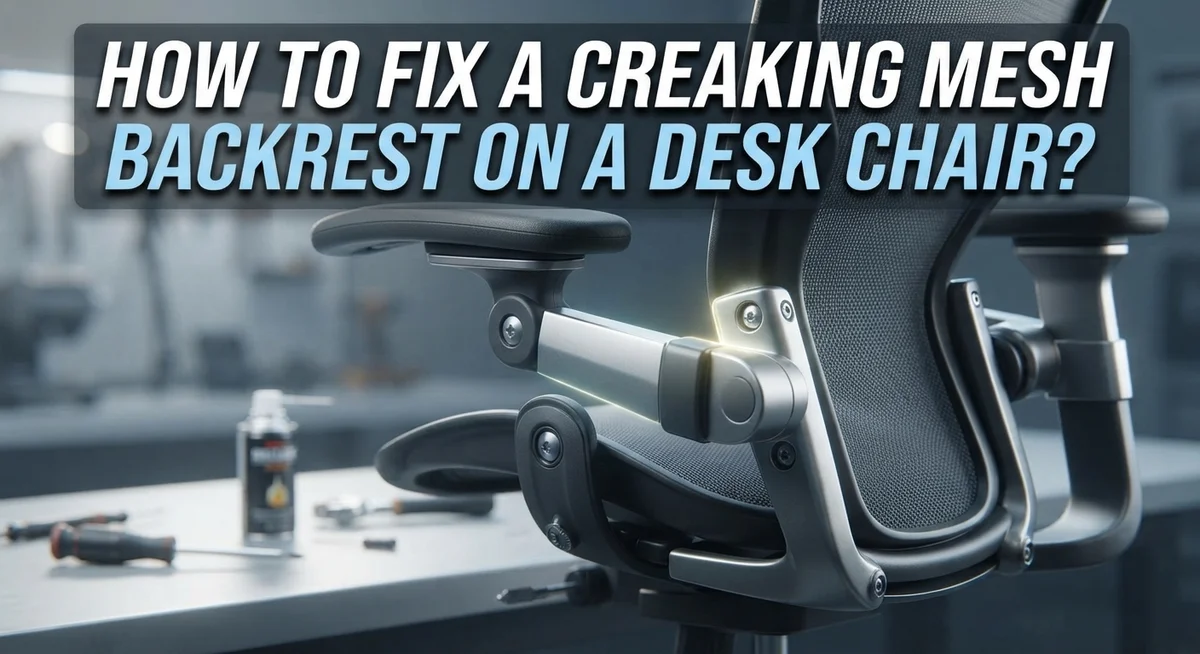
How to Fix a Creaking Mesh Backrest on a Desk Chair?
That annoying creak from your mesh desk chair can turn a quiet workday into a noisy distraction. Every time you lean back, the sound seems to get louder. It’s frustrating, but the good news is you can fix it yourself.
Most creaking problems come from loose screws or friction in the tilt mechanism. Dust and debris often build up in the joints too. This creates the squeaky sound you hear every time you shift positions.
The fix is usually simple. You just need to find the right attachment points and give them some attention. Cleaning, tightening, and lubricating are the main steps involved.
This guide walks you through everything step by step. You will learn where to check for loose parts first. We will also cover the best cleaning methods for mesh panels.
By the end, your chair should move smoothly and quietly. No more creaks interrupting your focus during long work hours.
In a Nutshell
- Find the source first. Check the tilt mechanism and backrest attachment points before doing anything else. Most noise starts here.
- Tighten every screw you can find. Loose screws under the seat, on armrests, and at backrest joints cause most creaking sounds.
- Clean before you lubricate. Dust and debris trapped in joints make noise worse. Wipe everything clean first.
- Apply lubricant to key joints. A light spray on backrest connection points reduces friction and stops squeaking sounds.
- Skip the shortcuts. Don’t lubricate without tightening loose parts first. This step gets missed often and causes repeat problems.
- Maintain it weekly. Vacuum your mesh panels with a soft brush attachment. This simple habit prevents future creaking.
Why Mesh Backrests Start Creaking
Mesh backrests creak for specific reasons. Understanding why helps you fix the problem faster and prevent it from happening again.
Loose connections are the main culprit. Your backrest attaches to the seat frame through multiple bolts and screws. Over time, these fasteners vibrate loose from daily use. When you lean back or shift your weight, these loose connections rub against each other and create that annoying sound.
The tilt mechanism sits at the heart of the problem. This mechanism lets your chair recline. Metal parts inside it move constantly. Friction between these moving parts generates creaking, especially when the mechanism isn’t properly lubricated or when screws holding it together have loosened.
Debris buildup makes things worse. Dust, hair, and small particles get trapped in the joints where your backrest connects to the frame. This debris acts like sandpaper. It increases friction and amplifies creaking sounds. The more debris accumulates, the louder the noise becomes.
Wear and tear on the mesh material itself can contribute too. The mesh panel sits under tension. As it ages, the frame supporting it may develop micro movements. These tiny shifts create vibrations that produce creaking.
Moisture and temperature changes play a role as well. Metal components expand and contract with humidity and temperature fluctuations. This expansion and contraction loosens fasteners gradually. Over weeks and months, these small changes add up to noticeable movement and noise.
The good news is that most creaking comes from fixable issues. Tightening screws, cleaning joints, and applying proper lubrication solve the majority of cases. Regular maintenance prevents new creaking from starting. Your chair doesn’t need replacement. It just needs attention to these specific problem areas.
Tools You’ll Need Before Starting
Before you start fixing your creaking mesh backrest, gather the right tools. You don’t need many items, but having them ready saves time and frustration.
A screwdriver set is essential. Get both Phillips and flathead screwdrivers in various sizes. Your chair likely uses Phillips screws at the backrest attachment points and under the seat. Check your chair’s manual to confirm which sizes fit best.
Lubricant spray is your next must have. This reduces friction between joints and stops squeaking sounds. Look for general purpose spray lubricants designed for metal parts. Avoid heavy oils that attract dust and debris.
A vacuum with soft bristle attachments helps remove dust. Debris trapped in joints makes creaking worse. Use the soft brush attachment to clean mesh panels and crevices without damaging the material.
Cloth or rags are useful for cleanup. You’ll wipe away old lubricant residue and dust before applying fresh spray. This prevents buildup that causes noise.
A flashlight or headlamp makes inspection easier. You need to see under the seat and behind the backrest clearly. Tight spaces are hard to spot without good lighting.
Optional but helpful: pliers or an adjustable wrench. Some chairs have bolts instead of screws at connection points. These tools let you tighten bolts securely.
A notepad helps you remember screw locations. Take photos or notes of where each screw sits before removal. This prevents confusion when reassembling your chair.
Gather these items before starting work. Having everything ready means you’ll finish faster and do a better job. Most people complete this repair in about ten minutes once tools are prepared.
Step-by-Step: Locating the Source of the Creak
Finding where your chair creaks is the first step to fixing it. Start by sitting in the chair and leaning back slowly. Pay close attention to when the noise starts. Does it creak immediately, or only at a certain angle?
Move around the backrest with your hands while seated. Press gently on different sections. The creak will get louder when you apply pressure near the problem spot. This tells you exactly where the issue lives.
Get down and look under the seat. Use a flashlight to see the attachment points clearly. Your backrest connects to the seat frame through multiple bolts and screws. Check each connection point carefully. Loose fasteners here are usually the main cause.
Inspect the tilt mechanism area next. This is where your backrest pivots when you recline. Run your fingers along the metal joints. Feel for any movement or wiggling. Wiggling indicates loose components that need tightening.
Look at the sides of the backrest too. The armrests connect to the backrest frame at these points. Creaking often comes from these connections when they’re loose.
Pay attention to debris buildup around all joints. Dust and particles trapped in these areas make noise worse. Note where you see the most accumulation.
Gently shake the backrest from side to side. If it moves more than it should, you’ve found a loose connection. Mark these spots mentally so you remember them.
Take your time during this inspection. Rushing through it means missing problem areas. Once you identify where the creak originates, fixing it becomes much simpler and faster.
Step-by-Step: Tightening Screws and Connections
Start by flipping your chair upside down or tilting it on its side. This gives you clear access to all the screws connecting your backrest to the seat frame. Use your flashlight to see into tight spaces where bolts hide.
Look for screws at three main locations. First, check where the backrest attaches directly to the seat plate. Second, inspect the armrest connection points on both sides. Third, examine the tilt mechanism bolts near the base of the backrest.
Use the correct screwdriver size for each screw. A screwdriver that’s too small will slip and strip the bolt head. A screwdriver that’s too large won’t fit properly. Start with gentle pressure and turn slowly clockwise to tighten each bolt.
Tighten systematically from top to bottom. Don’t overtighten or you’ll crack the plastic components. Your goal is snug, not forceful. A creaking sound often stops after just one or two bolts are properly secured.
Before applying lubricant, remove all dust and debris from the joints. Use your vacuum with the soft bristle attachment to clean around each connection point. Wipe away any buildup with a dry cloth. This step matters because lubricant won’t work effectively over dirt.
Once everything is clean and tight, apply lubricant spray to the backrest joints and attachment points. Use short bursts and avoid oversaturating. Let the lubricant settle for a few minutes.
Test your repair by leaning back in the chair. Rock gently side to side. If creaking persists, check if you missed any loose screws. Most fixes take about ten minutes with basic tools.
Step-by-Step: Cleaning and Lubricating Joints
Cleaning your mesh backrest joints properly makes lubrication work better. Start by using your vacuum with a soft bristle attachment. Move the vacuum slowly around all backrest connection points and the tilt mechanism area. Pay special attention to crevices where dust collects. Debris trapped in joints prevents lubricant from reaching the metal parts that create noise.
Next, use a dry cloth to wipe away loose dust from the backrest frame. Get into the corners where the backrest connects to the seat. You may find old, dried lubricant mixed with dust. Wipe this away completely. A damp cloth works for stubborn buildup, but let everything dry fully before moving forward.
Once the area is clean and dry, spray lubricant directly onto the backrest joints. Apply lubricant where the backrest connects to the seat plate. Spray the tilt mechanism pivot points too. Use short bursts rather than long sprays to avoid oversaturating the area.
Work the lubricant into the joints by gently moving the backrest back and forth. Rock it slightly for about 30 seconds. This helps the lubricant penetrate all the moving parts. Wipe away any excess lubricant with a clean cloth. Too much lubricant attracts dust and creates new problems.
Test your chair by leaning back slowly. Listen for remaining creaks. If noise persists in a specific spot, repeat the cleaning and lubricating process on that area. Some joints may need a second application. Regular maintenance every few months keeps your backrest quiet and prevents creaking from returning.
Common Mistakes That Make Creaking Worse
Many people make mistakes that actually make their creaking mesh backrest worse instead of better. Understanding these errors helps you avoid prolonging the problem.
Neglecting to check all backrest connection points is a major mistake. People often tighten only the most obvious screws they can see. The real culprits hide under the seat, behind the mesh panels, and along the sides. You need to inspect every single attachment point where the backrest connects to the chair frame.
Skipping debris removal before lubrication creates another common problem. Some folks spray lubricant directly onto dusty, dirty joints. This traps particles inside the mechanism and makes creaking worse over time. The lubricant mixes with dust and creates a gritty paste that increases friction instead of reducing it.
Over lubricating without tightening loose components wastes your effort. Applying excessive lubricant to loose joints won’t fix the underlying issue. The backrest will still move slightly, and the extra lubricant just makes a mess. You must tighten screws first, then apply lubricant sparingly.
Using the wrong tools or forcing screws damages plastic components. Forcing an oversized screwdriver into a screw head strips the slot. Stripped screws won’t tighten properly and may need replacement parts.
Ignoring the tilt mechanism area is another frequent oversight. This mechanism is where your backrest pivots when you recline. Loose connections here cause significant creaking. Many people focus only on the mesh panel itself and miss this critical area.
Applying lubricant to only one side leaves half the problem unsolved. Backrest joints exist on both the left and right sides. You must treat both sides equally for balanced results.
Troubleshooting Persistent or Returning Noises
When creaking returns after your initial repair, the problem usually comes from one of three sources: loose components working themselves free again, new debris accumulating in joints, or insufficient lubrication coverage.
Start by checking all connection points a second time. Screws naturally loosen over time as your chair experiences daily movement and weight shifts. Flip your chair and inspect every screw at the backrest attachment, seat plate, and armrest connections. Tighten each one gently but firmly using the correct screwdriver size.
Pay special attention to the tilt mechanism area. This part moves constantly when you recline, so it experiences more stress than stationary components. Even a slightly loose screw here causes noticeable creaking that returns quickly.
Next, clean the mesh backrest joints thoroughly. Dust and debris settle into crevices over weeks of use. This buildup prevents lubricant from reaching the actual friction points. Use a vacuum with a soft bristle attachment to remove particles from around the backrest frame and attachment points.
After cleaning, apply lubricant spray again to all joints. Work it in by gently moving the backrest back and forth several times. Don’t just spray once and stop. Persistent creaking often means lubricant didn’t penetrate deep enough initially.
If noise returns within days, consider adding a thin layer of cloth tape around vibrating areas. This reduces friction without requiring constant relubrication.
Test your repair by leaning back slowly. Listen carefully for where the sound originates. Sometimes creaking moves to a different location once you fix the primary source. This tells you which area needs attention next. Document which fixes worked best so you can repeat them during future maintenance.
Maintaining a Quiet Mesh Backrest Long-Term
Keeping your mesh backrest quiet requires consistent attention. The key is preventing problems before they start by following a simple maintenance routine.
Check your chair weekly for any new sounds or loose parts. Tighten all screws around the backrest connection points, seat plate, and armrests. Loose fasteners are the main cause of creaking that returns after repair. A quick five minute inspection catches issues early.
Clean your mesh backrest regularly to stop debris buildup. Dust and small particles settle into joints and create friction noise over time. Use a vacuum with a soft bristle attachment to remove debris from the mesh surface and frame. Wipe down the backrest frame with a dry cloth every few weeks.
Apply lubricant spray to backrest joints every two to three months as part of routine maintenance. This keeps moving parts smooth and reduces friction sounds. Focus on the tilt mechanism area and all attachment points where the backrest connects to the seat base.
Store your chair in a dry location. Moisture can cause metal components to expand and create new creaking sounds. Avoid placing your chair in direct sunlight for long periods, as heat can loosen plastic components and fasteners.
If you notice creaking starting to return, act immediately. Small noises get worse quickly if ignored. Repeat the tightening and cleaning steps right away rather than waiting for the problem to get worse.
Consistent maintenance prevents most creaking problems. Spend ten minutes monthly on basic upkeep instead of dealing with annoying noise later. Your chair will stay quiet and last longer with this simple routine.
Final Thoughts
A creaking mesh backrest is annoying, but it rarely means your chair is broken. Most noise comes from loose screws or dry joints. Both problems have simple fixes.
You now know the core steps: locate the attachment points, tighten every screw, clean out debris, and add lubricant where parts rub together. This process takes about 10 minutes for most chairs.
Remember that your tilt mechanism carries most of the pressure when you lean back. This area often causes the loudest creaks. Give it extra attention during any repair.
Small tools make a big difference here. A screwdriver, a can of spray lubricant, and a soft brush handle almost every creaking issue. You do not need special equipment or professional help.
Patience matters too. Rushing through screw tightening or skipping the cleaning step often leads to noises coming back. Take your time with each joint and connection point.
Your chair will thank you for regular care. A quiet chair means comfortable, distraction free workdays. That silence is worth the small effort you put into fixing it.
If creaking returns despite your best efforts, do not panic. Check your work again. Sometimes screws need another turn, or a joint needs more lubricant. This is normal for chairs used daily.
Fixing a creaking mesh backrest puts control back in your hands. You do not need to live with annoying sounds or spend money on a new chair. A few basic tools and some attention solve most problems quickly.
Your comfortable, quiet workspace is only minutes away.
Frequently Asked Questions
Why does my mesh backrest creak when I lean back?
Creaking happens when the tilt mechanism and backrest connection points rub together. Your weight presses down on the chair, and loose screws allow tiny movements. These small movements create friction and noise.
The problem gets worse over time. Screws naturally loosen as you use your chair daily. Dust and debris settle into the joints, making friction worse.
Can I fix a creaking backrest in 10 minutes?
Yes, you can. A quick fix involves three simple steps. First, locate all screws under your seat and where the backrest connects. Tighten each one firmly using the right tools.
Second, vacuum the mesh joints with a soft brush attachment. Third, spray lubricant on the backrest connection points. Most creaking stops after this basic maintenance.
What should I avoid when fixing the creak?
Don’t skip the cleaning step before adding lubricant. Debris trapped under lubricant makes the problem worse, not better. Clean first, then spray.
Avoid over lubricating without tightening loose parts. Lubricant alone won’t fix a loose backrest. You need both steps working together.
How often should I maintain my mesh backrest?
Check your chair weekly for new sounds or loose components. Clean the mesh backrest regularly to prevent debris buildup. Apply lubricant spray to joints every two to three months.
Monthly upkeep takes just ten minutes and prevents most creaking problems. Consistency matters more than intensive repairs.
What if creaking returns after I fix it?
Check all connection points a second time. Screws loosen again with regular use. Clean the joints thoroughly and reapply lubricant.
If noise persists, add a thin cloth tape around vibrating areas to reduce friction. This simple step often solves stubborn creaking.

Hi, I’m Clara! I started SitSmartGuide to help people find chairs that truly support their comfort and health — without the guesswork. After years of dealing with back pain from bad seating, I became obsessed with testing, researching, and reviewing chairs so you don’t have to learn the hard way.