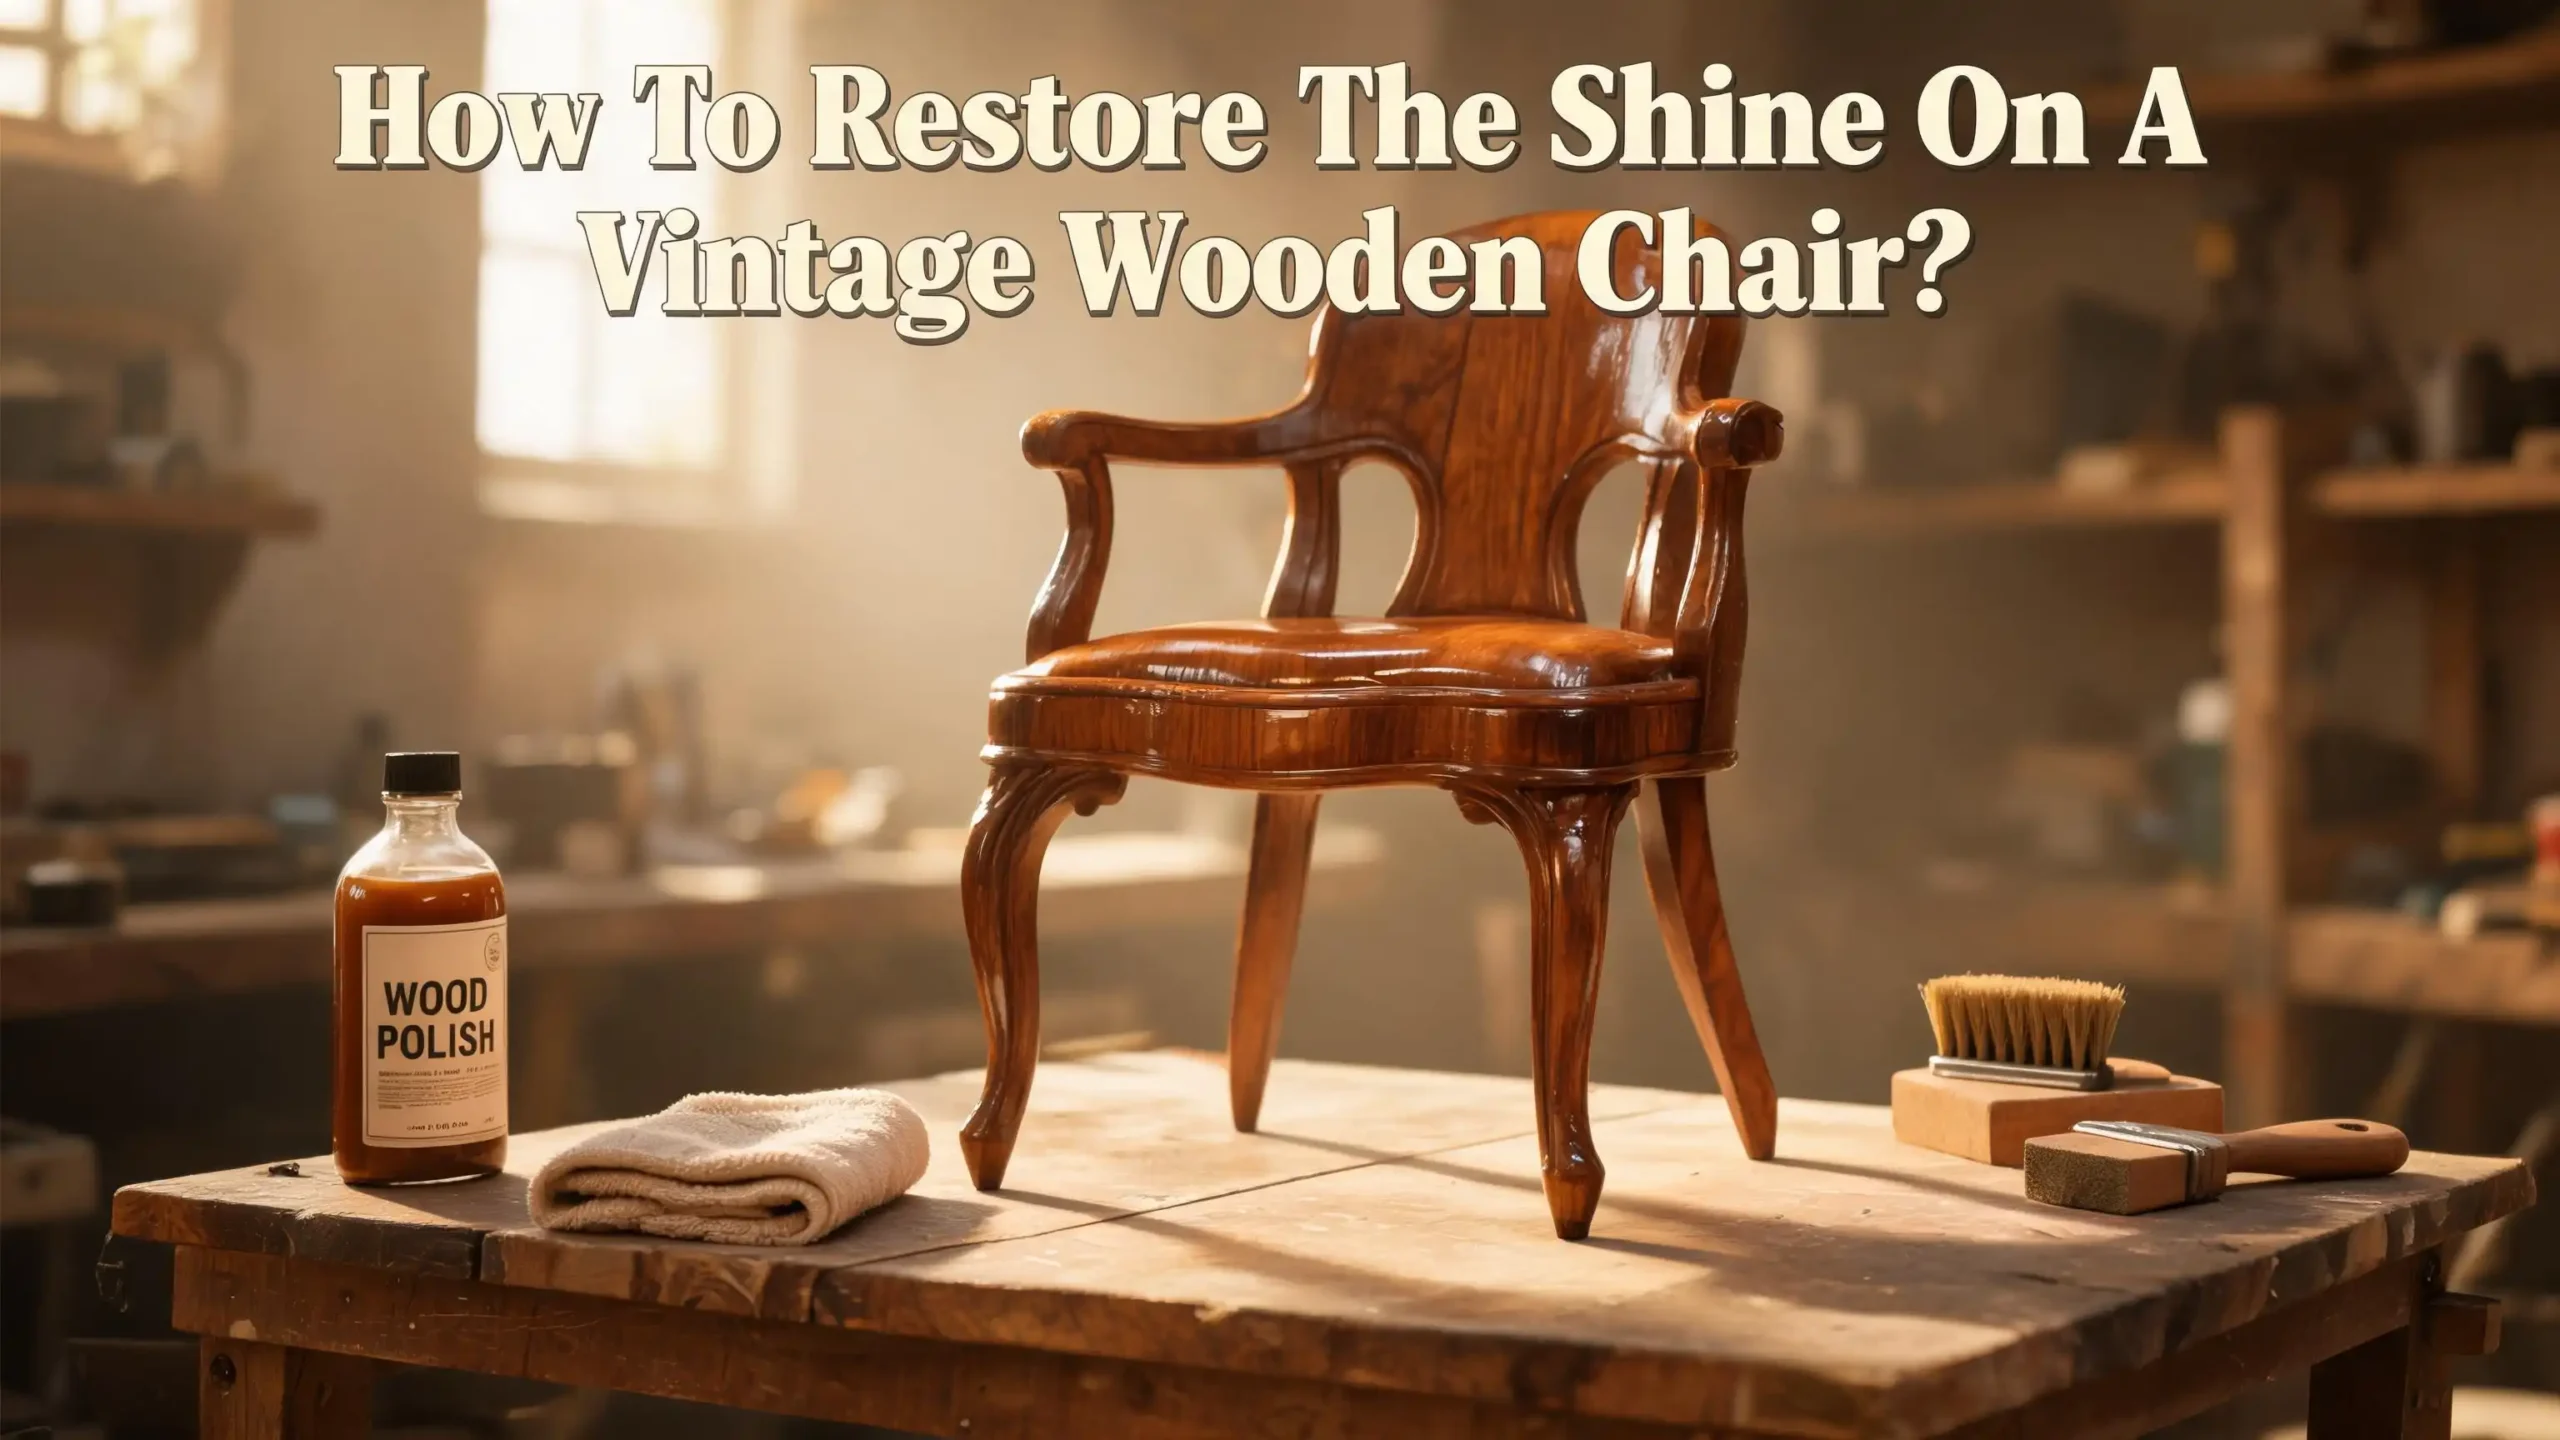
How To Restore The Shine On A Vintage Wooden Chair?
A vintage wooden chair sitting in the corner of your home carries more than just function. It carries history, character, and craftsmanship from a different era.
But over time, even the finest wood loses its glow. Dust, grime, sun exposure, and moisture strip away the original luster and leave behind a dull, lifeless surface.
The good news? You can bring that beautiful shine back without spending a fortune or hiring a professional.
This guide walks you through every step of the process, from initial assessment to the final polish. You will learn how to clean, sand, repair, and finish your vintage wooden chair the right way so it looks stunning for decades to come.
Key Takeaways
- Always assess your vintage chair before you start any work. Check the wood type, existing finish, and any structural damage. This step prevents costly mistakes and protects the chair’s value and character.
- Clean the chair thoroughly before sanding or refinishing. Remove all dust, dirt, and old wax buildup with gentle cleaners like dish soap, mineral spirits, or a dedicated wood cleaner. Skipping this step can ruin your final finish.
- Repair structural issues first. Fix loose joints, cracked legs, and broken spindles before you focus on the cosmetic restoration. A shiny chair that wobbles is a failed project.
- Sand carefully and use the correct grit sequence. Start with medium grit sandpaper and progress to fine grit. Always sand in the direction of the wood grain to avoid scratches that show through the finish.
- Choose the right finish for your chair’s age and style. Options include oil finishes, paste wax, polyurethane, and lacquer. Each one offers a different level of shine and protection. Match the finish to how the chair will be used.
- Work in a well ventilated space and wear protective gear. Fumes from stains, varnishes, and mineral spirits can cause harm. Safety glasses, a face mask, and long sleeves are essential during the restoration process.
Why Vintage Wooden Chairs Lose Their Shine
Wood is a natural, porous material. It reacts to its environment every single day. Sunlight breaks down the finish through UV exposure, causing it to fade and crack over time. Humidity causes the wood to swell, while dry air makes it shrink and develop fine cracks.
Everyday use adds to the problem. Body oils from hands, spilled drinks, food residue, and cleaning products build up on the surface. Many people use silicone based furniture sprays that leave a sticky film. This film attracts more dust and grime rather than protecting the wood.
Old finishes also degrade naturally. Shellac, lacquer, and varnish all have a limited lifespan. Once they start to break down, the wood underneath becomes exposed. Exposed wood absorbs moisture, darkens unevenly, and loses its original color and sheen. Understanding why your chair lost its shine helps you pick the best restoration approach.
How To Assess Your Vintage Chair Before Restoration
The first step in any restoration project is a careful assessment. Look at the chair from every angle. Check the legs, the seat, the back, and the underside. Identify the wood species if you can. Common vintage chair woods include oak, walnut, mahogany, maple, and cherry.
Next, figure out what type of finish is on the chair. Dab a small, hidden area with denatured alcohol. If the finish dissolves, it is shellac. If it does not, try lacquer thinner. If that dissolves the finish, it is lacquer. If neither works, the finish is likely varnish or polyurethane.
Also look for previous repair attempts. Old glue residue, mismatched paint, and filled holes all tell a story. Check for labels, stamps, or maker’s marks on the underside or inside the seat frame. These marks can indicate the chair’s age, origin, and value. Never sand or strip these areas. They add historical significance and can affect the chair’s worth at resale.
Tools And Materials You Will Need
Gathering the right tools before you start saves time and prevents mistakes. You do not need professional grade equipment, but quality supplies make a noticeable difference in the final result.
For cleaning, you will need microfiber cloths, mild dish soap, mineral spirits, and a soft bristle brush like an old toothbrush for detailed areas. For sanding, get sandpaper in multiple grits: 120 grit for heavy work, 150 grit for shaping, and 220 grit for finishing. A sanding sponge works well on curved surfaces like chair legs and spindles.
For repairs, keep wood glue, clamps, wood filler, and a putty knife handy. For the finishing stage, choose your products based on the look you want. Options include tung oil, Danish oil, paste wax, polyurethane, or lacquer spray. You will also need a tack cloth to remove dust between coats, clean rags, and a foam brush or bristle brush for applying finish.
Safety gear includes safety glasses, a dust mask or respirator, and gloves. Set up your workspace in a garage, shed, or well ventilated room with drop cloths on the floor.
How To Clean A Vintage Wooden Chair Properly
Cleaning is the foundation of a successful restoration. Start by dusting the entire chair with a microfiber cloth or a lamb’s wool duster. Get into every joint, crevice, and carved detail. Dust buildup in these areas creates a layer of grime that blocks the finish from adhering properly later.
After dusting, prepare a gentle cleaning solution. Mix a few drops of mild dish soap into a bucket of warm water. Dip a soft cloth into the solution, wring it out well, and wipe down the entire chair. Do not soak the wood. Wood is porous and absorbs water quickly, which can cause swelling, warping, and water marks.
For stubborn grime, mineral spirits are your best friend. Dampen a clean rag with mineral spirits and wipe the surface using circular motions. Mineral spirits safely cut through old wax buildup, grease, and deep dirt without harming most wood finishes. Test on a hidden area first to confirm. After cleaning with mineral spirits, buff the chair dry with a clean cloth. Let the chair air dry completely before moving to the next step.
How To Remove The Old Finish Safely
If the existing finish is cracked, peeling, or heavily damaged, you need to remove it before applying a new one. There are two main methods: chemical stripping and sanding. Each one has advantages depending on the chair’s condition.
Chemical strippers dissolve old finish so you can scrape it away. Apply the stripper with a brush, let it sit for the recommended time, and then scrape gently with a plastic scraper. Avoid metal scrapers on vintage pieces because they can gouge the wood. After stripping, wipe the surface with mineral spirits to remove residue.
If the finish is only mildly worn, sanding alone may be enough. Start with 120 grit sandpaper for heavy areas and work your way to 220 grit for a smooth surface. Always sand in the direction of the wood grain. Sanding against the grain creates scratches that become very visible under a new finish. Use sanding sponges on curved legs and spindles to maintain the chair’s original contours.
For chairs with detailed carvings, use fine steel wool (grade 0000) to work the old finish out of grooves and tight spots without damaging the wood.
How To Fix Structural Damage Before Refinishing
A beautiful finish means nothing if the chair wobbles or creaks. Structural repairs must come before any cosmetic work. This is one of the most common mistakes people make during restoration. They rush to stain and polish while ignoring loose joints and cracked wood.
Start by checking every joint. Gently rock the chair and press on each connection point. If a joint is loose, disassemble it carefully. Remove old glue with warm water and a stiff brush. Apply fresh wood glue to both surfaces, reassemble, and clamp the joint firmly. Let the glue cure for at least 24 hours before removing the clamps.
For cracked wood, use wood filler that matches the chair’s color. Apply the filler with a putty knife, let it dry completely, and sand it smooth. Deep cracks may require epoxy wood filler for a stronger bond.
If a spindle or rung is broken beyond repair, you can find replacement parts at woodworking supply stores or have one custom turned on a lathe. Matching the original profile and wood species keeps the chair looking authentic after restoration.
How To Sand A Vintage Chair Without Causing Damage
Sanding creates a smooth surface that accepts stain and finish evenly. But sanding vintage furniture requires a lighter hand than sanding new wood. Aggressive sanding strips away the character that gives vintage pieces their appeal.
Start with 150 grit sandpaper for general smoothing. Work in the direction of the wood grain with even, light pressure. Do not press hard. Let the sandpaper do the work. After the first pass, switch to 220 grit for a finer finish. This grit removes the tiny scratches left by the coarser paper.
On flat surfaces like the chair seat, wrap the sandpaper around a sanding block for even coverage. On curved areas like legs and arms, use a flexible sanding sponge or hold the paper loosely in your hand. Pay special attention to areas where old finish remains. These spots need extra passes to feather them flush with the bare wood around them.
After sanding, wipe the entire chair with a tack cloth. This sticky cloth picks up every speck of dust. Any dust left behind will create bumps and imperfections under the new finish. Take your time with this step.
How To Choose The Right Stain Or Finish
The finish you choose determines the chair’s final look and how well it holds up over time. For vintage chairs, there are several proven options that deliver a beautiful shine.
Oil finishes like tung oil and Danish oil penetrate the wood and bring out the natural grain pattern. They produce a warm, low sheen finish that feels natural to the touch. Oil finishes are easy to apply and easy to repair. They work well on chairs that will be used daily.
Paste wax creates a classic, soft glow that furniture collectors love. It does not build up a thick film on the surface. Instead, it sits in the wood pores and protects from within. A single application of paste wax can last up to two years with proper care.
Polyurethane offers the most durable protection. It creates a hard, clear coat that resists scratches, water, and heat. Water based polyurethane dries clear, while oil based polyurethane adds a slight amber warmth. Apply thin coats and sand lightly between each one with 320 grit sandpaper.
Lacquer gives a high gloss finish and dries very fast. Spray lacquer works well for chairs because it covers curved surfaces evenly. However, lacquer requires good ventilation and careful application to avoid drips and runs.
How To Apply The Finish For Maximum Shine
Application technique matters as much as the product you choose. A great finish applied poorly still looks bad. Take your time and follow these steps for a professional result.
If you are using an oil finish, pour a small amount onto a clean, lint free cloth. Rub it into the wood following the grain. Apply a generous first coat and let it soak in for 15 to 30 minutes. Wipe off any excess with a clean cloth. Let it dry for 24 hours, then apply a second coat the same way.
For polyurethane, use a high quality bristle brush or foam brush. Dip just the tip into the product and apply in long, smooth strokes with the grain. Do not go back over areas that have started to dry. This creates brush marks and bubbles. Apply at least three thin coats for maximum protection and shine. Sand lightly with 320 grit between each coat and remove dust with a tack cloth.
For paste wax, scoop a small amount onto a cotton cloth. Knead the wax until it softens. Rub it onto the wood in the direction of the grain. Let it sit until the surface becomes hazy. Then buff vigorously with a clean, soft cloth until the surface glows.
How To Buff And Polish For A Deep Shine
After your final coat of finish has fully cured, buffing and polishing take the shine to the next level. This final step transforms a good restoration into a stunning one.
For oil and wax finishes, buff the entire chair with a soft cotton cloth using firm, circular motions. Then switch to long strokes in the direction of the grain. The friction from buffing generates heat that helps the finish bond with the wood and creates a deeper glow.
For polyurethane or lacquer finishes, you can use 0000 steel wool to gently rub the surface after the final coat has cured. This removes any tiny imperfections and creates a uniform sheen. Follow up with a furniture polishing compound applied with a soft cloth. Buff until the surface feels glass smooth.
A final coat of paste wax over any finish adds an extra layer of protection and shine. Apply it sparingly. A little goes a long way. Buff the wax thoroughly until no residue remains on the surface. The result is a warm, deep shine that highlights the vintage wood grain and brings your chair back to life.
Common Mistakes To Avoid During Restoration
Even experienced restorers make errors. Knowing the most common mistakes helps you avoid them from the start and saves you from redoing hours of work.
Skipping the cleaning step is the biggest mistake. Applying stain or finish over a dirty surface traps grime under the coating. The result is a blotchy, uneven appearance that requires stripping and starting over.
Using the wrong sandpaper grit is another frequent error. Starting with paper that is too coarse can gouge the wood permanently. Always start with the finest grit that gets the job done and move coarser only if necessary.
Rushing the drying time between coats causes the most visible problems. Thick, tacky layers develop bubbles, lumps, and a cloudy appearance. Follow the manufacturer’s recommended drying time and add extra time in humid conditions.
Ignoring structural repairs before refinishing wastes your effort. Movement in loose joints will crack the new finish within weeks. Fix all joints and cracks first.
Using silicone based polishes after restoration is a long term mistake. Silicone creates a barrier that makes future refinishing extremely difficult. Stick with paste wax or oil based polishes for maintenance.
How To Maintain The Shine On Your Restored Chair
A restored vintage chair needs regular care to keep its shine. The good news is that maintenance is simple and takes just a few minutes each week.
Dust the chair regularly with a microfiber cloth or a lamb’s wool duster. Dust particles act like fine sandpaper. Left unchecked, they scratch the finish over time. Wipe with the grain to avoid creating swirl marks on the surface.
Avoid placing the chair in direct sunlight. UV rays fade wood and break down finishes. If the chair must sit near a window, use curtains or UV filtering window film to reduce exposure.
Keep the chair away from heating vents and radiators. Dry heat pulls moisture out of wood and causes cracking. A room humidifier helps maintain a stable moisture level during winter months. Aim for 40 to 60 percent relative humidity for ideal wood preservation.
Reapply paste wax every six to twelve months. This keeps the protective layer intact and refreshes the shine without the need for refinishing. Clean up spills immediately with a dry cloth. Never let liquids sit on the surface.
When To Call A Professional Restorer
Some restoration projects go beyond the scope of a DIY approach. Recognizing your limits protects both the chair and your investment of time and money.
If the chair has significant historical value, consult a professional restorer or appraiser before doing any work. Improper restoration can permanently reduce the value of a collectible piece. Professionals use conservation grade materials and techniques that preserve original elements while improving appearance.
Chairs with extensive water damage, deep mold penetration, or severely deteriorated veneer often require specialized equipment and expertise. Veneer repair, in particular, demands precision and experience. A mismatched patch is worse than the original damage.
If you encounter structural damage that involves the chair’s main frame joints, a professional can disassemble, clean, and re glue the joints properly using historically appropriate adhesives. This is especially important for chairs built with traditional mortise and tenon joinery.
There is no shame in asking for help. A professional restorer encounters these challenges daily and can often save a piece that seems beyond hope.
Frequently Asked Questions
Can I restore a vintage wooden chair without sanding?
Yes, in many cases you can restore shine without heavy sanding. If the existing finish is mostly intact but just dull, a thorough cleaning with mineral spirits followed by a coat of paste wax or oil polish can bring back significant shine. Fine steel wool (0000 grade) paired with a finish restorer can also remove surface grime and refresh the finish without stripping it down to bare wood. This approach works best on chairs with minor wear rather than deep damage or peeling finish.
What is the best finish for a vintage wooden chair?
The best finish depends on how you plan to use the chair. Paste wax gives a classic, soft glow that vintage furniture collectors prefer. Polyurethane provides the strongest protection for chairs used daily at a dining table. Tung oil and Danish oil offer a natural look that enhances the grain without building up a heavy film. Each option delivers a different level of shine and durability, so match the finish to the chair’s intended use.
How long does a full chair restoration take?
A complete restoration typically takes three to seven days. Cleaning and assessment take a few hours. Stripping and sanding may take one full day. Structural repairs need at least 24 hours for glue to cure. Staining and applying finish coats require multiple days because each coat needs drying time between applications. Rushing the process leads to poor results, so patience is essential throughout.
Can I use household products to clean a vintage wooden chair?
Mild dish soap mixed with warm water works well for basic cleaning. Avoid harsh chemicals, ammonia based cleaners, and bleach. These products can dissolve old finishes and damage the wood fibers. Mineral spirits are a safe option for removing tougher grime and old wax buildup. Always test any cleaning product on a small, hidden area of the chair first to check for adverse reactions before cleaning the entire piece.
How often should I polish my restored vintage chair?
Apply paste wax or furniture oil every six to twelve months to maintain the shine and protective coating. Dust the chair weekly with a microfiber cloth to prevent surface scratches. If the chair sits in a high traffic area or gets frequent use, you may need to wax it more often. Regular maintenance extends the life of the finish significantly and keeps the chair looking freshly restored for years to come.

Hi, I’m Clara! I started SitSmartGuide to help people find chairs that truly support their comfort and health — without the guesswork. After years of dealing with back pain from bad seating, I became obsessed with testing, researching, and reviewing chairs so you don’t have to learn the hard way.