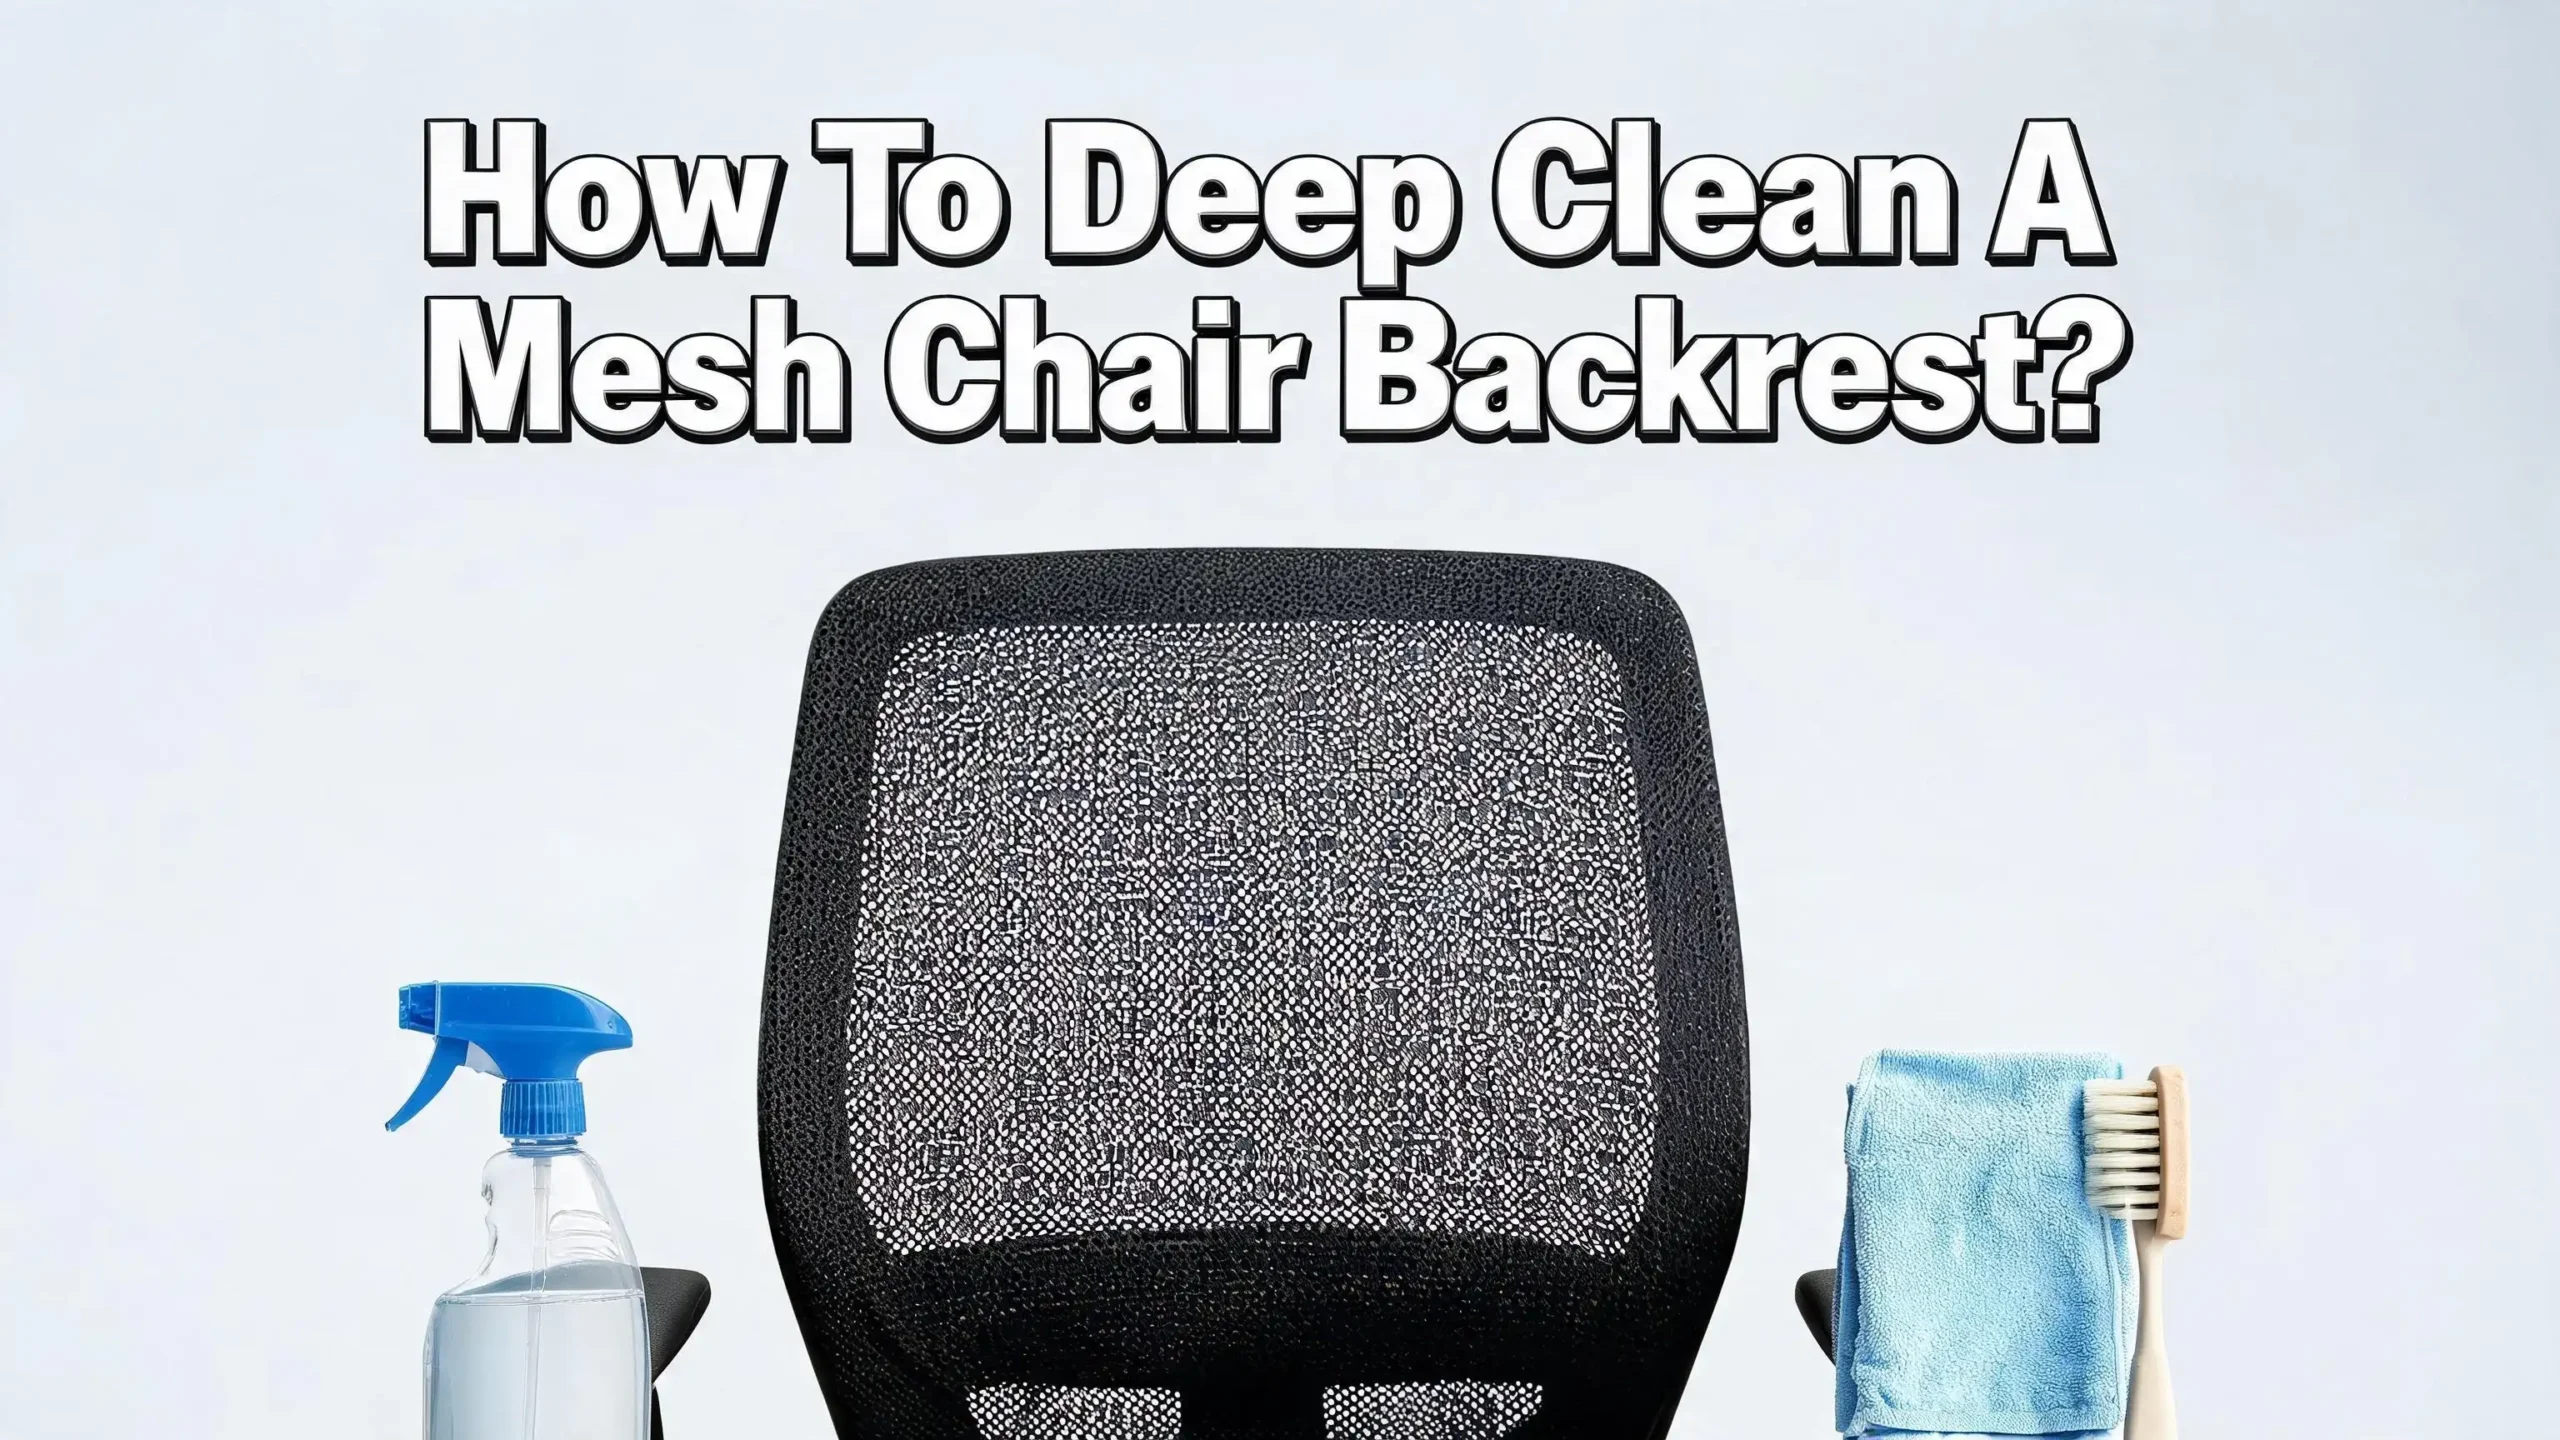
How to Deep Clean a Mesh Chair Backrest?
Did you know your mesh office chair backrest collects more than just dust? Every day, your back presses against that breathable mesh fabric for hours. Your skin sheds tiny cells. Your body releases natural oils. The open weave of mesh traps all these particles deep inside the fibers.
Over time, this buildup creates odors, stains, and even weakens the mesh tension. A dirty backrest stops supporting your spine the way it should. The good news is that a deep clean takes less than an hour and needs only basic household supplies.
This guide will walk you through every step. You will learn how to remove grime, tackle stubborn stains, kill odors, and protect the mesh from damage. By the end, your chair will feel fresh, look clean, and keep you comfortable for years to come. Let us get started.
Key Takeaways
- A weekly vacuum with a soft brush attachment prevents most dirt from settling deep into the mesh weave. This simple habit saves you from heavy scrubbing later. Always vacuum the backrest first before applying any liquid cleaner. Liquid on dry dust turns into mud that sinks deeper into the fibers.
- Mild dish soap mixed with warm water is the safest and most effective cleaning solution for mesh backrests. Harsh chemicals like bleach, ammonia, and strong solvents weaken the polymer strands and cause the mesh to sag or discolor. A few drops of clear, pH neutral soap in a liter of water works wonders.
- Never soak the mesh. A damp microfiber cloth does the job. Oversaturation seeps into the foam padding behind the mesh and invites mold and mildew. Always wring out your cloth until it feels barely wet to the touch.
- Air drying is the only safe drying method. Heat from hair dryers, radiators, or direct sunlight damages the elasticity of mesh fibers. Place the chair in a well ventilated room with a fan pointed at it. Wait 12 to 24 hours until the mesh feels completely dry before sitting down.
- Baking soda and white vinegar are your best natural allies. Baking soda absorbs odors without any chemicals. A vinegar and water solution breaks down organic stains like coffee or food spills. Both options are cheap, safe, and always in your kitchen.
- Clean the casters, frame, and armrests during the same session. Hair and dust tangled in the wheels make the chair harder to move and strain your back. A full chair clean takes about 30 to 60 minutes and keeps every part working smoothly.
Why Your Mesh Chair Backrest Needs a Deep Clean
A mesh backrest feels cool and breathable when you first buy it. The open weave allows air to flow through and keeps sweat away from your back. But that same weave acts like a net. It catches dead skin cells, body oils, hair product residue, food crumbs, and airborne dust.
After six months of daily use, the mesh can hold a surprising amount of grime. The problem goes beyond appearance. Trapped dirt acts like fine sandpaper between the mesh fibers. Every time you lean back, those particles rub against the polymer strands. This friction slowly weakens the elastic tension of the mesh.
Over time, the backrest sags and loses its ability to support your lower spine. A sagging backrest forces you into poor posture. Your shoulders round forward. Your lower back flattens. The ergonomic design you paid for stops working.
Odor is another clear sign your backrest needs attention. Body oils and sweat soak into the fibers. Bacteria feed on those organic materials and release foul smells. A quick surface wipe does not reach deep enough.
The smell stays and gets worse each week. Regular deep cleaning restores the mesh tension, kills odor causing bacteria, and extends the life of your chair. Think of it as maintenance, not just cleaning. You would not skip oil changes for your car. Do not skip deep cleans for the chair that holds your spine for eight hours a day.
Tools and Supplies You Will Need
Gathering the right tools before you start makes the whole process faster and safer. Most items are already in your home. Here is what you need.
A vacuum cleaner with a hose and a soft brush attachment tops the list. The brush attachment lets you clean the mesh without snagging or stretching the fibers. Never use a standard vacuum head with stiff bristles on mesh. It can fray the strands permanently. At least three clean microfiber cloths come next.
Microfiber grabs dirt without scratching. Use light colored cloths to avoid any risk of dye rubbing off on the mesh. Mild dish soap is your main cleaning agent. Pick a clear, pH neutral formula without added dyes or strong degreasers.
A spray bottle helps apply the cleaning solution in a controlled mist. You also need two bowls. One holds your soap solution. The other holds clean rinse water. A soft bristled brush, such as an old toothbrush, handles stubborn spots without damage.
A few optional tools make the job even easier. A can of compressed air blasts dust out of tight corners where the mesh meets the frame. Baking soda and distilled white vinegar tackle odors and organic stains naturally.
A small fan or dehumidifier speeds up drying. Finally, a pair of tweezers or small scissors helps remove hair wrapped around the chair casters. Once your toolkit is ready, you can move through each step without stopping to search for supplies.
How to Prepare Your Chair for Cleaning
Preparation sets the stage for a smooth clean. Start by moving the chair to an open area with good light. You want space to walk around all sides. A garage, patio, or spacious room works well. If you clean indoors, lay an old towel or drop cloth under the chair to catch drips.
Next, lower the chair to its minimum height. This gives you better access to the top of the backrest without straining your arms or tipping the chair.
Check the manufacturer tag or manual before you touch any liquid. Some chairs have specific cleaning codes. A code “W” means water based cleaners are safe. A code “S” means only solvent based cleaners. Most mesh chairs handle mild soap and water without issue, but a quick check avoids warranty problems.
Always do a spot test before applying any solution to the visible mesh. Find a hidden area. The underside of the seat or a small patch behind the lumbar support works. Dip a cloth in your cleaning solution, dab the spot, and wait for it to dry. If the color stays the same and the texture feels normal, you can proceed.
Finally, tighten any loose screws or bolts on the frame. A deep clean is the perfect time to check the chair’s structure. Wiggle the armrests, the backrest, and the base. If anything rattles, tighten it now. A stable chair is safer to clean and safer to use afterward. Take two minutes for this prep work. It saves you trouble later.
Dry Dusting: The First and Most Important Step
Dry dusting comes before any liquid touches the mesh. This step is so important that skipping it ruins the entire clean. Here is why. The mesh holds loose dust, dead skin, and lint inside its weave.
If you spray a cleaning solution directly onto that dry debris, it turns into a wet paste. That paste sinks deep into the fibers and dries into a hardened crust. You end up with a dirtier chair than when you started. Always remove dry particles first.
The easiest method uses a can of compressed air. Hold the can upright and direct short bursts of air at the mesh from a distance of about ten centimeters. Move in vertical and horizontal passes.
The air pressure pushes loose debris out of the weave instead of deeper inside. If you do not have compressed air, a soft bristled dry brush does the job. Sweep the brush gently along the grain of the mesh. Use light, quick strokes. Do not press hard. The goal is to lift, not grind.
Pay extra attention to the seams where the mesh attaches to the frame. Dust collects heavily in these grooves. Angle the brush or air nozzle to reach inside the crevice. Also target the area behind the lumbar support.
Many chairs have a plastic lumbar piece that traps a thick layer of dust against the mesh. Wiggle the support up and down while blowing air behind it. After dry dusting, you should see a visible difference. The mesh will look lighter and the weave will appear more open. Now you are ready for the vacuum.
Vacuuming the Mesh Backrest Properly
Vacuuming pulls out the particles that dry dusting loosened and grabs anything still clinging to the surface. Attach the soft brush tool to your vacuum hose. This is non-negotiable. Standard crevice tools or hard plastic ends can catch the mesh threads and cause permanent runs or tears. The brush bristles cushion the contact and protect the fabric.
Turn the vacuum to a moderate suction setting. Too much suction stretches the mesh away from the frame. Run the brush head over the backrest in slow, overlapping passes. Move from the top of the backrest downward.
Then switch to horizontal passes across the entire surface. The two direction approach catches debris from different angles of the weave. Spend extra time on the lower third of the backrest. This area presses against your lower back and collects the most sweat, oil, and skin cells.
Press the brush gently into the mesh so the bristles reach slightly inside the weave. Do not force it. Let the suction do the work.
Do not forget to vacuum the back side of the backrest. Many mesh chairs have an exposed rear surface that faces the room. Dust settles there too. Run the brush lightly over the plastic frame edges and any exposed mesh on the reverse side.
If your vacuum has a crevice tool, use it along the seams and around the lumbar adjustment knob. These tight spots trap hair and lint that a wide brush misses. After vacuuming, run your hand over the mesh. It should feel smooth and slightly rough like new fabric. Any sticky or greasy patches mean you need the wet cleaning steps that come next.
DIY Cleaning Solutions for Mesh Backrests
Store bought upholstery cleaners often contain harsh solvents that break down mesh fibers. A homemade solution costs pennies and works just as well. The safest all purpose cleaner combines one teaspoon of mild dish soap with one liter of warm water. Stir gently.
You want the soap to dissolve without creating a mountain of suds. Extra bubbles leave residue that attracts more dust later. Pour this mixture into a spray bottle.
For organic stains like coffee, tea, juice, or food spills, white vinegar beats plain soap. Mix one part distilled white vinegar with four parts warm water. The natural acidity breaks down the stain molecules without bleaching the mesh.
Pour this into a second spray bottle and label it clearly. Vinegar smells strong at first, but the odor fades completely as the chair dries. For extra odor fighting power, add a tablespoon of baking soda to your soap solution. The baking soda neutralizes smells at the source. Shake well before each spray because baking soda settles at the bottom.
Pros and Cons of DIY Cleaning Solutions
Pros: They cost almost nothing. You control every ingredient. No harsh chemicals touch your chair. The formulas are safe for pets and children. You can mix exactly the amount you need without waste. The ingredients are always available in your kitchen. They work on most types of mesh including polyester, nylon, and blended weaves.
Cons: DIY solutions take slightly more effort than a ready made spray. Vinegar has a temporary sharp smell during application. Baking soda mixtures need extra shaking before use. Very tough industrial stains may need a specialist product. Some mesh chairs with laminated foam backing react poorly to any moisture, so checking the care tag remains essential regardless of the solution you pick.
How to Spot Clean Stubborn Stains
Stains on a mesh backrest look alarming, but most come out with patience. The golden rule is blot, never rub. Rubbing pushes the stain sideways into clean mesh fibers. It spreads the discoloration and grinds the substance deeper.
Blotting lifts the stain upward and into your cloth. Start by misting the stained area lightly with your cleaning solution. For coffee or juice stains, use the vinegar mix. For greasy marks, use the soap solution. Let the liquid sit on the stain for three to five minutes. This dwell time loosens the bond between the stain and the mesh fibers.
After the dwell time, press a clean microfiber cloth firmly onto the wet area. Hold for five seconds. Lift the cloth and check for color transfer. You will see the stain lifting onto the cloth. Rotate to a fresh section of the cloth and blot again. Repeat this process until no more color transfers. For stubborn spots that resist blotting, use a soft bristled toothbrush.
Dip the brush in your solution and gently agitate the stain using tiny circular motions. Keep the pressure light. You are working the solution into the fibers, not scrubbing the surface away. After ten seconds of brushing, blot with a dry cloth. Alternate brushing and blotting until the stain lifts.
If a stain refuses to budge after three rounds of this cycle, make a baking soda paste. Mix one part baking soda with one part water to form a thick spread. Apply it over the stain and leave it for ten minutes. The paste draws out oil and pigment from the fibers. Wipe away the dried paste with a damp cloth and check the result. Most household stains surrender to this method.
The Gentle Scrub: Cleaning Without Damaging the Mesh
After spot cleaning, the entire backrest deserves a uniform wash. The key is to keep the mesh damp, not wet. Take a clean microfiber cloth and dip it into your soap solution. Wring it out as hard as you can. The cloth should feel cool and barely moist against your skin.
Any drips mean you need to wring more. Spraying solution directly onto the mesh risks oversaturation. The cloth method gives you total control. Wipe the backrest from top to bottom using gentle circular motions. Cover every inch. Overlap your passes so no dry spots remain.
Focus on high contact zones. The area between your shoulder blades picks up sweat and deodorant residue. The lumbar curve collects the heaviest body oil buildup. These spots may feel sticky under the cloth. Go over them twice with fresh solution on your cloth. Change your cloth water frequently. A dirty cloth simply moves grime around instead of removing it. When the cloth turns gray or yellow, rinse it in the clean water bowl and recharge it with soap solution.
For the grooves where mesh meets plastic, wrap the damp cloth around your finger and run it along the seam. This reaches dirt that a flat cloth misses. If your chair has a removable lumbar support piece, slide it off and clean the mesh behind it separately.
The hidden patch often holds months of accumulated dust and oil. After the scrub, the mesh will look visibly brighter and feel less tacky to the touch. Now you must rinse before any soap dries in the fibers.
Rinsing the Mesh Backrest the Right Way
Soap residue left in the mesh acts like a dirt magnet. It stays sticky and grabs new dust faster than clean fibers. Rinsing takes five extra minutes and makes a huge difference in how long the chair stays clean. Fill your rinse bowl with fresh lukewarm water. Take a new microfiber cloth. Dip it in the plain water and wring it out completely. The cloth should be damp but never dripping.
Wipe the entire backrest again using the same top to bottom circular motion you used for scrubbing. The damp cloth picks up dissolved soap and carries it away. Rinse the cloth in the bowl after every few passes. You will see the rinse water turn cloudy as it fills with soap. When the water gets murky, dump it and refill with fresh water. Continue wiping until the cloth comes away clean after a pass. This tells you the soap is gone.
Pay attention to the seams and edges where soap suds hide. Run the damp cloth along every groove twice. If your chair has a headrest, rinse that separately using the same method. Some mesh chairs have a dual layer design with a cosmetic outer mesh and a structural inner mesh. Water and soap can get trapped between those layers.
Press the damp cloth firmly but gently against the area to encourage any hidden moisture to wick outward. Once the rinse is complete, the mesh should feel clean and smell neutral. No slippery or sticky texture should remain. Now comes the part most people rush: drying.
How to Dry the Mesh Backrest Completely
Drying is the step that determines whether your deep clean succeeds or causes damage. Never use heat on mesh. Hair dryers, space heaters, radiators, and direct sunlight all weaken the polymer strands. Heat breaks the chemical bonds that give mesh its elastic snap. A chair left in the sun to dry may look fine at first but will sag months earlier than it should. Air drying at room temperature is the only safe method.
Set the chair in a well ventilated room. Open a window if the weather allows. Position a standard room fan about one meter from the backrest and turn it to medium speed. The moving air evaporates moisture from the weave quickly without heat.
If you live in a humid area, run a dehumidifier in the room. This pulls water vapor from the air and speeds up drying significantly. Expect the full drying process to take between 12 and 24 hours. Thicker mesh weaves or dual layer designs may need closer to 48 hours.
Do not sit in the chair until the mesh feels completely dry. A simple test works every time. Press a dry paper towel firmly against the backrest for ten seconds. If the towel comes away with any moisture, the mesh is still wet.
Sitting on damp mesh stretches the fibers while they are in a weakened state. This is the number one cause of permanent sagging after cleaning. Patience here protects all the work you just did. Once the chair passes the paper towel test, you can use it again with confidence.
Cleaning the Frame, Armrests, and Lumbar Support
The mesh got your full attention, but the rest of the chair needs care too. The plastic frame that holds the mesh collects skin oil from your hands and arms. The armrests touch your elbows and forearms all day.
These surfaces grow bacteria just like the mesh does. Dampen a microfiber cloth with your soap solution and wipe every hard surface. The back frame, the armrest pads, the adjustment levers, and the base all benefit from the same mild cleaning.
Adjustable lumbar supports often have a plastic shell that slides against the mesh. Slide the lumbar piece to its highest and lowest positions while wiping the exposed tracks. Dirt builds up in these sliding channels and can make the adjustment feel stiff or gritty.
A quick wipe restores smooth movement. For metal parts like the gas cylinder cover or the base hub, a dry microfiber cloth works best. Moisture on metal can cause rust spots over time. If you see any rust starting, a tiny dab of silicone lubricant on a cloth wipes it away and protects the surface.
Check all the tension knobs and levers. Turn the tilt tension knob through its full range a few times. This redistributes the internal lubricant and keeps the mechanism smooth.
If any adjustment feels sticky, a single drop of silicone lubricant on the moving joint solves the problem. Wipe away excess lubricant with a dry cloth so it does not attract dust. A fully cleaned and functional frame makes the chair feel almost new again.
How to Clean Chair Casters and the Base
Casters are the most overlooked part of any office chair. Hair, carpet fibers, dust, and threads wrap around the wheel axles. Over months, this buildup creates drag. You push harder to move the chair. That extra force strains your lower back and shoulders. Cleaning the casters takes ten minutes and immediately makes the chair roll smoothly again.
Flip the chair onto its side or lay it down gently on a towel. Pull each caster straight out of the base socket. Most casters use a simple friction fit and pop out with a firm tug. If they resist, wiggle them side to side while pulling.
Once removed, inspect each wheel. Use scissors or a seam ripper to cut through the hair wrapped around the axle. Pull the cut hair away in sections. A pair of tweezers helps grab stubborn strands deep inside the wheel housing.
Wipe the wheel surfaces with a damp cloth to remove surface grime. Check the caster stems for rust or dirt. A quick wipe keeps them sliding in and out of the base easily. While the casters are off, clean the base sockets with a dry cloth or a cotton swab.
Dust and hair collect there too. Pop the clean casters back in and give the chair a test roll. The difference in ease of movement will surprise you. Smooth rolling casters reduce daily micro strains on your body.
How to Remove Odors from a Mesh Backrest
Odors in mesh come from bacteria feeding on body oils and sweat. Surface sprays mask the smell for a few hours but do not kill the source. You need to neutralize the organic matter deep in the fibers. Baking soda is the most effective natural deodorizer for mesh chairs. It absorbs odor molecules without leaving any chemical scent behind.
Sprinkle a generous layer of baking soda over the entire backrest. Use enough that the mesh looks lightly dusted with white powder. Let the baking soda sit for at least four hours. Overnight is even better. The powder pulls odor particles out of the fibers through simple absorption.
After the waiting period, vacuum the baking soda thoroughly using the soft brush attachment. Go over the mesh multiple times from different angles. Any remaining powder shakes out over the next day of use. For very strong odors, follow the baking soda treatment with a vinegar mist.
Mix equal parts white vinegar and water in a spray bottle. Lightly mist the backrest. The vinegar smell will be strong for about an hour but fades completely as it dries. The acid neutralizes alkaline odor compounds that baking soda missed.
Pros and Cons of Natural Deodorizing
Pros: Baking soda and vinegar cost almost nothing. They leave zero chemical residue. No artificial fragrances linger to irritate allergies. The methods are pet and child safe. You can repeat them as often as needed without wearing down the mesh. They work on musty smells, sweat odors, food smells, and smoke residue.
Cons: Natural methods take more time than a quick spray of Febreze. Baking soda needs hours to work fully. Vinegar has a temporary sharp smell. Very deep set odors from years of neglect may need multiple rounds. Neither method works instantly, so plan ahead.
How Often Should You Deep Clean Your Mesh Backrest?
The right cleaning schedule depends on how you use the chair. For a single user in a clean home office, a deep clean every six months works well. This interval prevents heavy buildup without becoming a burden on your calendar.
If multiple people share the chair, shorten the interval to every three months. Shared chairs collect oils and skin cells from different bodies faster. Pet owners should also clean every three months. Pet hair and dander find their way into mesh fibers even if your pet never sits in the chair.
Weekly light cleaning bridges the gap between deep cleans. Spend five minutes once a week running the vacuum brush over the backrest and seat. This removes fresh dust before it bonds with body oils. Blot any spills the moment they happen.
Immediate action on a coffee drip or food crumb prevents a stain from setting. A lint roller works well for quick pet hair removal between vacuum sessions.
Watch for signs that you need an earlier deep clean. If the backrest feels sticky against your shirt, oils have built up. If you notice a smell when you lean back, bacteria are active. If you see visible discoloration or dark patches on the mesh, grime has settled into the fibers.
These signs mean do not wait for the calendar. Clean the chair as soon as you notice them. Your spine will thank you for maintaining the support tension.
Common Mistakes to Avoid When Cleaning Mesh
Enthusiasm for a clean chair sometimes leads to errors that cause permanent damage. The most common mistake is skipping the dry dusting and vacuuming steps. People spray cleaner directly onto a dusty backrest. The dust turns to mud and packs deep into the weave. Once dried, that mud hardens into a crust that is nearly impossible to remove fully. Always vacuum first.
Using harsh household cleaners ranks as the second biggest error. Bleach weakens polyester and nylon fibers. Ammonia strips color and dries out the elasticity. Abrasive powders scratch the smooth surface of individual threads.
Even strong laundry detergents with enzymes can break down the polymer structure. Stick to mild dish soap or specialized mesh cleaners. The label “gentle” or “pH neutral” is what you look for.
The third mistake is oversaturation. Mesh is not a sponge you can soak and wring out. Too much water seeps behind the mesh into the foam lumbar pad or seat cushion. That trapped moisture grows mold and mildew inside the chair where you cannot see it. You smell the musty result months later.
Use damp cloths, not wet ones. The fourth common error is scrubbing with stiff brushes or abrasive pads. These tools fray the mesh threads and create fuzzy patches that never smooth back down. Once a thread frays, its strength is permanently reduced. The chair will sag faster in that spot. Gentle tools and light pressure always win.
Pros and Cons of Different Cleaning Methods
Different cleaning approaches suit different situations. Understanding the tradeoffs helps you pick the right method for your chair.
Vacuum Only Method
Pros: Zero risk of water damage. Takes less than five minutes. Perfect for weekly maintenance. No drying time needed. Safe for all mesh types including laminated and bonded weaves.
Cons: Does not remove oil, sweat residue, or stains. Cannot kill bacteria or remove odors. Surface cleaning only. Buildup continues slowly beneath the visible surface.
Damp Cloth and Soap Method
Pros: Removes oils, light stains, and surface bacteria. Low risk when done correctly. Uses common household supplies. Works on most mesh chairs. Gentle on fibers with microfiber cloths. Affordable and repeatable.
Cons: Requires 12 to 24 hours of drying time. Does not deep clean internal foam layers. Very stubborn stains may need multiple rounds. Too much water can still cause damage if the cloth is not wrung properly.
Baking Soda and Vinegar Method
Pros: Fully natural and chemical free. Excellent odor elimination. Breaks down organic stains without bleaching. Extremely low cost. Safe for allergy sufferers. Ingredients always available.
Cons: Vinegar smell lingers for a few hours. Baking soda needs long dwell time to work. Requires thorough vacuuming after treatment. Not effective on oil based stains like grease or ink.
Compressed Air Method
Pros: Reaches deep inside the weave without any contact. Zero risk of fiber damage. Perfect for electronic heavy desks where water is risky. Fast application. Great for tight corners and behind lumbar supports.
Cons: Only removes loose dry dust. Zero effect on oils, stains, or odors. Canned air costs add up over time. Not a standalone solution. Must be paired with a wet method for full cleaning.
Professional Upholstery Cleaning
Pros: Deepest possible clean. Extracts dirt from internal foam layers. Professional grade solvents handle industrial stains. No effort required from you. Best for high value or warranty protected chairs.
Cons: Costs significantly more than DIY. Requires scheduling and home access. Some services use chemicals you cannot verify. Not needed for routine maintenance. Overkill for light to moderate soiling.
When to Call a Professional Cleaner
DIY methods solve most mesh backrest problems. But certain situations call for professional help. If your chair has deep set mold or mildew growth, do not attempt a home remedy. Mold spores spread easily when disturbed.
A professional service uses containment and antimicrobial treatments that prevent cross contamination. The health risk from breathing mold spores outweighs any money saved by DIY.
High value chairs with active warranties also benefit from professional care. Some manufacturers void warranties if unapproved cleaning products touch the mesh. Check your warranty terms before using any solution. If the policy requires professional cleaning, follow it.
The cost of a service call is far less than replacing a premium ergonomic chair. Chairs with integrated electronic controls or heating elements must never get wet. A single damp cloth mistake can short the electronics. Professionals know how to clean around these components safely.
Finally, call a pro if you have tried the methods in this guide and a stain or odor persists after three attempts. Stubborn oil based stains like ink, grease, or permanent marker sometimes need solvent based treatments that only professionals stock.
The same applies to chairs that have absorbed years of heavy smoke. The residue penetrates beyond the mesh into the foam and plastic. A professional extraction machine pulls contaminants from layers you cannot reach at home.
Daily Habits to Keep Your Mesh Backrest Clean Longer
A few simple daily habits stretch the time between deep cleans. The easiest habit is a weekly vacuum. Five minutes with the soft brush attachment removes dust before it combines with skin oils. Set a recurring reminder on your phone. Make it part of your Friday desk tidy routine. The chair stays fresh and the deep clean every six months becomes much lighter work.
Keep food and drinks away from your desk when possible. Crumbs fall into the mesh weave and attract ants or other pests. Spills soak in fast and leave sticky residues that grab more dust. If you must eat at your desk, use a lap tray that catches crumbs before they reach the chair. Cover your coffee mug with a lid. Small prevention beats heavy cleaning every time.
Wash your hands before sitting down after eating. Greasy fingers transfer oil to the mesh when you adjust the lumbar support or push the chair back. A quick hand wash stops that transfer. Keep a lint roller near your desk if you have pets.
A fast roll over the backrest once a day grabs pet hair before it weaves into the mesh. Rotate the lumbar support position slightly each month. Moving the pressure point prevents one spot from wearing out faster than the rest. These habits take seconds each and add years to your chair’s life.
FAQs
Can I use a steam cleaner on a mesh chair backrest?
Most experts advise against steam cleaning mesh chairs. The high heat softens the polymer fibers and can permanently stretch the weave. Some users have reported yellowing and sagging after steam cleaning their mesh backrests. If you must use steam, keep the nozzle at least 15 centimeters from the fabric and use the lowest heat setting. Test on a hidden area first. Cool air drying and mild soap remain the safer choices.
What cleaners should I absolutely avoid on mesh?
Avoid bleach, ammonia, abrasive powders, strong degreasers, and any product labeled as a heavy duty stain remover. These chemicals break the molecular bonds in polyester and nylon mesh. The fabric becomes brittle, changes color, or loses its elastic snap. Also avoid laundry detergents with enzymes. They are designed to break down organic proteins and can slowly eat away at the mesh over multiple uses.
How do I remove pet hair from mesh?
A lint roller works fast for daily pet hair removal. For hair woven deep into the mesh, put on a pair of damp rubber gloves and run your hands over the surface. The static and moisture pull hair out of the weave. A vacuum with a brush attachment finishes the job. Compressed air also blows loose hair out of tight corners where the mesh meets the frame.
Can I take the mesh off the chair to wash it?
Some budget chairs have removable mesh panels held by screws or clips. Check your manual first. Most premium ergonomic chairs use permanently tensioned mesh that should not be removed. Taking it off voids the warranty and you may never get the tension right again. Stick to cleaning the mesh while it stays on the frame unless the manufacturer clearly states removal is allowed.
Why does my mesh backrest smell musty even after cleaning?
A musty smell after cleaning usually means moisture got trapped behind the mesh. The foam lumbar pad or internal cushion stayed damp and grew mildew. Let the chair dry for another 48 hours with a fan pointed directly at it. If the smell persists, place the chair in a sunny room for a few hours. Sunlight kills mildew naturally. For severe cases, a professional extraction service may be needed to dry the internal layers fully.
How do I know if my mesh is damaged beyond cleaning?
Signs of permanent damage include visible sagging that does not spring back, frayed threads that feel fuzzy, holes or tears in the weave, and brittle areas that crack when pressed. If the mesh lost its tension and no longer supports your back, cleaning cannot fix it. Contact the manufacturer about a replacement mesh panel or consider a new chair if the frame is old. Good mesh should feel taut and springy across the entire surface.

Hi, I’m Clara! I started SitSmartGuide to help people find chairs that truly support their comfort and health — without the guesswork. After years of dealing with back pain from bad seating, I became obsessed with testing, researching, and reviewing chairs so you don’t have to learn the hard way.