How To Fix Ripped Mesh On An Office Chair?
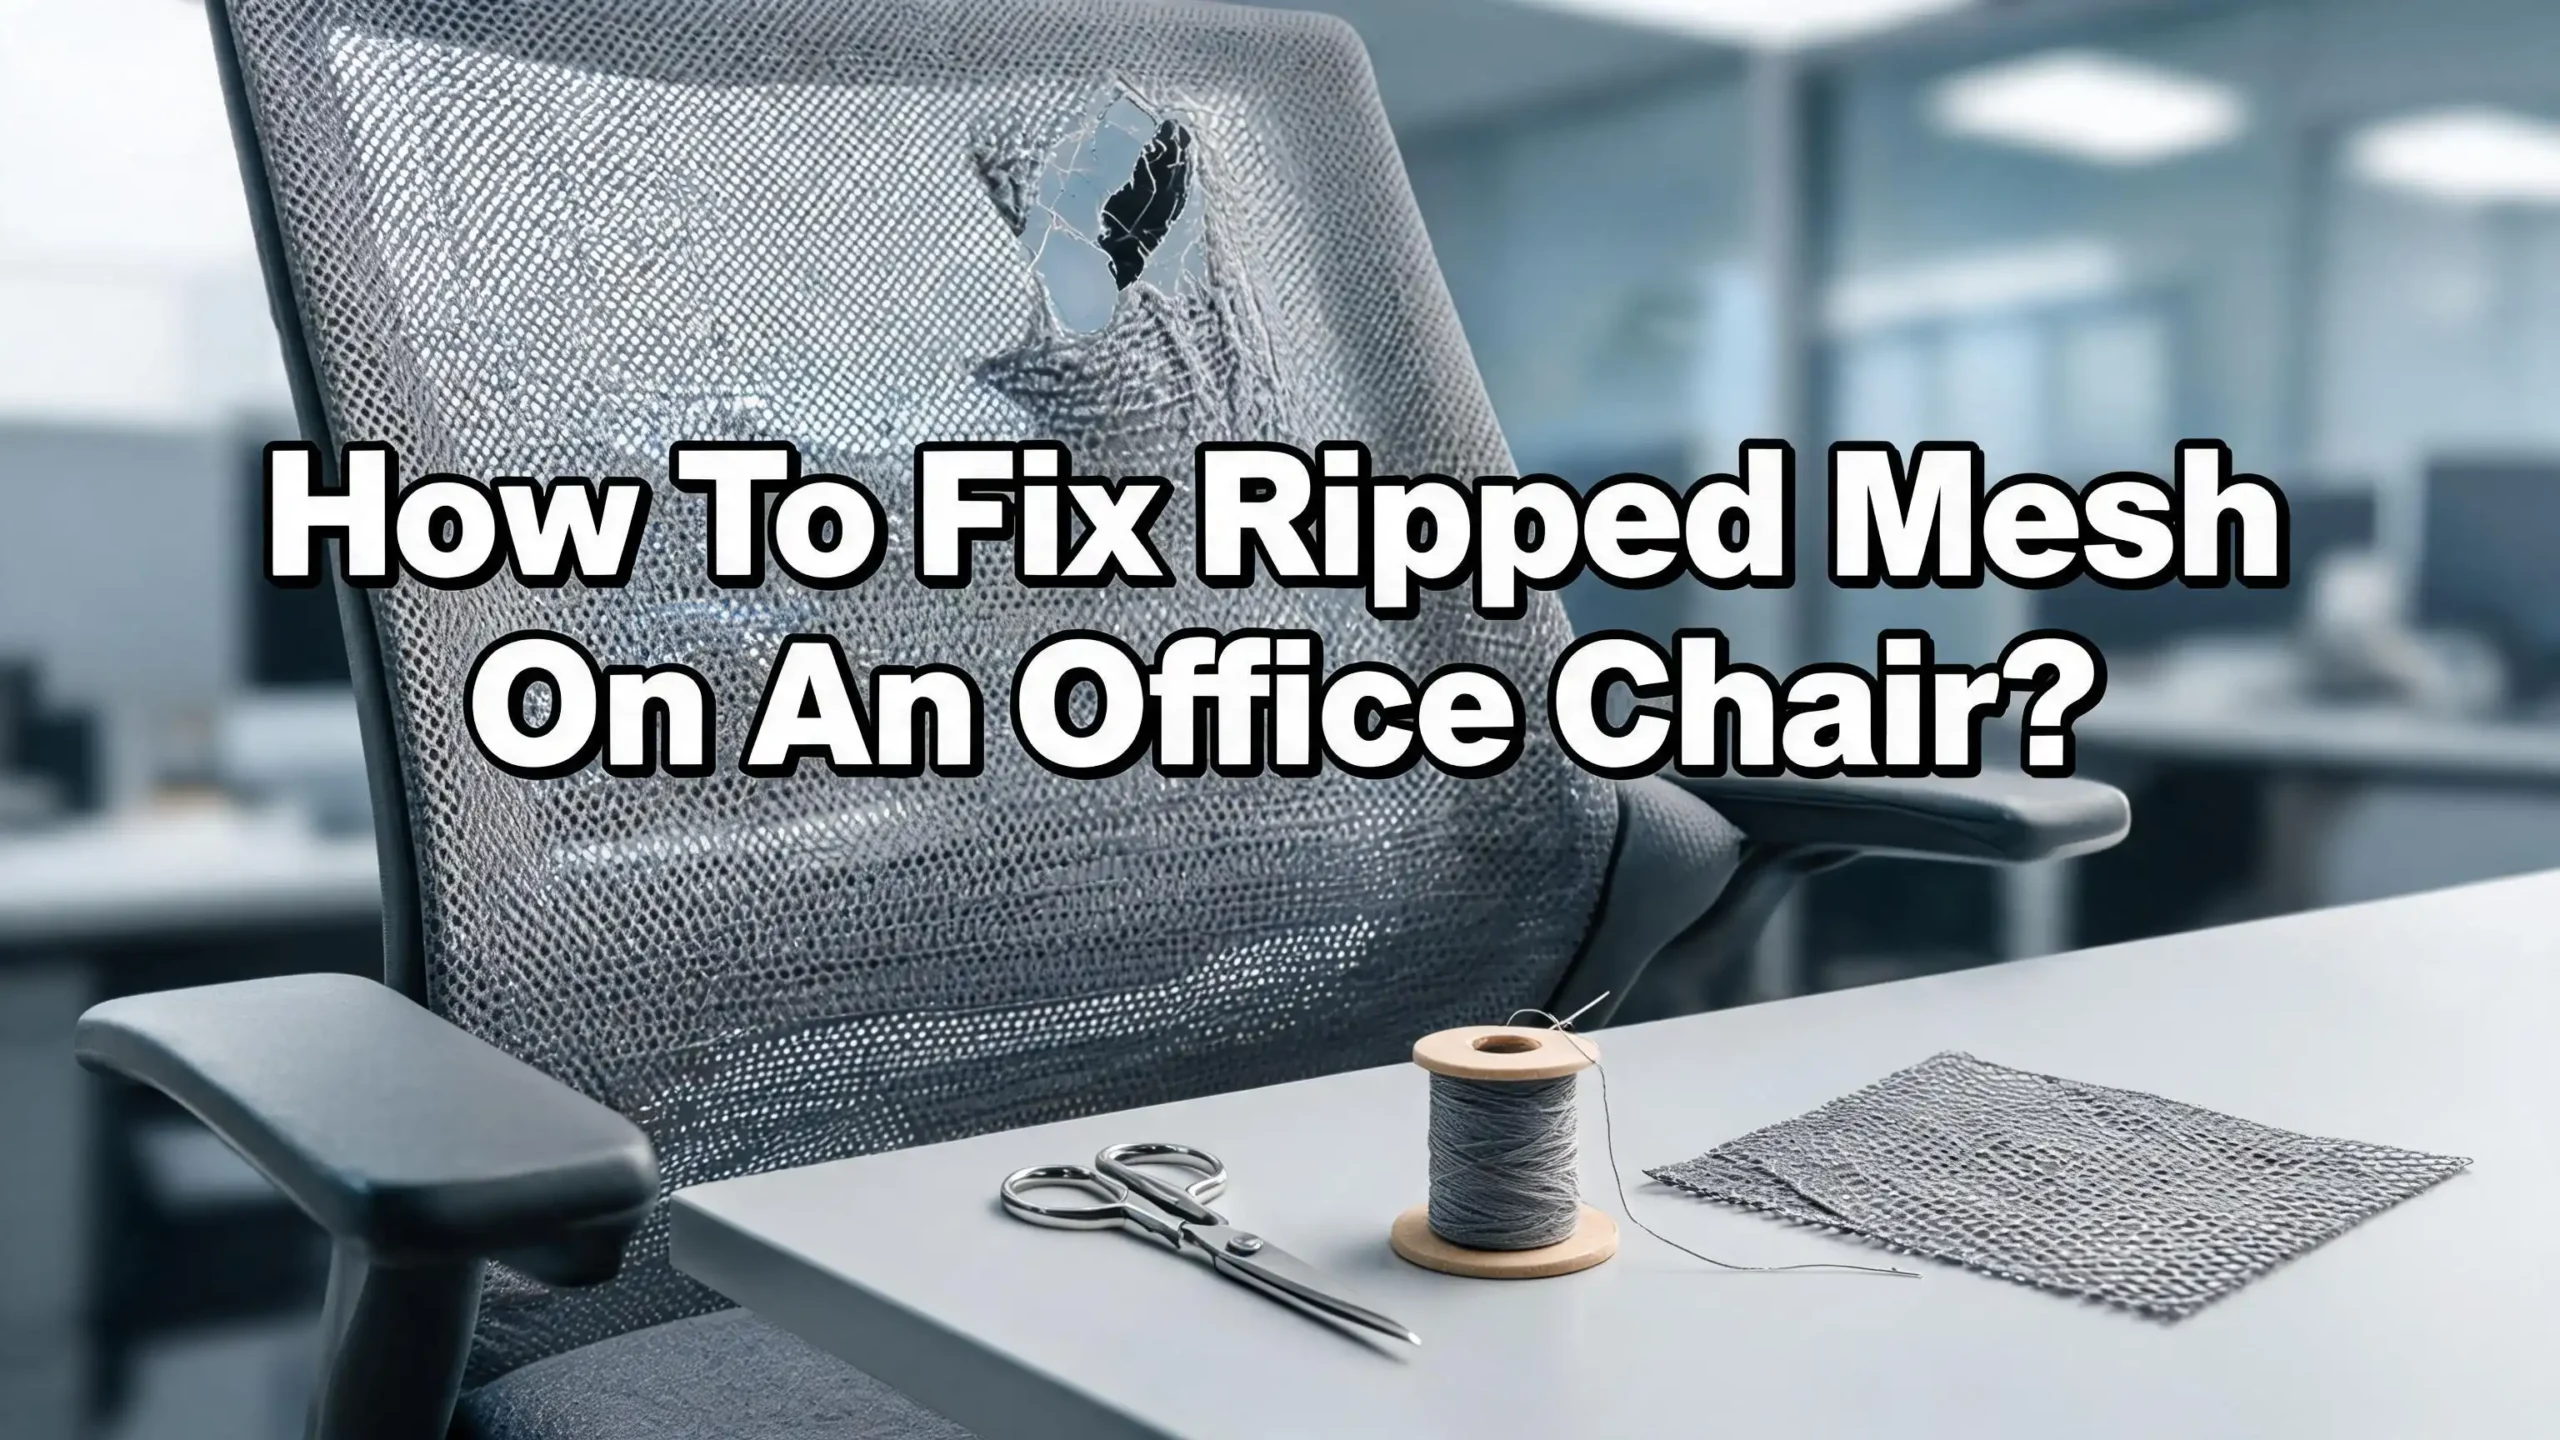
A ripped mesh on your office chair is one of the most frustrating things you can deal with at your desk. One day the chair looks fine, and the next there is a tear that keeps getting bigger every time you sit down.
The good news is that you do not have to throw out your chair or spend hundreds of dollars on a replacement.
Most mesh repairs are completely doable at home with a few simple tools and the right technique. You will learn how to assess the damage, pick the right repair approach, and even prevent future tears from happening.
Keep reading because every section below solves a specific part of this problem.
Key Takeaways
- Assess the damage first. A small tear under 2 inches can be fixed with adhesive or stitching, while a large rip may need a full mesh panel replacement. Knowing the size and location of the damage saves you time and money before you begin.
- Mesh type matters. Most office chairs use polyester mesh or nylon mesh. Nylon is tougher and more resistant to tearing, while polyester is softer but more prone to fraying. Your repair method should match the material your chair uses.
- There are three core repair methods: stitching the tear by hand, applying a mesh patch with strong adhesive, or fully replacing the mesh panel. Each method works best for a specific type and size of damage.
- You need the right tools before you start. A thick upholstery needle, strong nylon thread, fabric-safe adhesive, scissors, and a mesh patch are the basic materials for most repairs. Having everything ready before you begin makes the process smooth and fast.
- Prevention is just as important as repair. Regular cleaning, avoiding sharp objects near the chair, and not exceeding the chair’s weight limit are the three most effective ways to keep your mesh from tearing again after you fix it.
- Know when to call a professional. If the mesh frame is cracked, multiple panels are torn, or the chair is still under warranty, getting professional help or contacting the manufacturer is the smarter and more cost-effective choice.
Understanding Why Office Chair Mesh Rips In The First Place
Before you fix anything, it helps to understand what caused the rip. Office chair mesh is made from tightly woven synthetic fibers, usually polyester or nylon. These fibers are strong under normal use, but they have clear limits.
The most common cause of mesh tearing is excessive or repeated pressure on one spot. This happens when someone sits unevenly, leans back too hard, or puts weight beyond the chair’s rated capacity. Over time, those stress points weaken and eventually snap.
Sharp objects are another big culprit. A pen left on the seat, a belt buckle, or even a rough zipper on pants can catch the mesh fibers and pull them apart. Pets with sharp claws can also shred mesh fabric surprisingly fast.
Sunlight and heat exposure also degrade mesh over time. Chairs placed near windows receive constant UV radiation, which breaks down synthetic fibers and makes them brittle. Once the fibers are brittle, even normal sitting pressure can cause them to crack and tear.
Finally, poor maintenance plays a role. Mesh that is never cleaned accumulates dirt and grit in the weave. That grit acts like sandpaper every time you sit, slowly grinding away the fibers from the inside out. Understanding these causes helps you not only fix the current damage but also stop the same thing from happening again.
Identifying The Type And Size Of The Damage
Not all mesh damage is the same, and the repair method you choose depends entirely on what you are dealing with. Take a close look at the tear before you do anything else.
Small tears and pinhole damage are typically under 1 inch in length. These are the easiest to fix and respond well to adhesive patching or a few stitches. The mesh fibers around a small tear are usually still intact, which gives you something solid to work with.
Medium tears range from 1 to 3 inches. These need more attention because the surrounding mesh may have started to fray. You will likely need both stitching and a patch to make the repair last.
Large rips and structural failures are tears over 3 inches or cases where the mesh has completely separated from the chair frame. These are the hardest to fix with DIY methods. In most cases, a full panel replacement is the only reliable option.
You should also check whether the damage is on the seat or the backrest. Seat mesh takes the most direct pressure because your full body weight sits on it. Backrest mesh deals with less weight but more flex and movement. The location affects how much stress the repaired area will face after the fix.
Look at the edges of the tear carefully. If the fibers are cleanly broken, the repair will hold better. If the edges are frayed and the threads are unraveling in multiple directions, you will need to trim those loose fibers before starting any repair.
Tools And Materials You Need For The Repair
Having the right materials ready before you start saves you from stopping halfway through the job. The specific items you need depend on your chosen repair method, but here is a full list of what covers all three approaches.
For stitching repairs, you need a heavy-duty upholstery needle, thick nylon thread in a color that matches your mesh, small scissors or a seam ripper, and a thimble to protect your finger when pushing the needle through the dense mesh material.
For patch repairs, you need a piece of matching mesh fabric cut slightly larger than the tear, fabric-safe adhesive or epoxy, a small brush or toothpick to apply the adhesive evenly, and binder clips or clothespins to hold the patch in place while it dries.
For full mesh replacement, you need a screwdriver or Allen key set, replacement mesh fabric or a manufacturer-specific panel, a staple gun if the mesh is stapled to the frame, and a flat tool like a butter knife or trim removal tool to pry off plastic trim pieces.
General items that are useful for any repair include rubbing alcohol and a clean cloth to prep the surface, good lighting or a work lamp, and a workspace where you can lay the chair flat or flip it upside down comfortably.
Do not skip the surface preparation step. Cleaning the area around the tear with rubbing alcohol removes oils and dirt that would prevent adhesive from bonding properly. A repair that looks perfect but is applied to a dirty surface will peel off within days.
Method 1: How To Stitch A Small Mesh Tear By Hand
Hand stitching is the best approach for small tears where the surrounding mesh is still strong and intact. This method creates a durable, flexible repair that moves with the mesh naturally.
Step 1: Clean the area around the tear with rubbing alcohol and let it dry completely. Trim any loose or fraying threads with scissors so the tear has clean edges to work with.
Step 2: Thread your upholstery needle with a doubled length of nylon thread. Choose a thread color that matches your mesh as closely as possible. Tie a strong knot at the end of the thread.
Step 3: Push the needle through the mesh about a quarter inch from the edge of the tear on one side. Pull the thread through until the knot catches against the mesh.
Step 4: Push the needle through the mesh on the opposite side of the tear at the same distance from the edge. Pull the thread across the gap to draw the two sides of the tear closer together.
Step 5: Continue stitching back and forth across the tear in a zigzag or ladder pattern. Keep even tension on each stitch so the mesh edges are pulled together without bunching or puckering.
Step 6: When you reach the end of the tear, stitch back in the opposite direction for two or three passes to reinforce the closure. Tie off the thread with a secure double knot and trim the excess.
For additional strength, you can apply a thin line of fabric adhesive along the stitched seam after stitching. Let it dry fully before sitting on the chair. This combination of stitching and adhesive is one of the most durable repairs for small mesh tears.
Method 2: How To Apply A Mesh Patch For Medium Tears
A patch repair works well for medium-sized tears where the mesh fibers have already begun to spread or fray beyond what stitching alone can hold together.
Step 1: Cut a piece of replacement mesh fabric into a shape that is at least 1 inch larger than the tear on all sides. A round or oval patch holds better than a square one because it distributes stress more evenly and has no sharp corners to catch and peel.
Step 2: Clean the area around the tear thoroughly with rubbing alcohol. Let the surface dry for at least 10 minutes before applying any adhesive.
Step 3: Apply a thin, even layer of strong fabric adhesive or two-part epoxy to the back of the patch. Do not use too much adhesive because excess glue can bleed through the mesh and harden into stiff, uncomfortable spots.
Step 4: Position the patch carefully over the tear so that it is centered and covers the entire damaged area. Press down firmly from the center outward to push out any air bubbles and ensure full contact between the patch and the original mesh.
Step 5: Clamp the patch in place using binder clips or clothespins around the edges. This holds constant pressure on the adhesive while it cures.
Step 6: Let the adhesive cure for the full time listed on the product instructions. Most fabric adhesives need at least 24 hours to reach full strength. Do not sit on the chair before the adhesive is fully cured. Putting weight on the repair before it sets is the most common reason patches fail.
Once the adhesive is dry, check the edges of the patch. If any edge has not bonded fully, apply a small amount of extra adhesive under that edge, clamp it again, and let it cure for another 12 hours.
Method 3: How To Use Epoxy For A Strong Structural Repair
Two-part epoxy is one of the strongest adhesive options available for mesh repair. It creates a rigid, permanent bond that is especially useful for tears near the frame where the mesh meets hard plastic or metal.
Step 1: Mix the two-part epoxy according to its instructions. Most two-part epoxies require equal amounts of each component and need to be mixed thoroughly for about 60 seconds.
Step 2: Apply the mixed epoxy directly into the tear using a toothpick or a small applicator. Work slowly and push the epoxy into the gaps between the mesh fibers, not just across the surface. This fills the weave and creates a stronger bond.
Step 3: If you are using epoxy with a mesh patch, coat the back of the patch with epoxy and press it firmly over the tear. Smooth the surface by pressing down with a flat tool wrapped in wax paper. The wax paper prevents the tool from sticking to the wet epoxy.
Step 4: Let the epoxy cure completely. Most two-part epoxies reach full hardness in 24 hours. Do not rush this step. A partially cured epoxy repair will crack under pressure and make the tear worse.
Step 5: After the epoxy has hardened, check the repaired area by pressing on it gently from multiple directions. A good epoxy repair will feel solid and will not flex much at the repair point.
One important thing to note is that epoxy creates a rigid repair, which means the repaired area will not flex as naturally as the surrounding mesh. This is usually acceptable for backrest tears but can feel slightly firm when used on the seat. For seat repairs, a flexible fabric adhesive often feels more comfortable after the repair is done.
Method 4: How To Replace The Entire Mesh Panel
Full mesh panel replacement is the most thorough fix. It works best for large tears, multiple damage points, or old mesh that has become brittle and thin throughout.
Step 1: Remove the chair back or seat from the chair base. Most chair backs are attached with two to four screws or bolts. Use a screwdriver or Allen key to remove them completely. Keep all screws in a small container so you do not lose them.
Step 2: Examine how the current mesh is attached to the frame. The two most common methods are staples and plastic retaining clips. If the mesh is stapled, use a flat screwdriver or staple remover to pull out the staples carefully. If there are plastic clips or trim pieces holding the mesh, use a flat tool to pry them loose without cracking them.
Step 3: Once the old mesh is removed, measure the frame opening precisely. Cut your new mesh fabric to a size that gives you at least 2 inches of extra fabric on all sides. This extra fabric is what you will fold over the frame and secure.
Step 4: Start attaching the new mesh on one side of the frame. Pull the mesh taut across the opening before securing it to the opposite side. Even tension across the entire mesh surface is the most important part of this step. Uneven tension creates weak spots that will tear again quickly.
Step 5: Secure the mesh using the same method as the original. If it was stapled, use a staple gun to staple through the folded edge of the mesh into the frame. If it used plastic clips, press the clips back into place over the folded mesh edge.
Step 6: Trim any excess fabric from the edges with scissors. Reattach the plastic trim pieces if any were removed. Reattach the chair back or seat to the chair base and tighten all screws securely.
Test the repaired panel by pressing on it firmly from all sides before sitting down. A properly tensioned mesh replacement should feel firm and springy, similar to a new chair.
How To Match Replacement Mesh Fabric To Your Chair
Finding the right mesh fabric for your repair is one of the trickier parts of the job. Office chair mesh comes in different materials, weave densities, and colors, so a random piece of fabric may not look or perform well.
Polyester mesh is the most common type and is available at most fabric stores. It is soft, flexible, and available in many colors. This material is ideal for patching and replacing mesh on budget to mid-range chairs.
Nylon mesh is stronger and more expensive. It is used in high-end chairs like the Herman Miller Aeron and similar premium brands. If your chair uses nylon mesh, using polyester as a replacement will feel noticeably softer and may not hold up as long.
To find a good match, bring a small sample of your original mesh to a fabric store. Compare the weave density and thickness carefully. You can also search for chair-specific replacement mesh from the chair’s manufacturer or from specialty office furniture repair suppliers.
Color matching is also important for aesthetics. Most office chairs use black mesh, which is the easiest to match. If your chair uses gray, tan, or another color, be prepared to spend more time finding the right shade.
Do not use regular window screen mesh as a replacement. Window screen is made from fiberglass or aluminum and will scratch your skin and eventually rust or crack. Office chair mesh is specifically made to be soft, flexible, and durable under body weight.
How To Repair Mesh That Has Separated From The Frame
Sometimes the mesh itself is not torn, but it has pulled away from the chair frame around the edges. This is a different problem from a rip and needs a slightly different approach.
Step 1: Check whether the frame attachment points are intact. If the plastic frame has cracked or the staple holes have worn too large, the frame may need repair or replacement before you reattach the mesh.
Step 2: Clean both the mesh edge and the frame surface with rubbing alcohol. This is very important because the adhesive bond must be as strong as possible in this location since it will be under constant tension.
Step 3: Apply a line of strong contact cement or epoxy along both the frame surface and the underside of the mesh edge. Let both surfaces become tacky before pressing them together. This is called the “open time” step and is essential for contact cement to work correctly.
Step 4: Press the mesh firmly onto the frame and hold it for at least 60 seconds. Then clamp the area using clips or tape and let it cure for 24 hours.
If the mesh keeps pulling away even after gluing, you can add a row of staples through the mesh edge and into the frame using a staple gun. This combination of adhesive and mechanical fastening is the strongest way to reattach mesh to a chair frame.
DIY Repair Vs. Professional Repair: Which One Should You Choose
Deciding between fixing the chair yourself and paying a professional comes down to three factors: the extent of the damage, the value of the chair, and your comfort level with DIY repairs.
DIY repair is the right choice when the tear is small or medium-sized, the chair frame is still in good condition, you have access to the right materials, and the chair is not under warranty. Most repairs covered in this guide can be completed in one to three hours and cost very little in materials.
Professional repair makes more sense when the damage is extensive and involves multiple torn panels, when the chair is a high-value model like a Herman Miller or Steelcase worth several hundred dollars, or when the tear is in a structurally critical location like the seat base center.
Upholstery shops and furniture repair specialists can replace mesh panels professionally for a fraction of the cost of buying a new chair. If your chair originally cost $400 or more, a $50 to $100 professional repair is almost always worth it.
Always check your warranty before starting any repair. Many premium office chairs come with a 5 to 12 year warranty. Attempting a DIY repair on a chair that is still under warranty may void that coverage entirely, so contact the manufacturer first if the chair is relatively new.
How To Prevent Office Chair Mesh From Ripping Again
After putting work into a repair, the last thing you want is for the mesh to tear again in a few months. Prevention is straightforward once you know what to watch for.
Avoid sitting in uneven or tilted positions that concentrate your weight on one spot. Try to sit with your weight distributed evenly across the seat. This single habit does more to extend mesh life than anything else.
Keep sharp objects away from the chair. Check your clothing for sharp belt buckles, zipper ends, or pocket hardware before sitting. If you have pets, keep them off the chair because their claws are one of the fastest ways to destroy mesh.
Clean your mesh regularly. Vacuum the seat and back weekly using a brush attachment. Dirt particles that get trapped in the mesh weave act as abrasives and wear down the fibers over time. For deeper cleaning, use a mild soap and water solution and a soft brush. Rinse with a damp cloth and let the chair dry completely before using it.
Rotate your sitting position slightly throughout the day. Sitting in the exact same position for hours every day creates the same stress points repeatedly. Small adjustments in how you sit spread that stress more evenly.
Finally, do not exceed the chair’s weight limit. Every office chair has a rated weight capacity printed on a label under the seat. Consistently exceeding this limit causes rapid mesh degradation and tears.
How To Care For Your Mesh Chair After The Repair?
Once the repair is complete, a small amount of ongoing care will keep it looking good and lasting for years.
For the first week after a patch or stitch repair, avoid putting extreme pressure directly on the repaired area. Sit gently for the first few days while the adhesive reaches full strength and the stitching settles into position.
Inspect the repair every two weeks for the first month. Check that the patch edges are still fully bonded, that the stitching has not loosened, and that the repaired area is holding its shape under normal use. Catching a repair that is starting to fail early is much easier than dealing with a re-tear later.
Clean around the repaired area gently. Use a soft cloth and mild soap. Do not scrub the repaired spot aggressively because this can loosen adhesive or pull on stitching.
If the repair involved epoxy, be aware that the cured epoxy area will remain slightly stiffer than the surrounding mesh permanently. This is normal and does not affect the chair’s safety or function. Over time you will stop noticing it.
If you did a full mesh replacement, give the new mesh a few days to settle into its final tension. New mesh may feel slightly stiffer or looser than expected for the first week of use before it conforms to your usual sitting position.
When It Is Time To Replace The Chair Instead Of Repairing It?
Not every damaged office chair is worth repairing. There are clear signs that indicate the chair has reached the end of its useful life and replacement is the more practical decision.
The chair frame is cracked or structurally compromised. A chair with a cracked seat pan, broken armrest mounts, or a damaged base is unsafe to sit in regardless of how well the mesh is repaired. Structural failures can cause sudden collapse, which is a serious safety risk.
Multiple mesh panels are torn simultaneously. If both the seat and the backrest are heavily damaged, the overall cost and effort of repairing both panels likely approaches the cost of a new chair.
The chair has been in use for more than 7 to 10 years. Office chairs have an average useful lifespan of around 7 years. A very old chair may have degraded foam, worn-out gas cylinders, and other hidden problems that no mesh repair will address. Investing in a new chair may give you significantly better comfort and support.
The gas cylinder has failed and the chair sinks to the lowest position on its own. Gas cylinder replacement is possible but adds to the overall repair cost. If the mesh is also torn and the cylinder is failing, you are essentially rebuilding the chair from scratch.
The chair was inexpensive to begin with. A chair that originally cost $50 to $80 may not justify the time and materials needed for a thorough mesh repair. In this case, the money spent on repair materials could go toward a better quality replacement.
Frequently Asked Questions
Can I use super glue to fix ripped mesh on an office chair?
Super glue is not the best option for mesh repair. It creates a very stiff, brittle bond that cracks quickly under the repeated flexing that mesh experiences during normal use. It also soaks into the mesh fibers and hardens them, which creates an uncomfortable hard spot. A flexible fabric adhesive or two-part epoxy works much better and creates a repair that can handle movement without cracking.
How much does it cost to repair mesh on an office chair at home?
A DIY mesh repair costs very little. A mesh patch and fabric adhesive together typically cost between $10 and $20. A full mesh replacement fabric costs between $15 and $40 depending on the material and size. Professional upholstery repair ranges from $40 to $150 depending on the scope of the damage and your location.
Can I use iron-on fabric patches for mesh repair?
Iron-on patches designed for regular fabric do not work well on mesh because mesh has open gaps in the weave that prevent a full surface bond. The adhesive on iron-on patches bonds to solid fabric surfaces, so it only makes partial contact with mesh, causing the patch to peel off quickly. Use a fabric-safe liquid adhesive instead for a much stronger result.
How long does a DIY mesh repair last?
A well-done stitch repair or patch can last one to three years with normal use and proper care. A full mesh panel replacement done with good technique and quality materials can last five or more years. The longevity depends heavily on how the chair is used and how well it is maintained after the repair.
Is it safe to sit on an office chair with a torn mesh seat?
A small tear that is not growing is generally safe to sit on temporarily. However, a large tear or a tear that is spreading quickly can compromise the structural support of the seat. If the tear is large enough that your clothing or skin can be caught in it, you should stop using the chair until it is repaired to avoid injury.
Where can I buy mesh fabric for office chair repair?
Mesh fabric for chair repair is available at most fabric and craft stores. You can also find it at upholstery supply shops. For branded chairs like Herman Miller or Steelcase, check the manufacturer’s website or authorized repair dealers for model-specific replacement mesh panels that are cut and tensioned to fit your chair precisely.
Can a professional upholstery shop fix mesh office chairs?
Yes, most upholstery shops can repair or replace mesh on office chairs. They have the tools, materials, and experience to do a clean, long-lasting job. This is a good option for high-value chairs or damage that is too extensive for a simple DIY fix. Always get a quote before committing to the repair so you can compare the cost against a replacement chair.

Hi, I’m Clara! I started SitSmartGuide to help people find chairs that truly support their comfort and health — without the guesswork. After years of dealing with back pain from bad seating, I became obsessed with testing, researching, and reviewing chairs so you don’t have to learn the hard way.