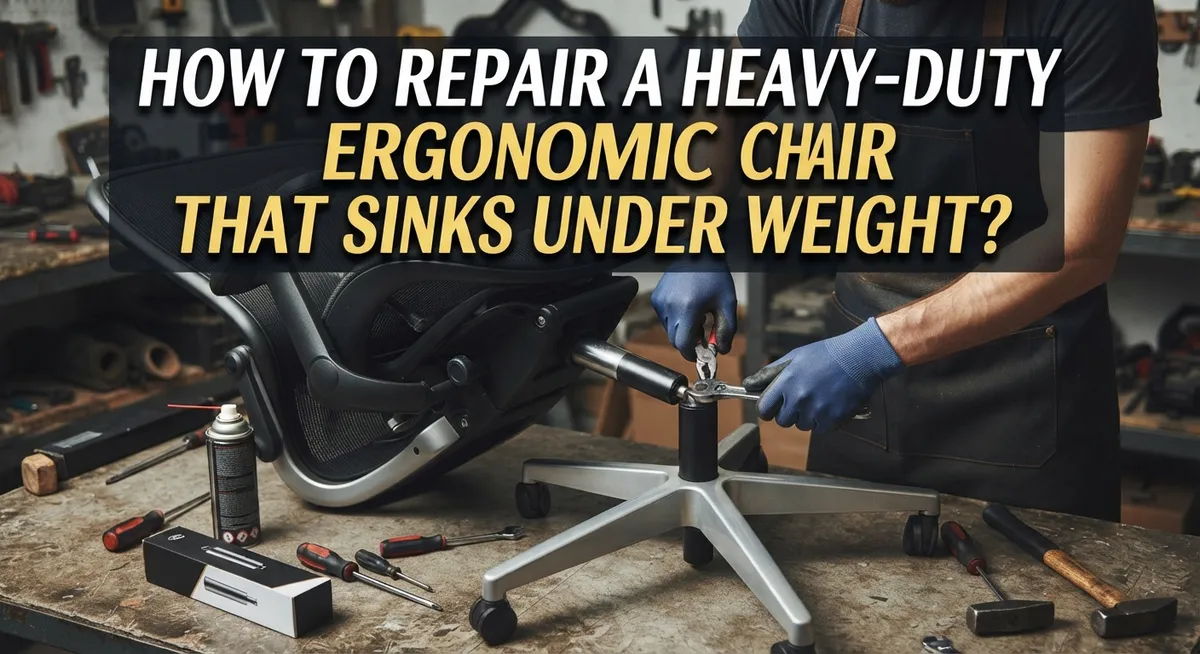
How to Repair a Heavy-Duty Ergonomic Chair That Sinks Under Weight?
Does your heavy duty ergonomic chair sink every time you sit down? This is a common problem. It happens even with the toughest office chairs.
The real culprit is usually the gas cylinder. This part controls your seat height. Over time, it loses pressure and fails to hold your weight.
The good news? You do not need to buy a new chair. This fix is often simple and affordable.
In this guide, we will show you exactly how to diagnose the sinking issue. We will walk through proven repair methods step by step.
In a Nutshell
- Find the real problem. A sinking chair almost always means the gas cylinder has failed. It cannot hold air pressure anymore.
- Try the hose clamp method first. Raise your chair to the right height. Tighten a hose clamp on the outer tube. This acts as a stop and stops the sink instantly.
- Use PVC pipe for a stronger fix. Measure your cylinder length. Cut a PVC pipe to match. Slide it in as a solid spacer.
- Grab duct tape for a quick trick. Expose the cylinder and set your seat height. Wrap tape tightly around the tube. Test the chair to check it holds.
- Check your lever too. Sometimes the adjustment lever is loose, not the cylinder. Tighten it with a 3-4mm Allen wrench.
- Gather simple tools. You only need an Allen wrench, a hose clamp, gloves, and maybe a rubber mallet. These fixes are cheap and easy to do at home.
Why Your Chair Sinks: Understanding Gas Cylinder Failure
A gas cylinder sits inside your chair’s base and holds pressurized air. This air supports your weight when you sit down. Over time, the seal inside the cylinder weakens. Air slowly leaks out through tiny gaps.
When air escapes, the cylinder loses pressure. Your chair sinks lower each time you use it. This happens gradually at first. Eventually, your seat drops all the way down when you sit.
Why does this happen? The seal degrades from constant use and temperature changes. Every time you adjust your chair height, you stress the internal components. Years of sitting and standing wear out the rubber seals. Dust and dirt can also enter the cylinder and damage the seal.
You might notice your chair sinks slowly over weeks or months. Or it could happen suddenly if the seal ruptures. Either way, the gas cylinder is no longer holding pressure.
The good news: This is a normal wear item. Your chair did not break because you used it wrong. Heavy use actually speeds up seal failure. This does not mean your entire chair is ruined.
What happens inside: The cylinder contains a piston rod connected to your seat. Pressurized gas pushes the piston up. When you pull the lever, you release some pressure. The piston moves down and your seat lowers.
A failed cylinder cannot maintain any pressure. The piston falls freely under your weight. This creates that sinking sensation you feel.
Understanding this problem helps you choose the right fix. You now know the cylinder failed, not your chair frame. This knowledge makes repairs easier and faster. Most fixes cost very little money and take minutes to complete.
Tools and Materials You’ll Need Before Starting
Before you start fixing your sinking chair, gather the right tools and materials. Having everything ready saves time and frustration.
An Allen wrench in 3 to 4 millimeter size is essential. This tool tightens the adjustment lever under your seat. Check if your lever is loose before assuming the cylinder failed.
A hose clamp is your fastest repair option. This metal band tightens around the outer cylinder tube to act as a mechanical stop. Hose clamps come in various sizes, so measure your cylinder diameter first.
Protective gloves keep your hands safe from sharp edges and metal burrs. The cylinder base can have rough spots that cut skin easily.
A rubber mallet helps if you need to tap components into place. Never use a regular hammer, as it can damage plastic parts on your chair base.
A pipe wrench grips and turns metal components if you decide to remove the cylinder. This tool provides the leverage you need for stubborn parts.
PVC pipe works as a spacer if you choose this method. Measure your cylinder length carefully before cutting. Standard sizes are available at hardware stores.
Duct tape offers a quick temporary fix. Apply it around the cylinder after setting your desired height.
Rubber shims or wooden wedges provide support under the seat pan. These materials prevent further sinking without removing components.
A measuring tape ensures accurate measurements for PVC pipe or cylinder dimensions.
Start by gathering these basic items. Most people already own several of these tools. You do not need expensive equipment for this repair. Simple materials and basic tools handle the job effectively.
Diagnosing the Problem: Confirming It’s the Cylinder
Your chair sinks because the gas cylinder inside the base has lost pressure. This cylinder holds air that supports your weight. When the seal fails, air escapes and your seat drops lower each time you sit down.
To confirm the cylinder is the real problem, you need to test it. First, sit in your chair and notice how far it sinks. Does it drop immediately or slowly over several minutes? A fast drop means the cylinder seal failed completely. A slow sink over hours suggests a minor leak.
Next, pump the chair up and down using the height adjustment lever. Push down hard several times. If the chair rises and stays up, your lever might just be loose. If it rises but sinks right back down, the cylinder is definitely broken.
Here’s a simple test you can do right now. Raise your chair to its highest position. Mark the height with tape on the base. Leave the chair alone for 30 minutes without sitting in it. If the seat drops during this time, the cylinder is leaking air even under no weight.
Check the adjustment lever next. Look under your seat where the lever connects to the cylinder. Use an Allen wrench to tighten the connection point. Sometimes this alone stops the sinking.
If tightening the lever doesn’t work, the cylinder itself has failed. This is normal wear and tear. The good news is that fixing this problem is straightforward and affordable. You don’t need to buy a new chair. Most people can handle this repair with basic tools and simple techniques.
Step-by-Step: The Hose Clamp Fix Method
The hose clamp method is the fastest way to stop your chair from sinking. This approach works by creating a mechanical barrier that prevents the cylinder from compressing further.
Start by sitting in your chair and adjusting it to your preferred height. Use the lever to raise the seat until it feels right for your body and desk setup. This step matters because you want the chair at the exact height you use every day.
Once you reach the target height, stay seated for a moment. This ensures the cylinder is fully compressed at your working position. Now you can measure where to place the clamp.
Locate the outer metal tube of the gas cylinder beneath your seat. This tube slides over the inner rod. You want to place your hose clamp around this outer tube, positioning it just below where the inner rod enters. The clamp acts as a stop that prevents downward movement.
Slide the hose clamp onto the outer tube. Position it carefully so it sits snug against the tube without gaps. Tighten the clamp using a wrench or your fingers, depending on the clamp type. Make it firm but not so tight that you damage the tube.
Test your repair by standing up slowly. The chair should stay at your set height. Sit back down and check again. The clamp prevents the cylinder from collapsing, keeping your seat stable.
This method works because it bypasses the failed internal seal. The clamp provides external support that the broken cylinder cannot. Most people find this fix holds for months or longer, giving you time to plan a full cylinder replacement if needed.
Alternative Fixes: PVC Pipe, Duct Tape, and Shim Techniques
The PVC pipe technique offers a reliable alternative when you want a permanent fix without replacing the entire cylinder. This method works by creating a physical spacer that prevents the chair from collapsing downward.
Start by measuring your gas cylinder’s outer diameter. You need to know this measurement before cutting PVC pipe to the right size. Most heavy duty office chairs use cylinders between 1 and 1.5 inches in diameter. Write down this number so you don’t forget it.
Cut your PVC pipe to match the length you need. The pipe should fit snugly around the outer cylinder tube. A length of 2 to 4 inches typically works well for most repairs. Make sure your cuts are clean and straight on both ends.
Raise your chair to the height where you want it to stay. This is the critical step. Sit in the chair and adjust it to your exact preference. You need to get this right before inserting the pipe.
Slide the PVC pipe over the outer metal tube of the cylinder. Push it down until it sits firmly against the base or mounting bracket. The pipe now acts as a mechanical stop that prevents downward movement.
Test the repair by standing and sitting several times. The chair should hold your preferred height without sinking. If it still drops slightly, your pipe may need adjustment or the cylinder needs replacement.
The duct tape method works similarly but offers less durability. Wrap tape around the cylinder at your target height. This creates friction that resists sinking. However, duct tape degrades over weeks and may need reapplication. The PVC approach lasts much longer and handles heavy daily use better than tape alone.
Adjusting the Lever Mechanism for a Tighter Seal
The lever mechanism on your ergonomic chair controls how easily the gas cylinder compresses. When this lever loosens over time, your chair sinks faster under weight. Tightening it can sometimes restore proper function.
Locate the adjustment lever underneath your seat. This lever connects directly to the internal valve inside the gas cylinder. You’ll typically find it near the base where the cylinder meets the seat pan.
Grab your Allen wrench in the 3mm to 4mm size. Insert it into the adjustment screw on the lever. Turn it clockwise slowly and deliberately. Make small quarter turn movements rather than large rotations.
After each adjustment, test the chair by sitting down and using the height lever. Pump up and down several times to feel the resistance. The chair should hold your weight better with each tightening.
Stop turning when you feel significant resistance. Over tightening can damage the internal valve mechanism. You want firm control, not a completely locked lever.
If tightening the lever doesn’t improve the sinking problem, the internal seal has likely failed. The lever mechanism only works when the cylinder still has gas pressure inside. A completely flat cylinder won’t respond to lever adjustments.
This method works best as a preventive measure or for minor sinking issues. It takes just minutes to attempt and costs nothing. If your chair continues sinking after tightening, you’ll need to move forward with other repair methods like the hose clamp technique or consider a cylinder replacement.
Common Mistakes That Make Sinking Worse
Many people make mistakes that actually make their sinking chair problem worse. Understanding these errors helps you avoid creating additional damage before you even start repairs.
The biggest mistake is forcing the height adjustment lever repeatedly. When your chair sinks, the natural response is to pump the lever up and down frantically. This aggressive pumping can damage the internal seal faster and create more air leaks inside the cylinder. Stop after a few gentle pumps and assess the situation instead.
Another common error is ignoring the adjustment lever entirely. Some people jump straight to invasive repairs without first trying to tighten the lever mechanism. This lever controls the compression resistance, and a simple Allen wrench adjustment might solve your problem without any complex work.
People also apply repairs incorrectly by not raising the chair to the proper height first. If you use the hose clamp method or PVC pipe technique without setting your chair to the desired height, you’ll trap it at the wrong level. Always raise your chair to where you actually want it before securing any mechanical stop.
Mixing multiple repair methods simultaneously creates confusion and potential damage. Choose one approach and complete it fully before trying another technique. Testing after each step matters more than rushing through everything at once.
Overlooking the cylinder condition is another trap. Some users apply temporary fixes without checking if the cylinder itself has truly failed. A quick test by pumping the lever tells you whether the problem is fixable or requires cylinder replacement.
Finally, avoid using oversized clamps or wedges that strain the seat pan. Excessive pressure on the seat structure can crack it or cause misalignment issues separate from your sinking problem.
Troubleshooting: What to Do If the Fix Doesn’t Hold
When your repair stops working, the first step is identifying why. Your fix might fail because you didn’t raise the chair to the correct height before applying it. The chair needs to be at your desired sitting height when you secure the clamp or insert the spacer. If you skip this step, gravity will pull the cylinder down further once you sit.
Another common reason repairs fail is using the wrong clamp size. A clamp that’s too loose won’t hold the cylinder in place. A clamp that’s too tight can actually damage the outer tube and make things worse. You want snug pressure, not crushing force.
Test your repair properly before declaring it complete. Sit down gently and shift your weight. Stand up slowly. Repeat this several times. A weak repair will fail immediately during testing, not later when you’re working.
If your repair holds for a few days then fails, the internal seal damage is more severe than expected. This means the gas cylinder itself is significantly worn. At this point, consider replacing just the cylinder rather than attempting another temporary fix. Cylinder replacement is affordable and takes minimal time.
Sometimes repairs fail because you’re mixing methods together. Using both a clamp and duct tape creates conflicting pressure points. Choose one method and commit to it fully.
If nothing holds, document what you’ve tried. Note the chair model and cylinder specifications. This information helps when you decide to replace the cylinder or consult a professional. Keep your receipts for any tools purchased during troubleshooting, as they’re useful for future repairs.
Final Thoughts
A sinking chair does not mean the end of the road. Most fixes are quick and cheap.
The hose clamp method remains the fastest fix for most people. It takes minutes and needs just one tool.
If you want something more permanent, consider replacing the gas cylinder itself. This part costs much less than a new chair.
Don’t rush the process. Take time to measure your cylinder correctly before cutting any PVC pipe or applying clamps.
Test each repair carefully. Sit down and stand up several times to check if the fix holds under real weight.
Remember that different chairs need different approaches. A heavy duty chair may need a stronger clamp or thicker shim than a standard office chair.
Keep your tools ready for future adjustments. Chairs shift over time, and you may need to tighten things again.
If the lever tightening trick fails, this usually points to internal seal failure. At this stage, replacing the cylinder becomes your best option.
Professional help is always available if DIY feels too tricky. Many repair shops handle cylinder swaps quickly and affordably.
Both routes work well depending on your comfort level with tools. Choose what fits your skill and time.
Above all, stay patient with the repair process. Rushing often leads to mistakes that cost more time later.
A well repaired chair can serve you for years ahead. With the right method and proper care, your ergonomic chair will support you safely again.
Small fixes now save big expenses later. Your chair deserves a second chance before heading to the trash.
Frequently Asked Questions
Why does my heavy duty ergonomic chair keep sinking even after I sit down?
Your chair sinks because the hydraulic gas cylinder inside the base has failed. This cylinder normally holds pressure to support your weight. When it loses that pressure, the chair slowly descends. The internal seals wear out over time, especially on chairs that support heavier loads regularly.
This is a mechanical issue, not a defect in your chair. Gas cylinders have a limited lifespan. Repeated use causes the seals to degrade. Once they fail, air escapes from the cylinder chamber.
The good news is that fixing this problem doesn’t require replacing your entire chair. You can repair it with basic tools and simple methods.
What’s the fastest way to stop my chair from sinking?
The hose clamp method works fastest for most people. Here’s how it works: raise your chair to the height you want. Then tighten a hose clamp around the outer tube of the cylinder. This clamp acts as a mechanical stop that prevents further sinking.
You’ll need an Allen wrench (3 to 4 millimeters) and a hose clamp from any hardware store. The entire process takes about 10 minutes. Your chair stays at that fixed height permanently.
This method doesn’t repair the cylinder itself. It simply locks the chair in place. If you want true repairs later, you can always replace the gas cylinder. But the clamp method works well as an immediate solution.
Can I replace the gas cylinder myself?
Yes, you can replace it with basic tools. You’ll need a pipe wrench and an Allen wrench. Most gas cylinders cost very little and come with simple installation instructions.
Remove the old cylinder by loosening the connection points. Insert the new one and tighten securely. Test the height adjustment to confirm it works.
Professional replacement is also available if you prefer not to do it yourself. Both options cost far less than buying a new chair.
How do I know if my cylinder is actually broken?
Try the lever tightening method first. Locate the adjustment lever under your seat. Use your Allen wrench to tighten it clockwise. If this stops the sinking, your cylinder may just need adjustment.
If tightening the lever doesn’t help, your cylinder seals have likely failed. You can also raise the chair fully and listen for air hissing sounds. That hissing indicates a seal leak inside the cylinder.

Hi, I’m Clara! I started SitSmartGuide to help people find chairs that truly support their comfort and health — without the guesswork. After years of dealing with back pain from bad seating, I became obsessed with testing, researching, and reviewing chairs so you don’t have to learn the hard way.